7 Turtle Crafts for Kids
by Karen & Grace Morris
Making turtle crafts for kids is a fun way to learn.
Not all turtles live in the sea? Some live on the land, they are usually called tortoises, but not always.
The ones that live in fresh water are sometimes called terrapin.
Click on the pictures to go to the individual turtle crafts for kids.
Sea turtles have to breathe air like you and me, but they can hold their breath for a long time under the water. And because of that, large sea turtles like to lay their eggs deep in the sand of the seashore.
Depending on the species, they can lay 50 to 350 eggs. However, according to Wikipedia, only one hatchling survives.
Have fun making these wonderful turtle crafts for kids!
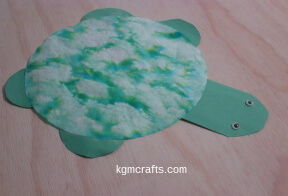
Sun Catcher
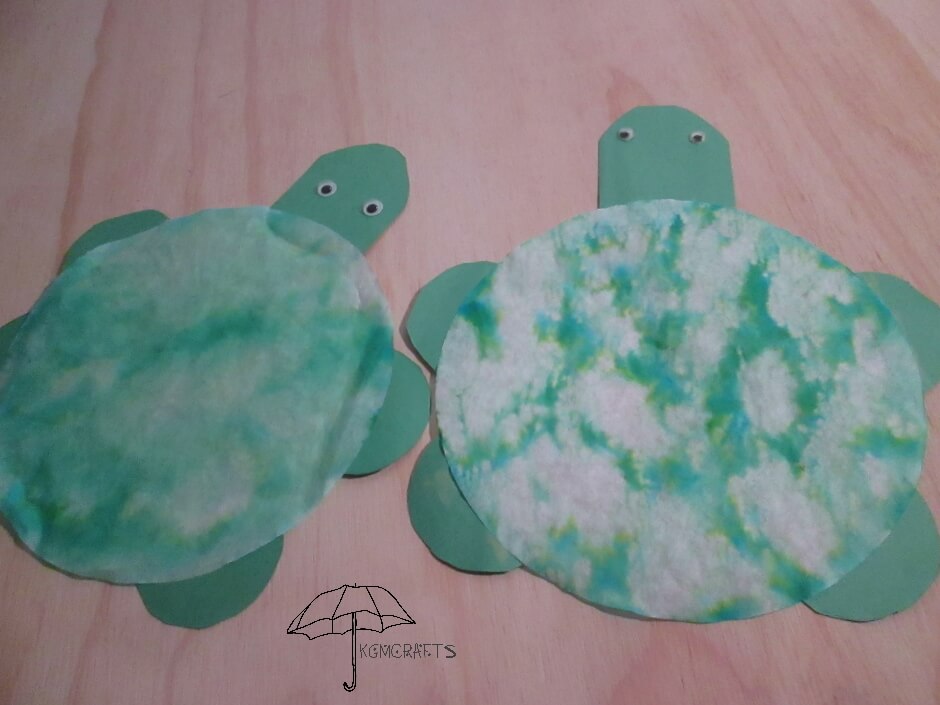
In some turtle races, they race from a sunny spot to the shade. Maybe this one should be called a shade catcher.
Turtle crafts for kids are easy! Each sun catcher is different, so we know that your kids will want to make more than one.
Supplies;
- coffee filter
- marker
- construction paper
- glue stick
- wiggly eyes
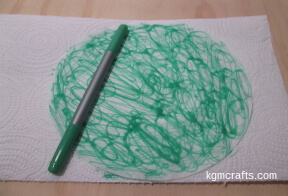
Color the coffee filter with a green marker. With an eye dropper drop water on the filter. Use just enough water so that the marker runs. Let dry.
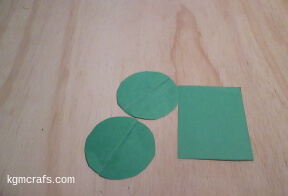
Draw a rectangle 3 by 2 1/2 inches on green construction paper. Round one end of the rectangle to make the turtle's head.
Draw two 2 1/4 inch circles. You can use a 3 ounce cup to make the circle. Cut the circles in half for the feet.
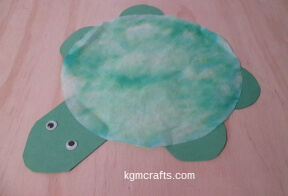
Glue the head and feet to the sides of the coffee filter. Add sticky wiggly eyes. Or glue the eyes on with white glue.
Beaded Turtle
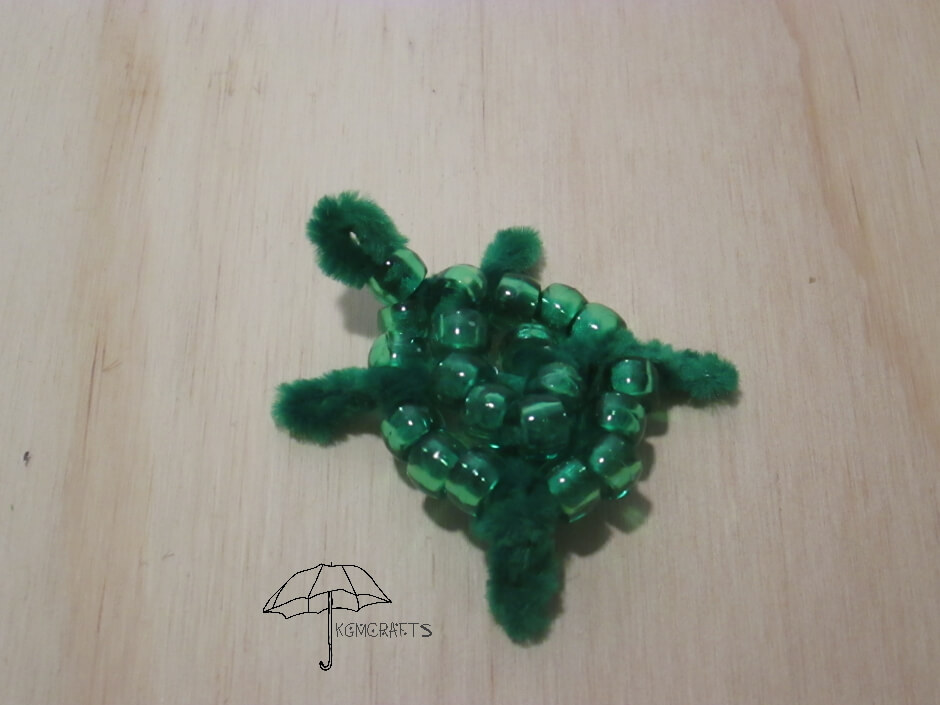
You will need;
- 12 inch green pipe cleaner
- 6 inch green pipe cleaner
- 20 clear green pony beads
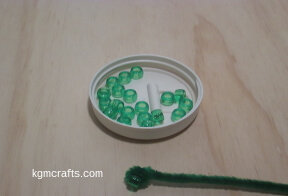
Add one pony bead to the end of the 12-inch pipe cleaner. This bead will be number one, where you will always start counting. Twist the pipe cleaner around the bead.
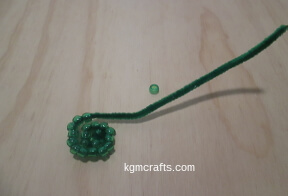
Add beads twisting into a spiral. Continue until there are nineteen beads on the pipe cleaner. There will be a 6-inch piece of the pipe cleaner that will not have any beads.
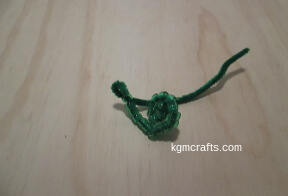
Add another bead to the pipe cleaner, then bend the end and go through the bead again. There will be a loop above the bead. Bend the pipe cleaner up some. This will be the turtle's head.
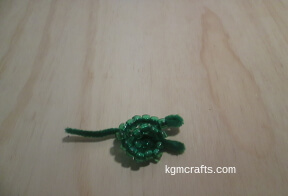
Now wrap the piece that doesn't have any beads between bead number seven and eight. Bend the pipe cleaner to make a leg.
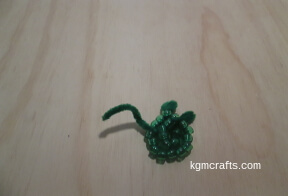
Continue wrapping the end under the turtle. Bring it up and between bead seventeen and eighteen.
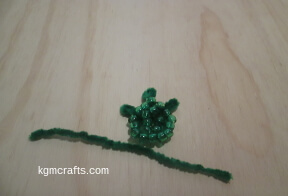
Bend the end over to make another leg.
Grab the 6-inch piece of pipe cleaner.
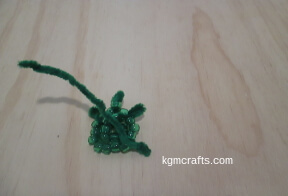
With the 6-inch piece of pipe cleaner, wrap one end between bead ten and eleven and make a leg. Make the other leg between bead thirteen and fourteen.
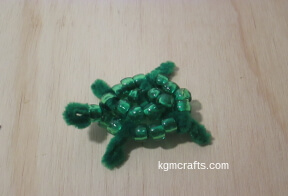
Finish the turtle. Add a pin to the back.
Recycled Turtle Crafts for Kids
The next several turtle crafts for kids use pop bottles, bottle caps, and boxes.
The Bottle Cap Baby
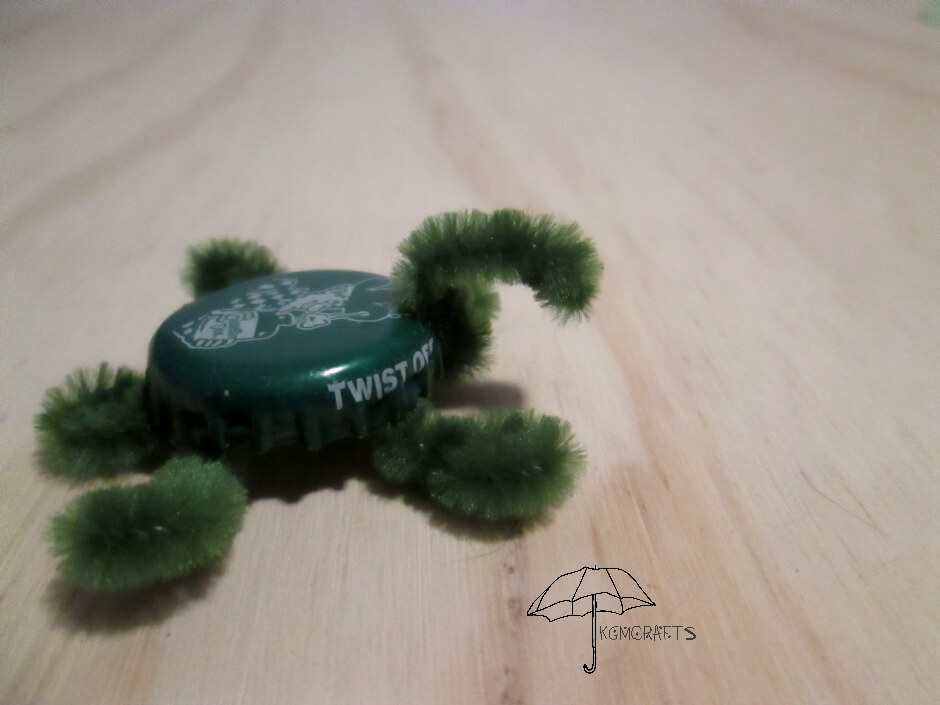
Make an army of baby turtle crafts for kids.
You will need;
- A green bottle cap from a glass pop bottle
- 12 inch green pipe cleaner
- Green paper
- White glue
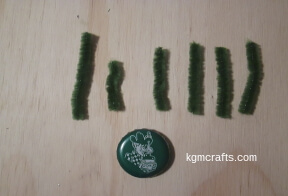
First, make sure your bottle cap is clean and dry.
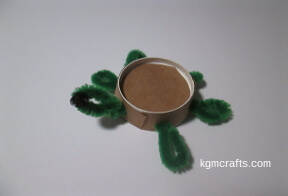
Cut your pipe cleaner in six pieces. You will want four of the pieces to be about 1 1/2 inches, these will be the legs.
Cut another piece, 1 inch, for the tail.
The last piece is 2 inches, for the head.
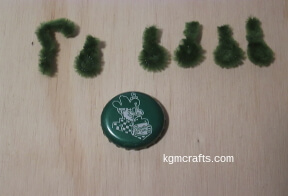
On each one of the legs, twist a small circle at one of the ends. At the end of the tail also twist a small circle. Finely twist the head, to give it a neck.
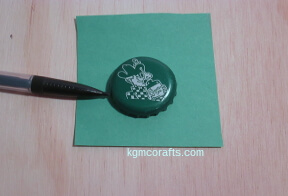
Place each of the ends in the bottle cap and bend so that it goes over the side. Take them out so that you can trace the cap on a piece of paper. Cut on your lines.
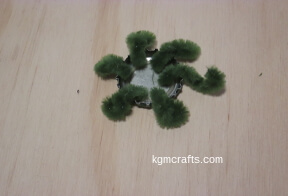
Stick the points of the pipe cleaner into the bottle cap. Careful to keep the points in without letting go!!!
Arrange the pipe cleaners so when you flip the bottle cap, it looks like a turtle.
But don't flip it yet, otherwise it will all fall apart!
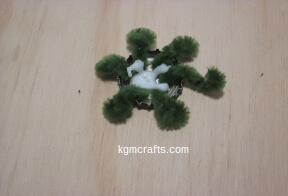
Glue with white glue.
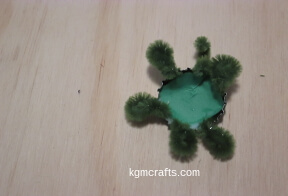
Stick the piece of paper inside. Let dry.
Note: If you are using white glue, your turtle can fall apart if it is not yet dry, so don't move him!
You could also use hot glue instead.
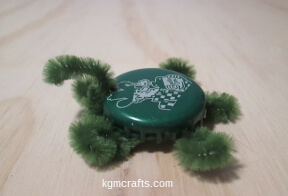
When it is dry, flip it so that it is upright. Now it should look like a turtle!
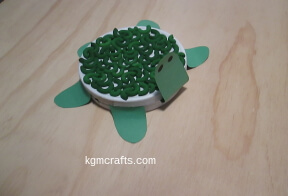
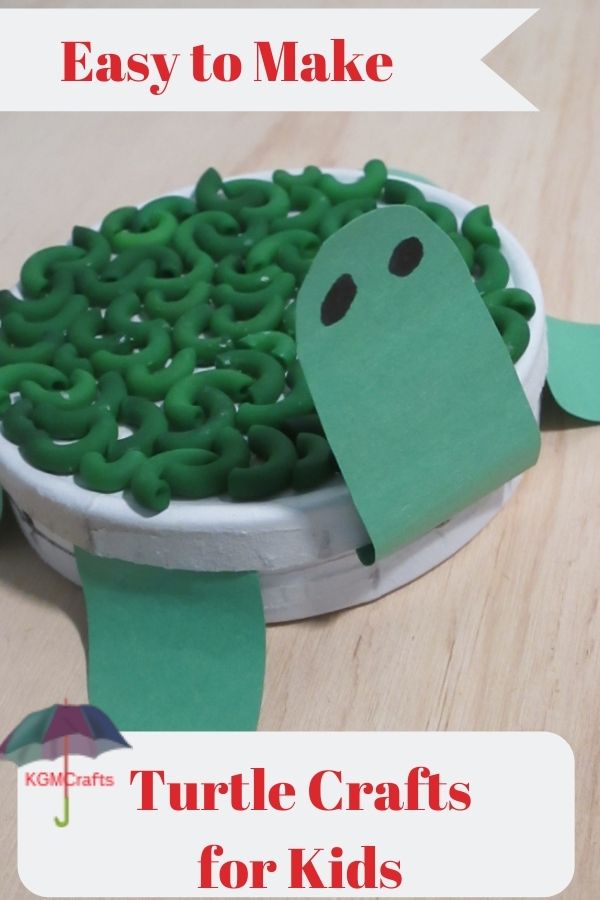
The Cheesy Box Turtle
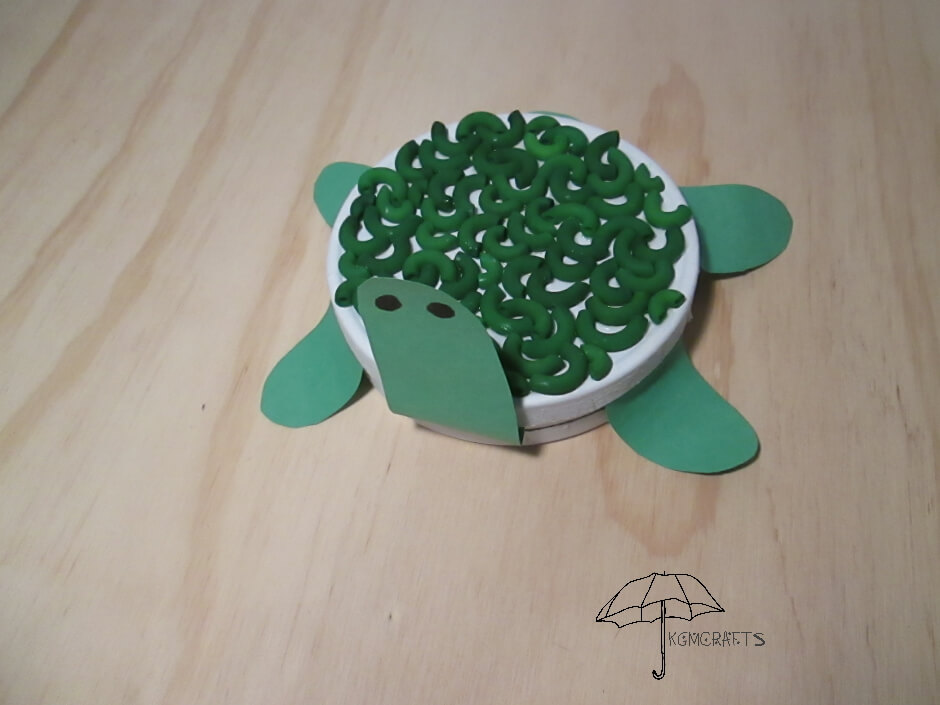
You don't have to spend a lot of money to raise this box turtle.
Supplies;
- A round cardboard box (the kind that brie or Laughing Cow cheese comes in)
- Green paper
- Black maker
- Green dyed macaroni (you can find out how to make some here)
- Tape
- Tacky glue
Peel the labels off the box. Remove the lid. But don't throw it away, as you will need to have it later.
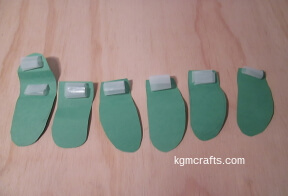
Cut four rounded rectangles out of green paper about 2 3/4 by 1 1/4 inches, these will be the legs.
Cut another rounded rectangle about 3 3/4 by 1 1/4 inches, this will be the head.
Cut out another rounded rectangle 2 1/2 by 1 1/4 inches for the tail.
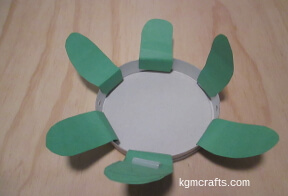
Fold one of the ends of each of the legs, head, and tail. Stick them in the box. Use double backed tape, or you can make a circle with regular tape.
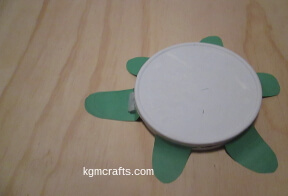
Put the lid of the box on top. Make another circle of tape and tape the head on top of the box so that it doesn't flop to the ground.
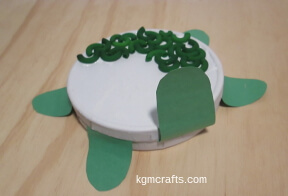
After you have made your green macaroni, (get the directions here) glue them with tacky glue onto of your box to make a shell.
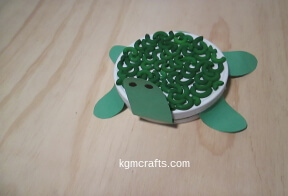
With the black marker draw eyes on the head.
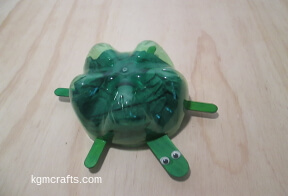
Popsicle Stick Turtle
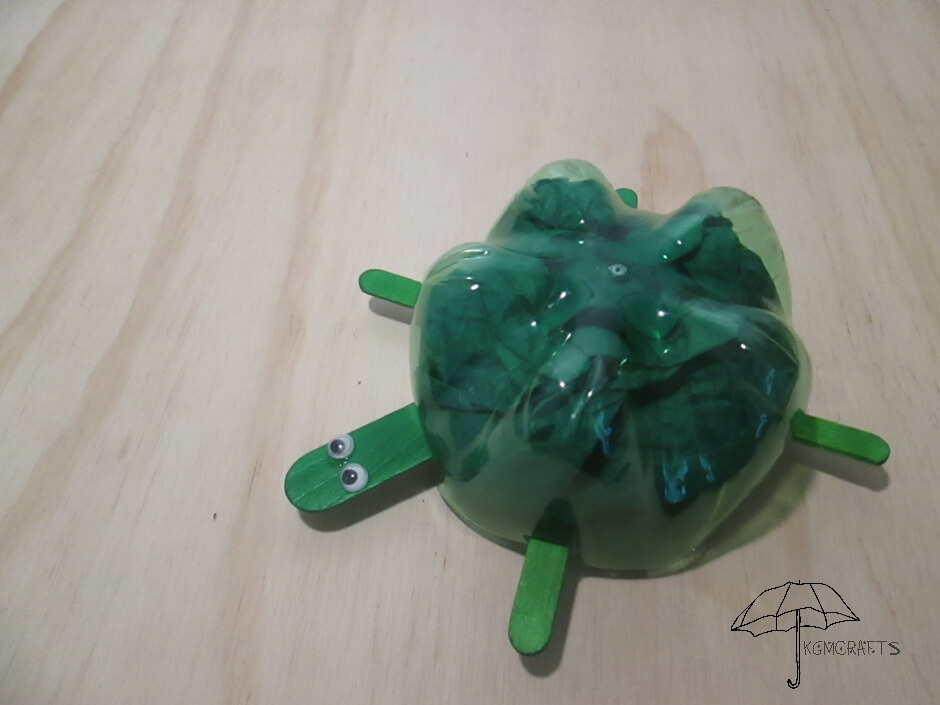
You Will Need;
- green tinted 2 litter soda bottle
- 4 green regular sized Popsicle sticks
- 1 green large size Popsicle stick
- green tissue paper
- small piece of pipe cleaner
- 2 wiggly eyes
- white glue
- hole punch
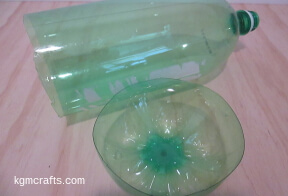
Cut the bottom off the soda bottle so that it measures about 2 to 2 1/2 inches.
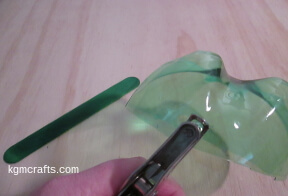
With a hole punch, make two holes next to each other about 1/2 inch from the cut edge.
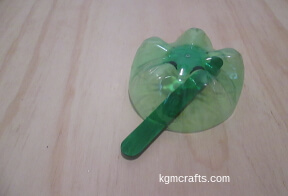
Make a small slit on each side of the holes so that the large Popsicle stick will go through. This will be the turtle's head.
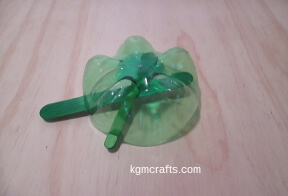
Measure about 1 1/2 inches from the head and make a mark with a permanent marker.
Make one hole with the hole punch on the mark. Enlarge your hole some so that the small Popsicle sick will go through.
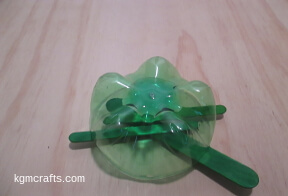
The Popsicle stick will reach to the side of the shell, so make a mark here with the marker.
Where you just made a mark, make another hole. Thread one of the small sticks through the hole for the back leg.
Repeat the directions for the other side of the turtle. He should have two front feet and two back feet.
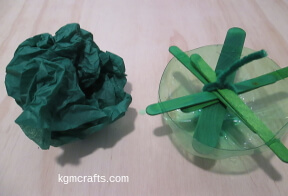
The sticks will make an x shape. In the center, thread the piece of pipe cleaner around the x and twist to secure.
Cut a piece of green tissue paper in half. Wad the paper up and make a ball.
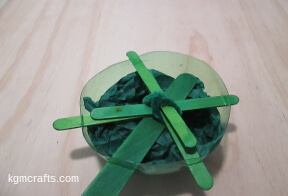
Push the ball on top of the Popsicle sticks. Spread the tissue out so that it covers all the inside of the shell.
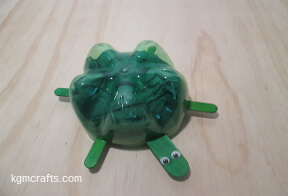
With white glue add wiggly eyes to the head. Let the glue dry.
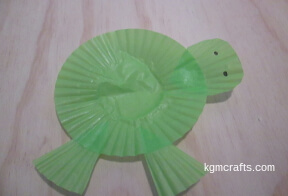
Cupcake Liner Turtle
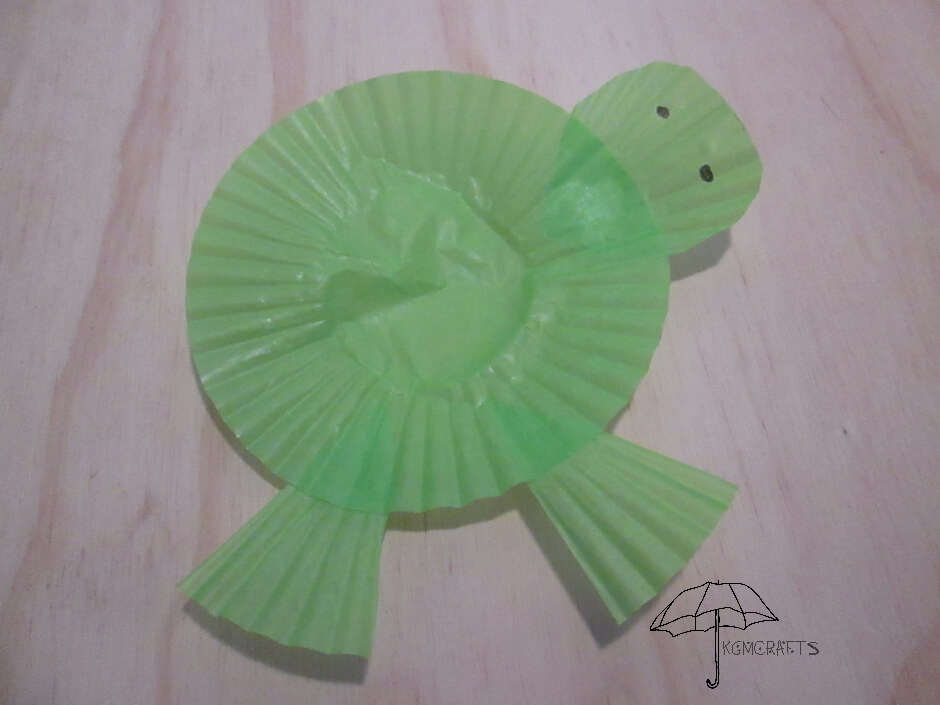
This is one of the easiest turtle crafts for kids!
You will need;
- 2 green cupcake liners
- glue stick
- Scissors
- Marker or wiggly eyes
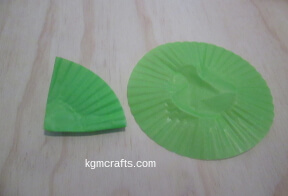
Flatten one cupcake liner. Fold the second line in fourths.
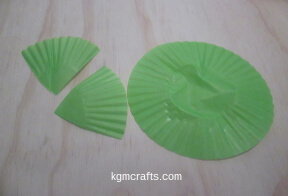
Cut two 1/4 pieces.
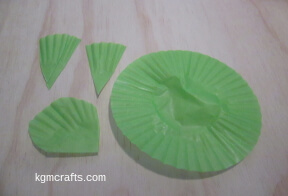
Round the ends of one of the 1/4 pieces. This will be the head.
Cut the other piece in half. This will be the legs.
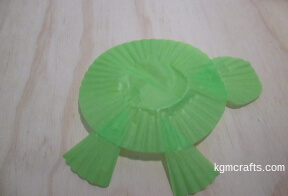
Glue the shapes together to make a turtle.
Make two dots on the head for eyes with a black marker.
3 Ounce Cup Turtle
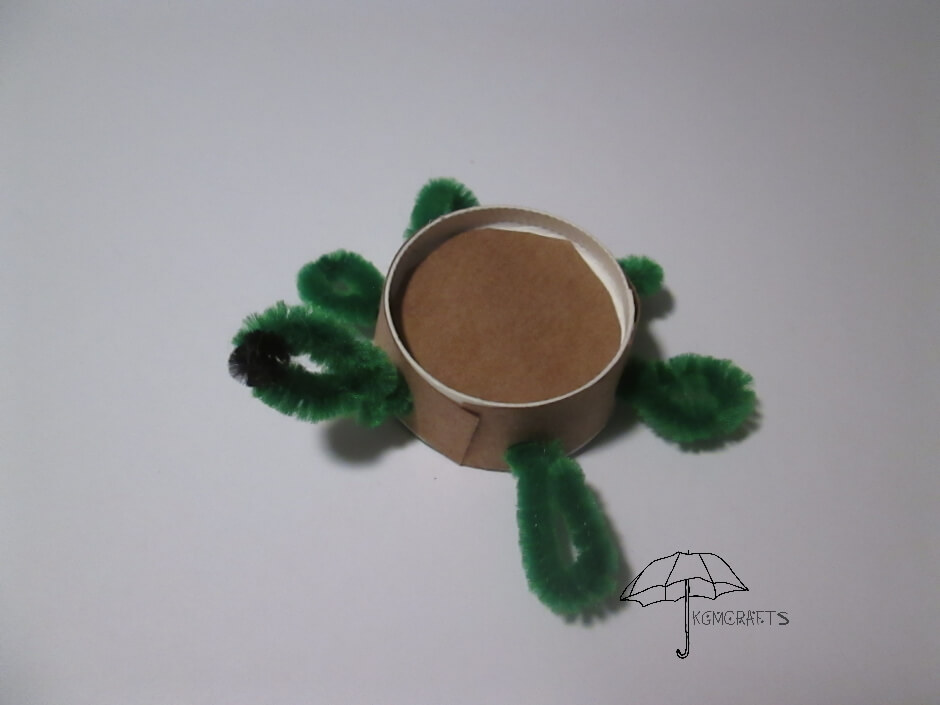
You will need;
- 3 oz cup
- Two green pipe cleaners and a small piece of a black pipe cleaner
- Brown paper
- Glue
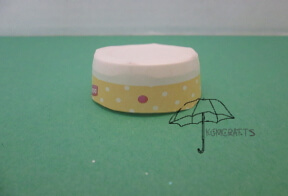
Cut the sides off the cup, leaving 5/8 inch to make the hard shell
The shell is the turtle’s home. Good thing that he never has to go home and clean!
Not all turtles have a hard shell. Some like the leatherback sea turtle have leather like skin shell instead.
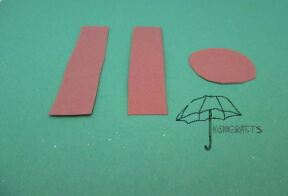
Cut two pieces of brown paper 5/8 by 3 1/2 inches.
Also, cut a circle of paper to fit the bottom of the cup.
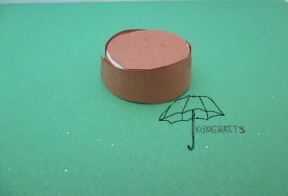
Cover the side and top of the cup with brown paper (turtles can be brown, green, or black. Pick your favorite.)
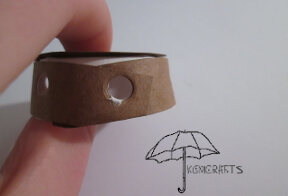
Punch six holes in the side of the cup.
Cut two 5 1/2 inch long pieces from the green pipe cleaners for the legs.
Use a 5-inch piece for the head and tail.
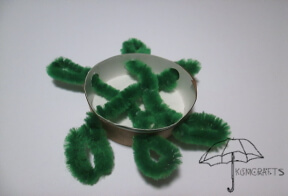
Thread the pipe cleaners through the holes in the sides of the cup.
Fold the ends of the pipe cleaners into ovals to make the head, tail, and legs of the turtle.
Your turtle’s legs should look like flippers, because sea turtles don’t have feet. Only land turtles do.
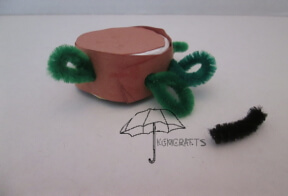
Cut a 1-inch piece of black pipe cleaner for the eye. Bend to the head piece.
The turtle is slow, but he won the race…. Or was that the tortoise?
Turtles can live a long time. Wouldn’t it be cool to carry your home on your back, and be able to explore the world? Come imagine with turtle crafts for kids.
