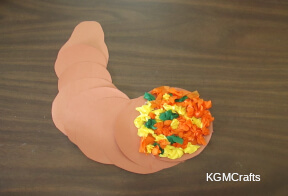
8 Turkey Crafts for Kids
by Karen & Grace Morris
It is time to make cute turkey crafts for kids. You will not have to look far for supplies. Most are already in your kitchen. (P.S. Not the turkey in your freezer).
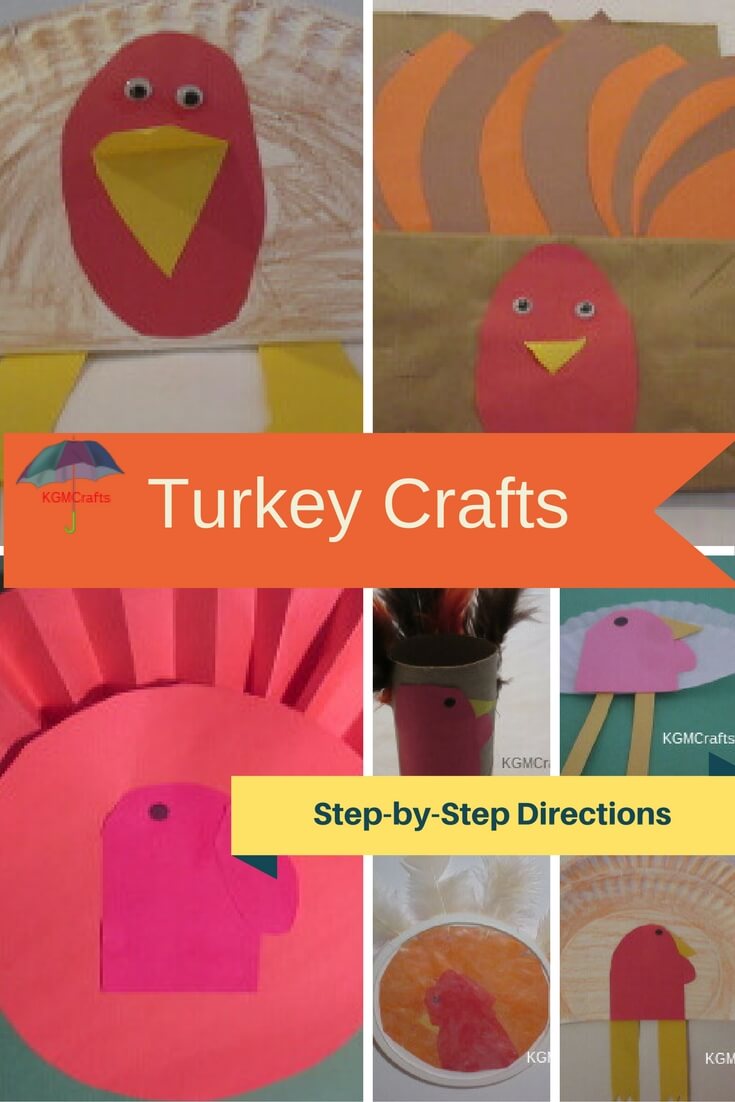
The pictures below will take you to the individual turkey crafts.
So go find some paper plates, cupcake liners, lunch bags, or recycled materials. Bring some colored paper and glue. Soon your house will look festive for Thanksgiving.
Gobble, Gobble
It Is
Almost
Thanksgiving
Fan Tail Turkey
When a turkey displays his tail feathers, it looks something like a paper fan.
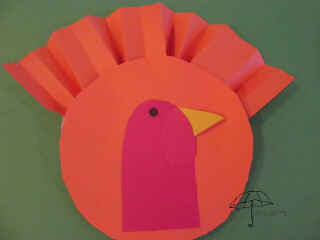
For this craft you will need;
- Orange, red, and yellow construction paper
- tape
- glue
Cut a piece of orange paper 12 by 3 inches. Also, cut a 6 inch circle from the same paper.
Although, I have never seen an orange turkey, they are usually white, black, or brown.
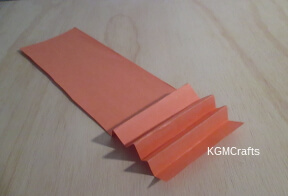
Fold the strip of paper back and forth on the long side. The folds are about 1/4 inch wide.
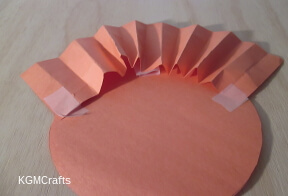
Place the fan on the back of the circle, so that it covers about half of the way around. Tape the ends and make a circle of tape for the center.
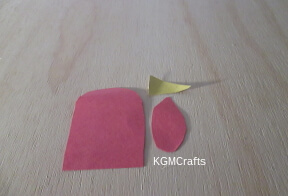
Now cut a rounded rectangle 3 by 2 inches for the head out of red paper.
Cut a tear shape about 2 by 1 inch out of red paper for the waddle. Cut a yellow triangle for the beak.
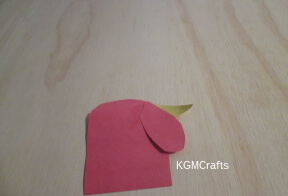
Glue the beak and waddle to the head section. Then glue the head to the center of the circle.
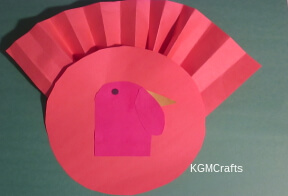
Then glue the head to the center of the circle.
You could make a blue neck. The neck of a Broad Breasted White turkey will change from blue to red when he is mad.
Make feet for this turkey if you want too.
Cupcake Liner Turkey
A flattened cupcake liner looks similar to turkey feathers.
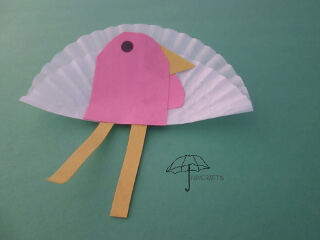
You will need;
- A cupcake liner
- Pink or red paper
- Scraps of yellow paper
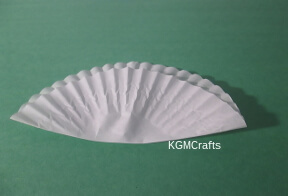
Lay the cupcake liner flat. Fold the liner not quite in half. You will want to see both of the frilly edges.
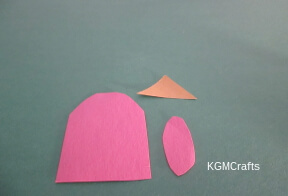
Cut a rectangle 1 1/2 by 2 inches and round one end. Cut a tear shape for a waddle.
Fold a small square of yellow paper in half. Cut a triangle shape for a beak. The point will be the opened end.
Cut two thin strips of yellow paper for legs.
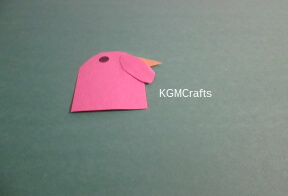
Glue the waddle and beak to the head section.
Make a black dot with a hole punch. Or you could draw it on with a marker.
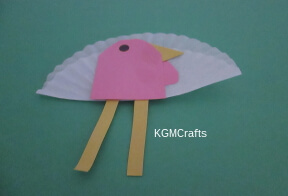
Glue the head to the cupcake liner.
Glue the legs to the back of the cupcake liner.
Wild turkeys roost in trees…. It’s a good thing that domestic ones don’t.
Paper Plate Turkey Craft
The male turkeys display their large tail feathers (a behavior called strutting) to call female turkeys.
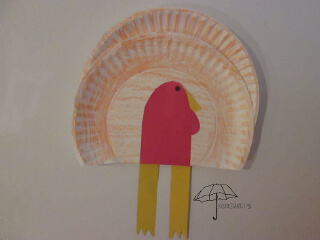
You will need;
- Two nine inch paper plates
- Brown crayon
- Red and yellow paper
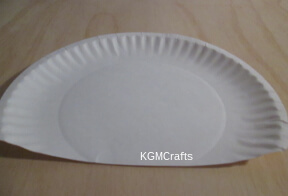
Cut the rim straight off the bottom of both of your plates so that it measures 7 inches from the top to the bottom. The sides will still measure 9 inches.
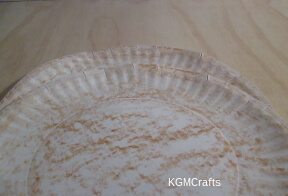
Color your plates brown. (You could use another color if you want.) Use the side of the crayon so that the ridges in the plate showed.
Glue the two paper plates together so that you see both ridges.
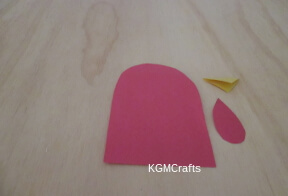
Cut a rectangle out of red paper 4 1/2 by 2 1/2 and round the top.
(Hmmm, why do we always use red instead of blue for the head? I guess we have a lot of mad turkeys).
Cut a tear shape out of red paper for a waddle.
Cut a folded triangle for a beak.
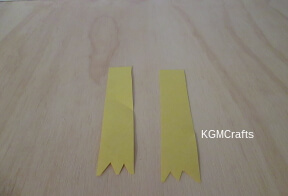
Cut two pieces of yellow paper 5 1/2 by 1 inch. Cut two triangles on one end of each piece of paper for feet.
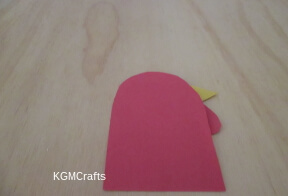
Glue the waddle and beak to the side of the head piece. Glue the head to the bottom of the plate. Turn the plate over and glue on the legs. The legs will touch each side of the head.
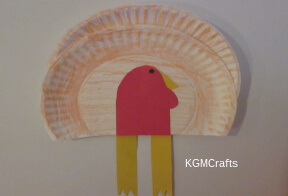
Glue the head to the bottom of the plate. Turn the plate over and glue on the legs. The legs will touch each side of the head.
Sun Catcher
This turkey can catch the sun.
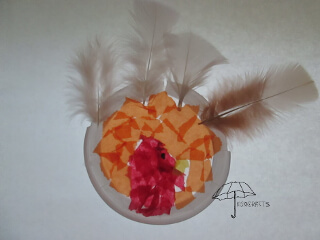
Supplies;
- Plastic lid,
- Wax paper,
- Orange, red, and yellow tissue paper,
- Feathers, (I used mostly white)
- Tacky glue,
- Glue stick,
- Black marker
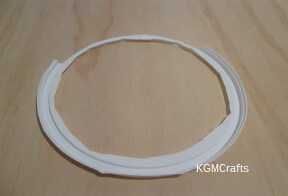
Cut out the center of the lid, leaving the rim. Cut off 4 1/2 inches of the rim at the top for so you can place the feathers.
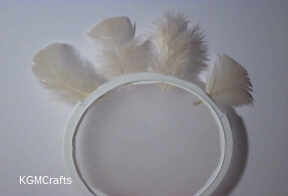
Cut a piece of wax paper that will fit on the base of the rim. Glue the wax paper on the lid with tacky glue. Glue your feathers to the lid at the place where you cut off part of the rim with tacky glue.
Tear up small pieces of orange, red, and yellow tissue paper. With a glue stick, glue them on the wax paper in a form of a turkey. With a black marker make the turkey’s eye.
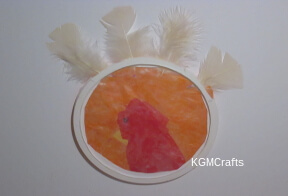
Your sun catcher is done! Attach a string and place near a window.
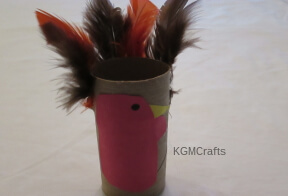
Toilet Paper Roll Turkey Craft
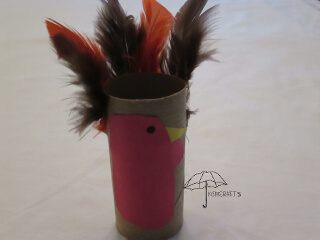
This turkey would be great for a place holder at your table this Thanksgiving. Especially if you have a lot of toilet paper rolls on hand!
Supplies;
- One toilet paper roll
- Red and yellow paper
- Black marker
- Orange and brown feathers
- Hot glue gun
Cut an oval shape out of red paper. Make a circle for the waddles, cut out. You also need to cut a triangle yellow paper for the beak. Glue the waddle and beak on the head piece. Then glue the head to the paper roll. Make an eye with a black marker.
With the hot glue gun, glue on the feathers on the back of the toilet paper roll. I did it in the pattern, orange, brown, orange, brown.
Handprint Card
Young children can make Thanksgiving cards for grandma and grandpa or a favorite friend or relative.
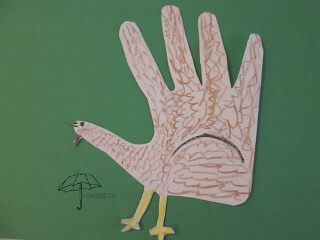
Materials;
- White paper (you could use any color that you want)
- Color crayons
- Pen or marker
- Pencil
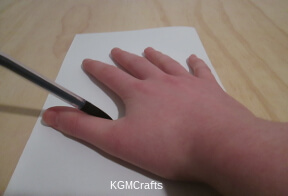
Fold your paper in half. Trace around your hand with a pencil.
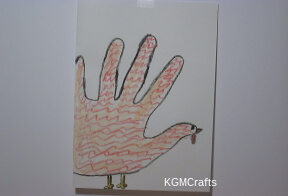
With a crayon draw feathers, a beak, a waddle and an eye. Make sure that the fold is on the left side so that it opens like a card.
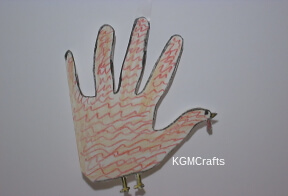
This next step is optional. Cut out your turkey.
Write a message inside the card. I wrote ‘Happy Thanksgiving!’ with a smiling face under it.
Now you have your own turkey card that you can give to someone to tell them how thankful you are to have them in your life!
Sitting Paper Plate Turkey
This funny turkey can set on your shelf or table.
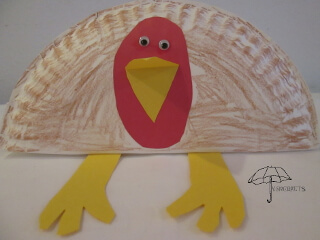
What you need;
- Paper plate
- Red and yellow paper
- Brown color crayon
- Wiggly eyes
- Glue stick
- White glue
Fold your paper plate in half.
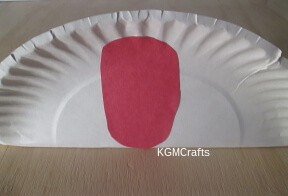
Out of red paper cut an oval like shape about 3 1/2 inches tall. Glue on the plate with the glue stick.
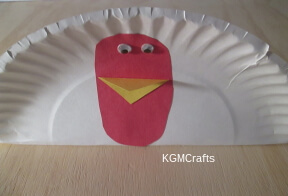
Fold a small piece of yellow paper and cut out a triangle. Glue your triangle with a glue stick on the red piece of paper. Glue on wiggly eyes above the beak with white glue.
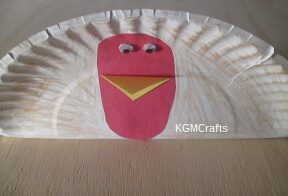
color plate brown,
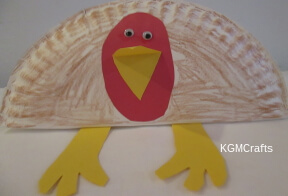
To make legs cut yellow paper about 5 1/2 inches long and 3/4 inch wide. Don’t forget to make three toes on each foot! Glue to the back of your paper plate.
Your sitting paper plate turkey is now done! (“Gobble! Gobble! Gobble!”)
Paper Bag Turkey Craft
You will not be able to put anything in the bag after you are done. But this makes a cute decoration.
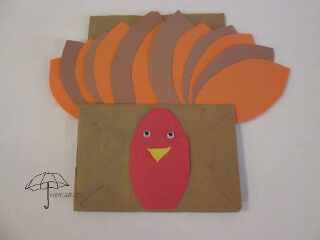
You will need;
- A lunch size paper bag
- Construction paper
- Glue
- Wiggly eyes
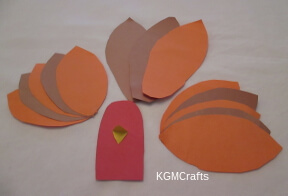
Cut out ten leaf shapes out of orange and brown construction paper. Make six orange and four brown leaves. Each is about 4 1/2 by 2 1/4 inches.
Next you will want three longer leaf shapes for the center. (You will need two brown and one orange leaves each being about 6 inches long.).
Cut out a rounded red rectangle 3 1/2 by 2 inches for the head. Also, cut out a 1 inch square piece of yellow paper and fold it in half diagonally to make a beak.
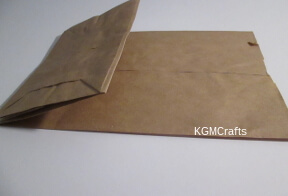
Now that everything is cut out, fold the bottom of the paper bag up. You will glue your feathers under the flap that you just made.
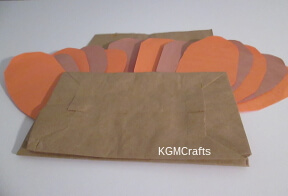
Lay five of your shorter leaf shapes out in a fan shape. Glue together. Do the same with the other five.
Place each of the fan shapes under the flap near the edge of the bag. Take the three longer pieces and place in the center of the flap.
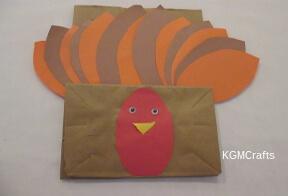
Glue on the head piece to the bag. Glue the beak and eyes to the head.
Hang your bag turkey on the wall for a decoration.
We hope that you and your children have enjoyed making our turkey crafts for kids! I love turkeys as long as they are cute and tasty.
