Adorable Tree Crafts for Kids
by Karen & Grace Morris
Listen, you can almost hear autumn calling when you make these tree crafts for kids. They're colorful. Some may even say they are beautiful. :)
Then again, if you use your imagination, you could come up with something different from trees for fall. Maybe winter, spring, summer, or …
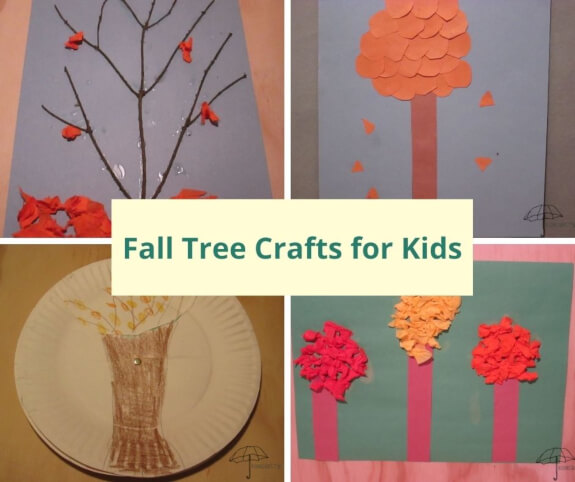
The pictures will take you to the individual tree crafts for kids.
Fall
is Like
a
Second Spring
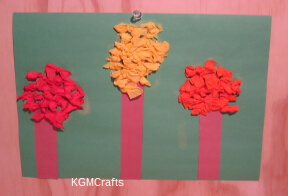
Tissue Paper Tree
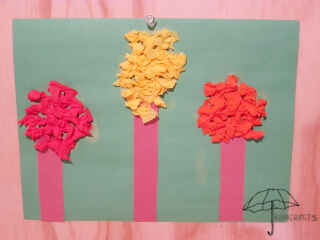
If you make this just right, it will look like the Truffula from the book the Lorax. The Truffula is usually red, orange, yellow, pink, or purple.
You will need;
- A piece of construction paper for the background
- Brown construction paper
- Scissors
- Glue stick
- Red, orange, yellow streamers or tissue paper
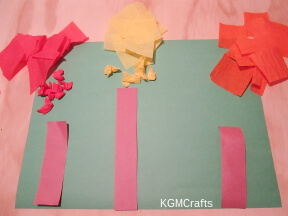
From brown construction paper, cut two rectangles 1 by 4 inches and one rectangle 1 by 6 inches.
Glue the rectangles on the background piece.
Cut approximately 1-inch pieces from the colored streamers.
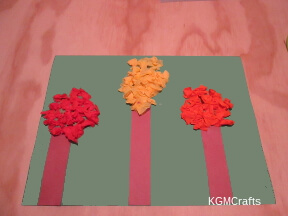
Scrunch the pieces up. Glue the red above a rectangle in a circle formation. Do the same above the other two rectangles with the yellow and orange.
Shape Tree
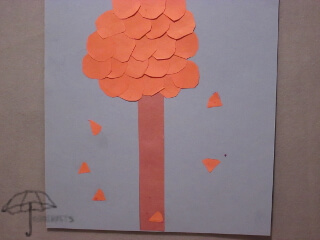
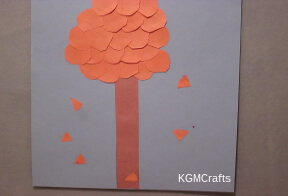
Arrange circles on a rectangle, so it becomes a tree. Use all green for a summer tree, or use fall colors.
You will need;
- Construction paper
- Scissors
- Glue stick
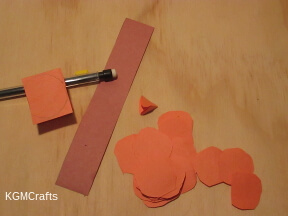
Cut a rectangle for the tree trunk. Fold a 1-inch strip of orange, red, yellow, or brown paper back and forth. Round the edges to make a circle. Cut the circles apart.
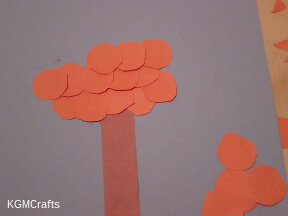
Glue the trunk to the background paper. Glue the circles to the top of the rectangle to make a tree shape.
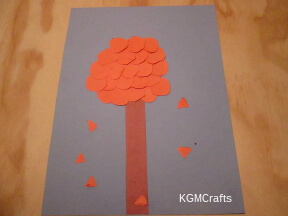
To make falling leaves, fold a circle in half, then fold each side to the center. Cut the pieces apart. They will look something like a piece of pizza. Glue to the background.
Collage Tree
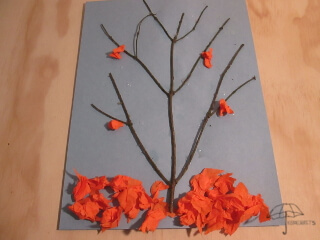
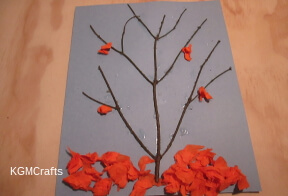
Walk in the woods. Find a branch, then you have the makings of a tree.
Supplies;
- Construction paper
- Tacky Glue
- Heavy book
- Wax paper
- Colored tissue paper
- Scissors
- For winter use cotton and snowflake stickers.
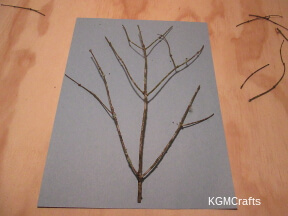
Go outside and find a small branch. Mine came from a fir tree.
Place the branch on the background piece. With scissors, trim off any pieces that go beyond the paper.
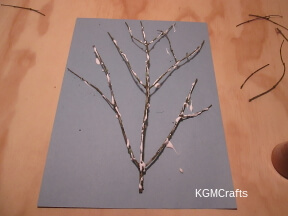
Place tacky glue on the branch. Turn the branch over and place on the paper. Cover the branch with wax paper and a heavy book. Let the glue dry overnight.
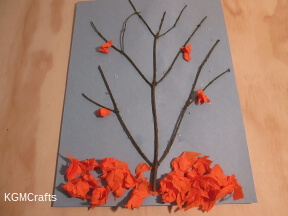
In the morning, take off the book and wax paper. To make a fall tree, cut pieces of tissue paper and scrunch up. Glue some to the branches. Make a pile of tissue paper leaves on the bottom of the paper.
Most of the tree crafts for kids are for autumn. Here is one that you can make for winter.
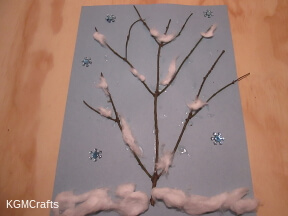
To make a winter tree, pull some cotton from a cotton ball and glue to the branch. Add some snowflake stickers.
A Tree for Every Season
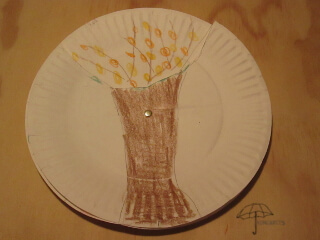
You can tell the season by what color leaves are on a deciduous tree.
Supplies;
- 2 paper plates
- Color crayons, markers, or pencils
- Scissors
- Brad
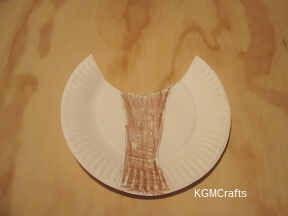
Fold each plate in fourths. On the first plate, draw a trunk shape from the center to the bottom. Cut a circular shape 3 1/2 by 6 1/2 on the top of the trunk.
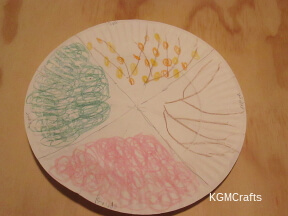
On the second plate, make a line on the fold marks. Color one-fourth pink for spring. One-fourth green for summer. On the next section, draw tree branches and add yellow and orange circles for autumn. On the fourth part of the plate, make tree branches for winter.
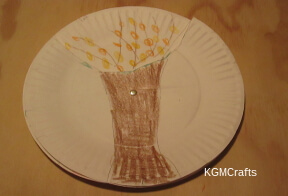
Stack the two plate together. Secure with a brad in the center.
Pipe Cleaner Tree
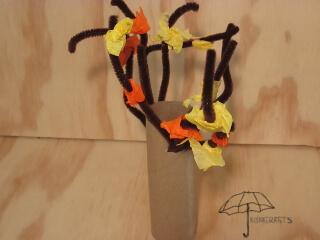
Remember, art is the tree of life.
What you will need;
- Five brown pipe cleaners
- Paper towel roll
- Fall color tissue paper
- Glue stick
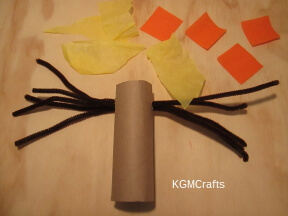
Cut the paper towel roll so that it stands five inches tall. Poke two small holes in the sides of the cardboard tube so that they line up.
You will not need to cut your pipe cleaners. Slide one end in the hole in the cardboard roll. Then slide the other end of the pipe cleaner in the other hole. Do the same for all the pipe cleaner.
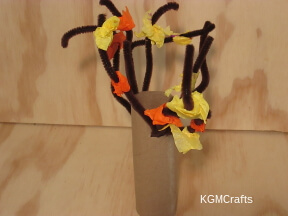
Blend the pipe cleaners in different directions so that they look like tree branches.
Cut small pieces of tissue paper. Crumple it into a ball. Glue various pieces onto the pipe cleaners to make leaves.
Fall trees are beautiful with their orange, red, and yellow leaves. Later when the leaves fall it is fun to jump in piles of the leaves.
You can also try to make this tree in other colors. Then you would have tree crafts for kids for each season.
You could use green tissue paper for summer or pink for spring. For winter, use sparkly white pipe cleaners for winter. You could even try to make a pipe cleaner Christmas tree! Have fun!
Easy tree crafts for kids that preschoolers will like to make.
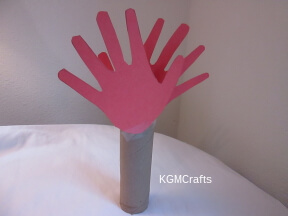
The Clapping Hand Tree
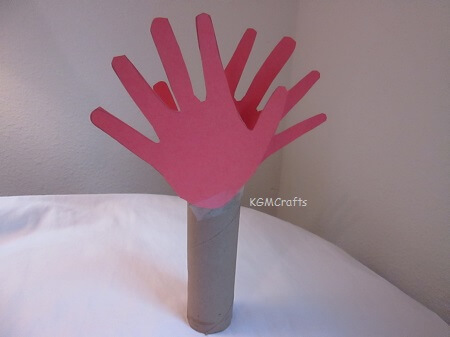
You can almost hear music with this clapping tree!
What you need;
- A paper towel roll
- Fall color construction paper
- Tape
Trace your child's hand on construction paper. You will need a print of each hand. Cut the handprints out. I recommend this craft for younger children because you want small hands. If your older child would like to do this craft, have him cut his handprints a few sizes smaller.
Cut the paper towel roll so that it is 5 1/2 inches tall. The rings in the tree tell you how old it is. Whoops, we are to cut a paper towel roll not a tree, so we can’t count the rings.
Tape your handprints to the top of the paper towel roll. You will want the hands to face left and right at an angle. This will give an optical illusion that you are seeing a whole tree.
Apple Tree
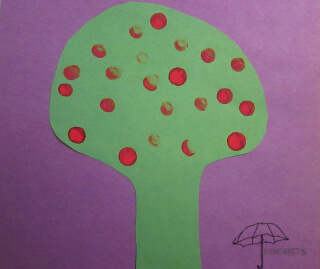
The apple doesn't fall far from the tree.
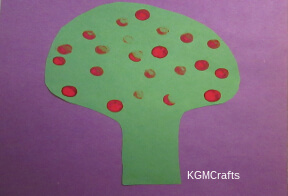
All you need is construction paper, glue, and red paint.
Cut a mushroom shape from green construction paper. Glue to a background piece.
Give your child a small amount of washable red paint. Have him make apples on the tree by dipping his finger in the paint and making a dot on the tree.
Just like Johnny Appleseed, your child cannot stop at one tree crafts for kids. :)
Fall is a beautiful, colorful time of the year. With tree crafts for kids, you can bring the beauty of the season into your home.
