It is Raining Reindeer Crafts for Kids
by Karen & Grace Morris
Well, it should be snowing! Shouldn't it? That's why we make reindeer crafts for kids so that Santa can drive his sleigh. Well maybe not. We need to decorate the tree, table, and wall with cute items to make our house look festive.
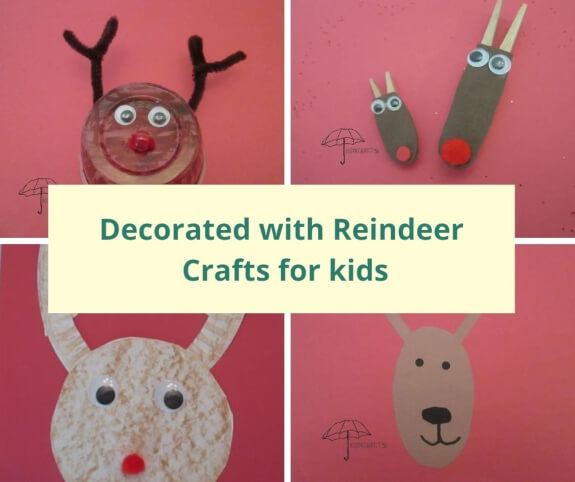
The pictures below will take you to the individual reindeer crafts for kids.
Then again, maybe we just need to keep the kids entertained so that we can get the dinner done.
By the way, the crafts below are easy and fun.
Help Santa
by making
these cute
reindeer crafts
for kids
Clothespin Reindeer
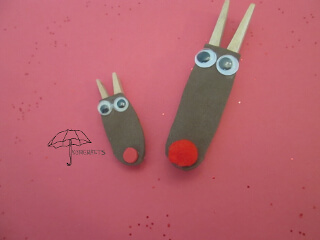
You will be a dear when you give either a pin or magnet. Don't you think that your teacher would love one of these reindeer crafts for kids?
You will need;
- Clothespins small or large
- Brown and red craft foam
- Wiggly eyes
- Hole punch
- Tacky glue
- Magnet or Pin back
- Pompom if you use a large clothespin
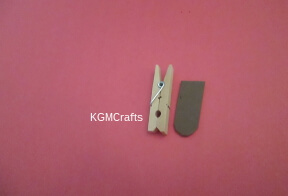
Cut a rectangle that will fit the side of the clothespin to the metal spring. With scissors round one end of the rectangle. The small clothespin uses a piece 1 1/2 inches long and 1/2 inch wide. The regular size uses craft foam 2 1/4 inches long and 3/4 inch wide.
Glue the craft foam to the clothespins.
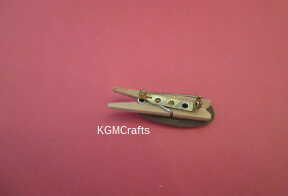
With hot glue, add a pin back to the small one.
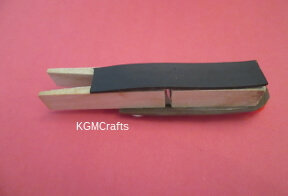
Or glue the magnet to the back of the larger clothespin.
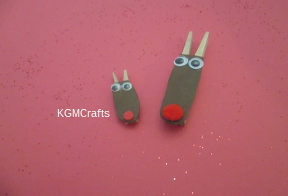
If you are using the small clothespin, make a circle with a hole punch. Glue the circle for the nose.
For the larger clothespin, glue a red pompom near the rounded end for a nose.
Glue on wiggly eyes near the top of the brown craft foam.
The next two reindeer crafts for kids will look nice on your Christmas tree.
Candy Cane
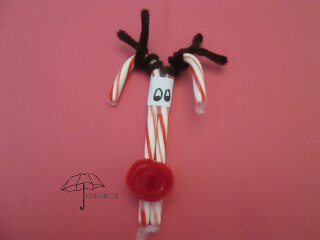
Oh, a yummy Christmas treat. :)
You will need;
- 2 candy canes
- Two brown 12 inch pipe cleaners
- One red 12 inch pipe cleaner
- Label
- Tape
- Black permanent marker
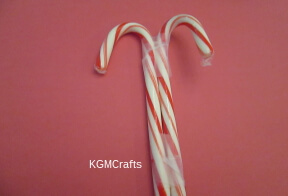
Tape the two candy canes together near the bottom and top. You will want the curves facing out.
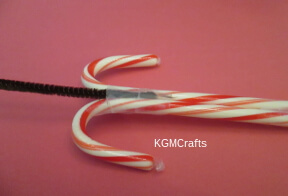
For horns, place one end of a pipe cleaner under the tape near the curve of the candy canes.
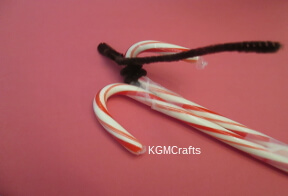
Wrap the pipe cleaner around the top three times. Then bend the top of the pipe cleaner down about 1 inch from the candy cane. Wrap the end around the candy cane and the pipe cleaner to make the second horn. Make horns on the other candy cane the same way.
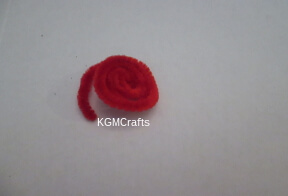
Make a circle with the red pipe cleaner. Leave about a 1-inch tail. Slide the tail under the tape and between the two candy canes at the bottom. Make a circle of tape and tape the nose piece in place.
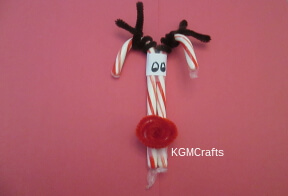
Draw the eyes on the label with the black marker. Stick the label on the tape near the top of the candy cane.
Fruit Container Deer
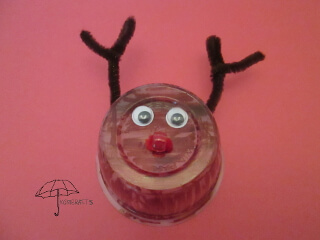
Eat lots of yummy fruit so that you can make several of these.
You will need;
- Empty individual fruit container
- Brown permanent marker
- 3 inch red pipe cleaner
- Red bead
- 12 inch brown marker
- Wiggly eyes
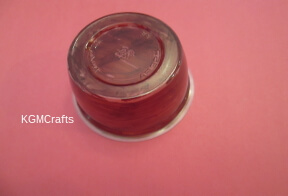
With brown marker, color the outside of the fruit cup.
Parents should help with poking holes. With a nail, poke two small holes in the bottom of the cup near the triangle recycle symbol. You want it large enough for the ends of the pipe cleaner to go through.
Also, make two holes in the side of the cup about 2-inches apart.
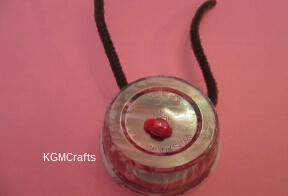
Thread a bead on the 3-inch pipe cleaner. Thread the ends of the pipe cleaner in the holes of the cup.
Thread the ends of the 12-inch pipe cleaner in the holes on the side of the cup.
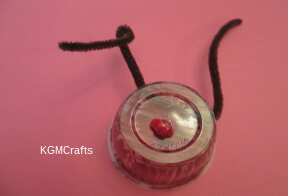
Bend the ends of the pipe cleaner down about 2 inches.
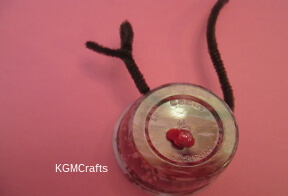
Twist the end around the pipe cleaner. Fold the end down to make the second horn. Do the same on the other side.
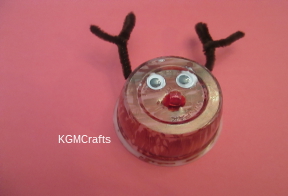
Glue on wiggly eyes.
Make a hole near the rim of the cup so that you can hang your deer on the Christmas tree.
Toilet Paper Roll Reindeer
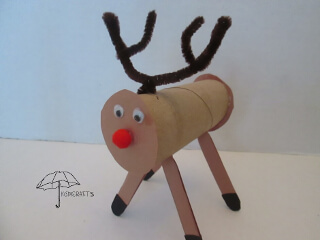
Santa Claus’ sled was pulled by eight reindeer. You could make nine reindeer crafts for kids if you also want to add in Rudolph. (I made mine with a red nose. In the story, Rudolph was the only one to have a red nose. So you can make them with a black nose if you want.)
You will need;
- 1 toilet paper roll
- 4 Popsicle sticks
- 12-inch brown pipe cleaner
- Pieces of brown and black paper
- 2 wiggly eyes
- 1 red or black small pompom
- White glue
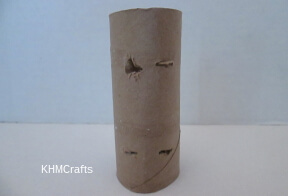
To be safe, have a parent help you with this step.
With your scissors cut four slits on the bottom side of your toilet paper roll. You will want the holes to be near the center. Make the holes big enough to be able to fit the sticks in.
Also, make two slits in the top side of your paper roll, make the holes near the front of the toilet paper roll. You will want it big enough to fit the pipe cleaner.
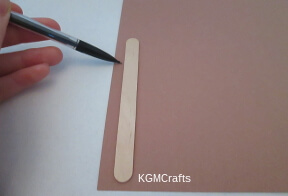
Trace brown paper to fit your Popsicle sticks. You will want to cover both sides of each stick, so you will want to cut out eight pieces.
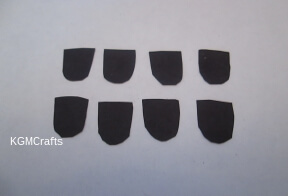
Also, cut out eight 1/2 inch long pieces of black paper that are rounded at the bottom to make hooves.
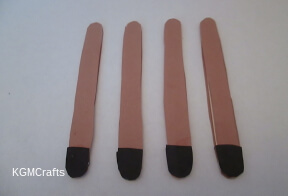
Glue all your pieces to the Popsicle sticks.
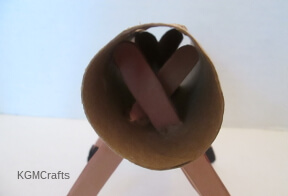
Stick your Popsicle sticks in the four slits you made in the toilet paper roll. They cross each other in the center, so your deer can stand.
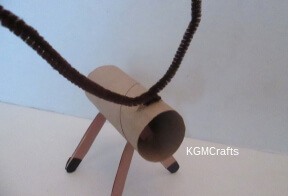
Take your 12-inch pipe cleaner and stick it in the two slits that you made at the top of the cardboard roll. Twist the two end of the pipe cleaner together at the hole.
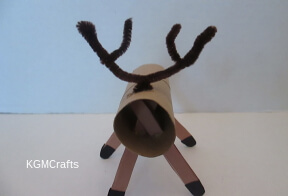
Fold about 1 inch from each end to make horns.
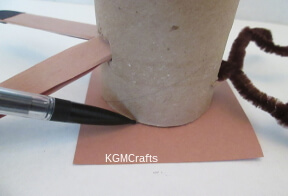
Trace the bottom of the toilet paper roll on brown paper. You will want to make it a little bigger than the hole in the cardboard roll. Cut out two of them. Place glue around the rims of both ends of the toilet paper roll. Place a piece of paper on each end.
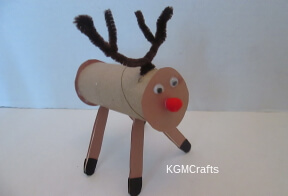
Glue the wiggly eyes and pompom nose on the brown paper near the horns.
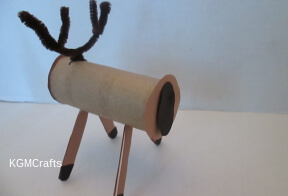
Cut out a small oval out of black paper to make a tail and glue to the other end. Let dry, then your reindeer is ready to pull the sled.
Easy Reindeer Crafts for Kids
Reindeer crafts for kids that your preschooler can help make.
Paper Shapes
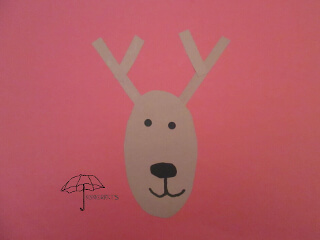
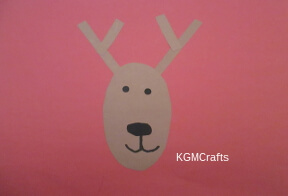
Cut an oval and some rectangles and voila you have a reindeer.
Supplies;
- Brown, Black, and Red paper
- Black marker
- Hole punch
- Glue stick
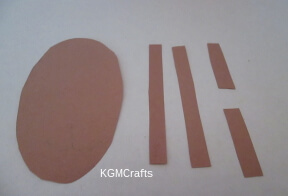
Cut out a large oval out of brown paper for the head. Also, cut two brown long-slender rectangles and two shorter ones for the horns.
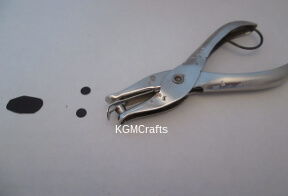
Cut out a large oval out of brown paper for the head. Also, cut two brown long-slender rectangles and two shorter ones for the horns.
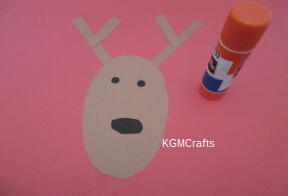
Glue your shapes on red paper.
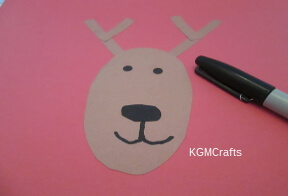
Make a mouth on the head under the nose with your marker
Paper Plate Deer
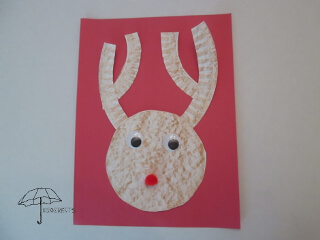
Don't use all of your paper plates for Christmas cookies. Make this craft instead.
You will need;
- Paper plate
- Brown crayon
- Scissors
- Glue stick
- White glue
- Pompom
- Large wiggly eyes
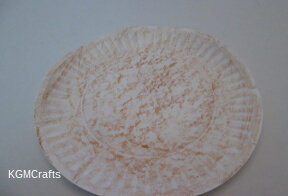
Color the plate brown. I used the side of the crayon.
Cut off the rim of the plate.
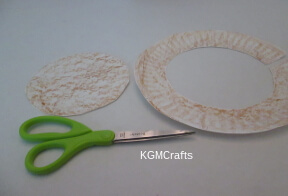
Cut off the rim of the plate.
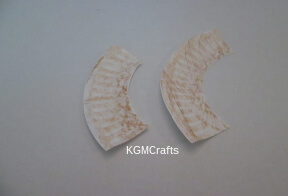
Cut a piece about 5 1/2 inches and another piece about 5 inches.
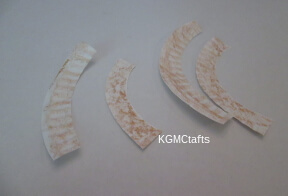
Cut the pieces in half.
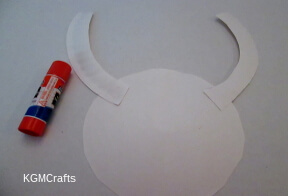
Glue the longer pieces to the circle you cut from the plate.
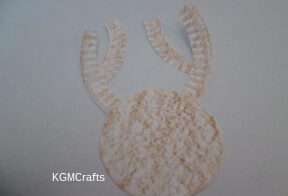
Glue the shorter piece to the top of one of the pieces you just glued on. Do the same for the other side.
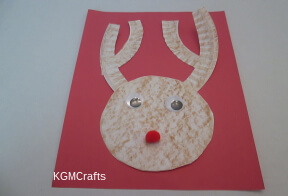
Add a pompom for the nose.
Add wiggly eyes.
Glue the reindeer to a piece of construction paper.
More Reindeer Crafts for Kids
Hope your house is being filled with cute reindeer crafts for kids.
Treat Container
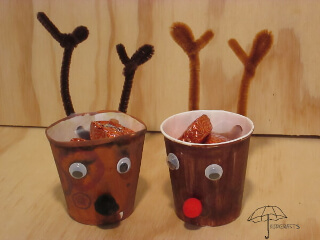
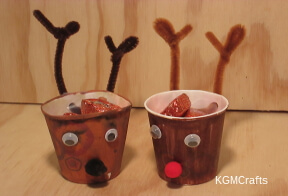
Make reindeer crafts for kids for your next Christmas party.
you will need;
- Paper cups the 3 ounce ones make cute individual party favors
- 12-inch pipe cleaner
- Wiggly eyes
- Small pompom
- Brown paint or marker
- Hole punch
- Tacky glue
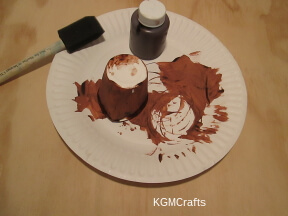
Paint the outside of the cup brown. I found that using a marker covered the cup better.
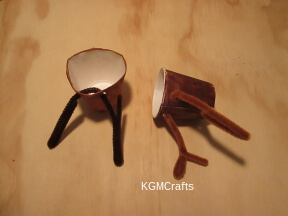
With a hole punch, make two holes about 1 inch apart.
Thread a pipe cleaner through the holes. Bend the ends down toward the cup. Then bend the end back up to the center and twist to make horns. Do the same to the other side.
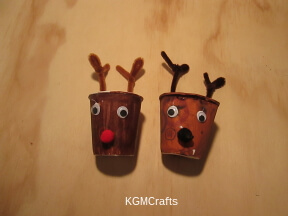
With tacky glue, add the eyes and pompom. I found that if I used tacky glue, the eyes stayed in place.
Fill with treats.
The next two reindeer crafts for kids use inexpensive craft sticks.
Craft Stick Reindeer
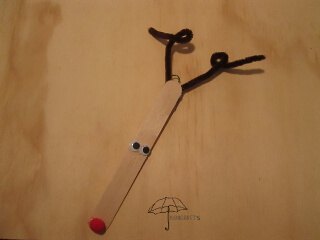
A cute deer that will decorate your tree.
Supplies;
- Jumbo craft stick
- 12-inch pipe cleaner
- Christmas hook
- wiggly eyes
- Pompom
- Hot glue
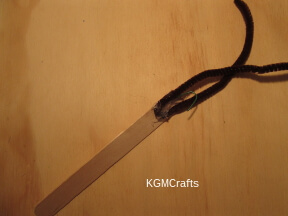
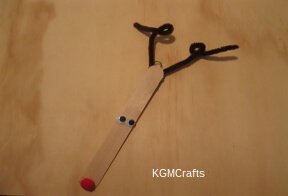
Glue the Christmas hook on the back of the craft stick. Fold the pipe cleaner in half and glue to the stick.
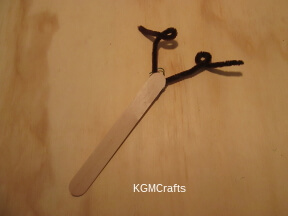
Bend the pipe cleaner to make horns.
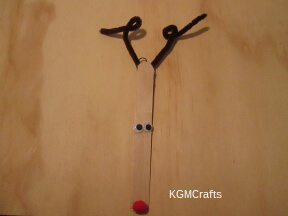
Turn the craft stick over and glue on eyes and a pompom nose.
Yarn Deer
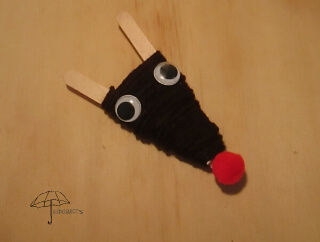
He is all wrapped up like a present.
You will need;
- Two Popsicle sticks
- Tacky Glue
- Brown yarn
- Pompom
- Wiggly eyes
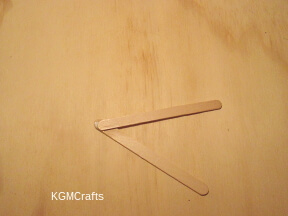
With tacky glue, glue the Popsicle sticks together at an angle. Let dry.
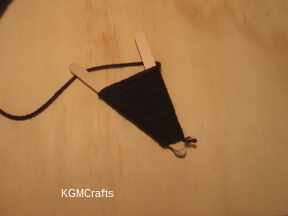
Place the end of the yarn between the two sticks. Start just above the point of the two stick, wrap the yarn around the outside of the two sticks. Leave approximately 1 inch of the sticks unwrapped.
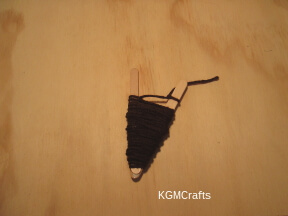
Wrap around one stick and tie. Wrap around the other stick and tie into a knot.
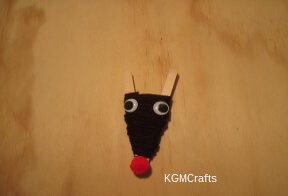
Glue a pompom where the two sticks meet. Glue wiggly eyes on the yarn just below each stick.
We know about Dasher, Dancer, Prancer, Vixen, Comet, Cupid, Donner, and Blitzen, We have heard the story about Rudolph. We also know that they probably did not fly. But did you know that the people of Russia used real reindeer to ride on, and even have used them to pull their sleds? So you can still make a reindeer craft for kids for Santa Claus to use.
