Renewing Family Fun with
Preschool Easter Crafts
by Karen & Grace Morris
The long winter is over and it is a time for renewal. Bunnies are born, chicks hatch from eggs and it is time to think of the cross. A time to make Preschool Easter Crafts.
Click the pictures to take you to the individual preschool Easter crafts.
Don't worry, the projects are simple and only require a few supplies. Your young child will be happy creating these cute items.
Baby Bunnies
Fuzzy Chicks
New Beginnings
Springtime Fun
Happy Easter
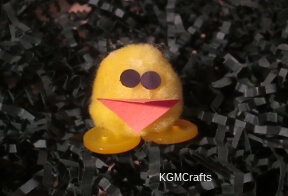
Cutey Pie Chick
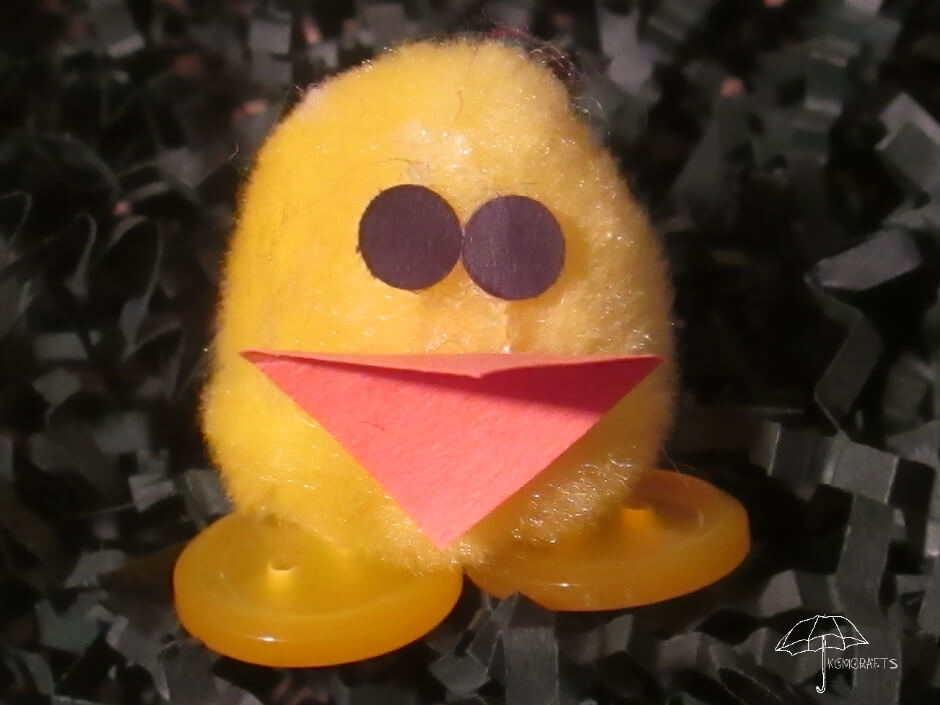
Peep, Peep, little balls of fluff. Don't they look cute?
You will need;
- 1 small yellow pompom
- 2 18mm yellow buttons
- Orange and black paper
- Tacky glue
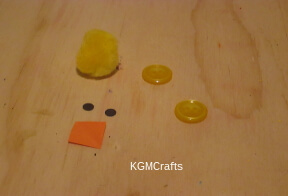
With orange paper, cut out a tiny square. Fold it in half diagonally. This will be the beak.
With a hole punch, punch two black circles for eyes.
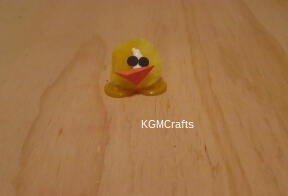
Glue everything to the pompom. Place the two buttons on the bottom of the pompom for feet. The beak and eyes at the top center.
Let everything dry.
Make thousands of them to create your baby chick army!
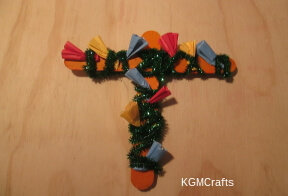
Flower Cross
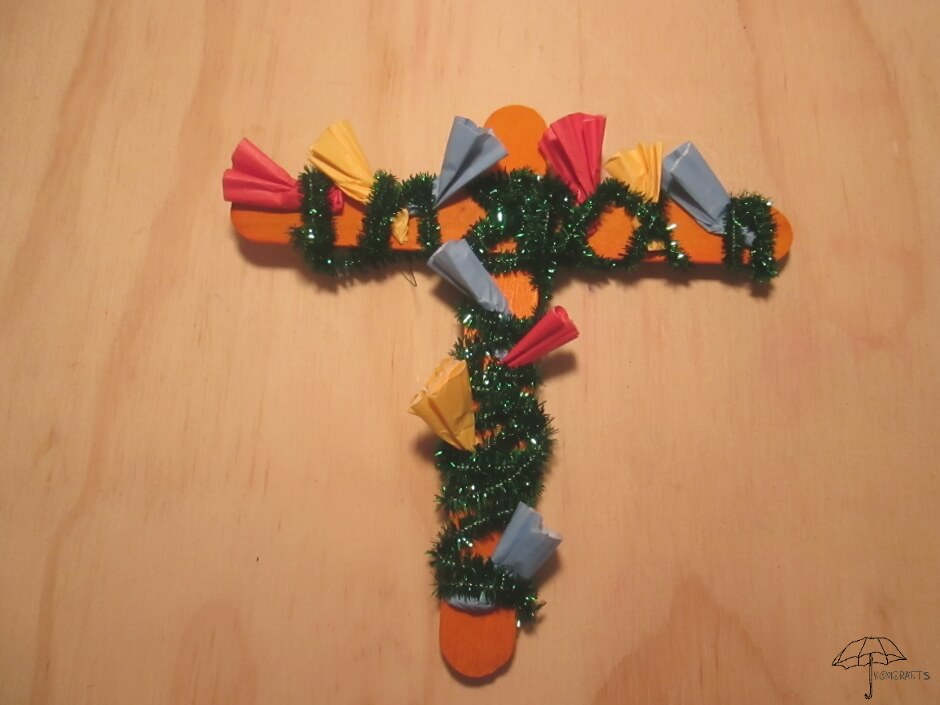
Some people on Easter like to place flowers on the cross.
Supplies;
- 2 jumbo craft sticks
- 6 sparky green 12-inch pipe cleans
- 10 Mini cupcake liners (in flower colors)
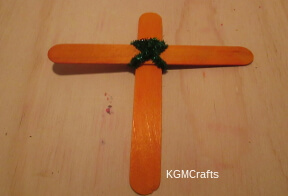
Hold your two craft sticks in a cross shape. Take one of your pipe cleaners and twist it around the center of the two craft sticks so that they stay together.
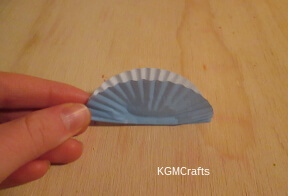
To make the flowers, take one of the colored cupcake liners and fold in half. Fold in half again.
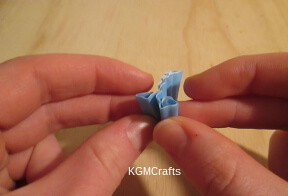
Roll each end in a different direction. Twist the bottom end, so the flower doesn't unravel.
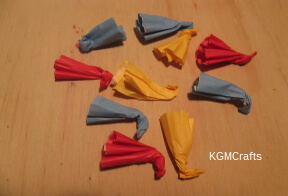
Repeat the step above to make several flowers.
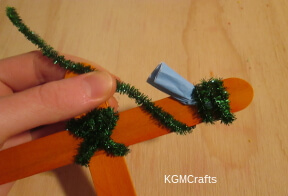
Take another pipe cleaner and start wrapping it around an end of the craft stick. Attach the flowers by wrapping the pipe cleaner around the end of a flower and the craft stick.
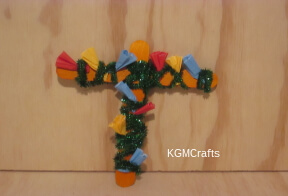
Do both arms and the bottom of the cross.
A Tall Easter Bunny
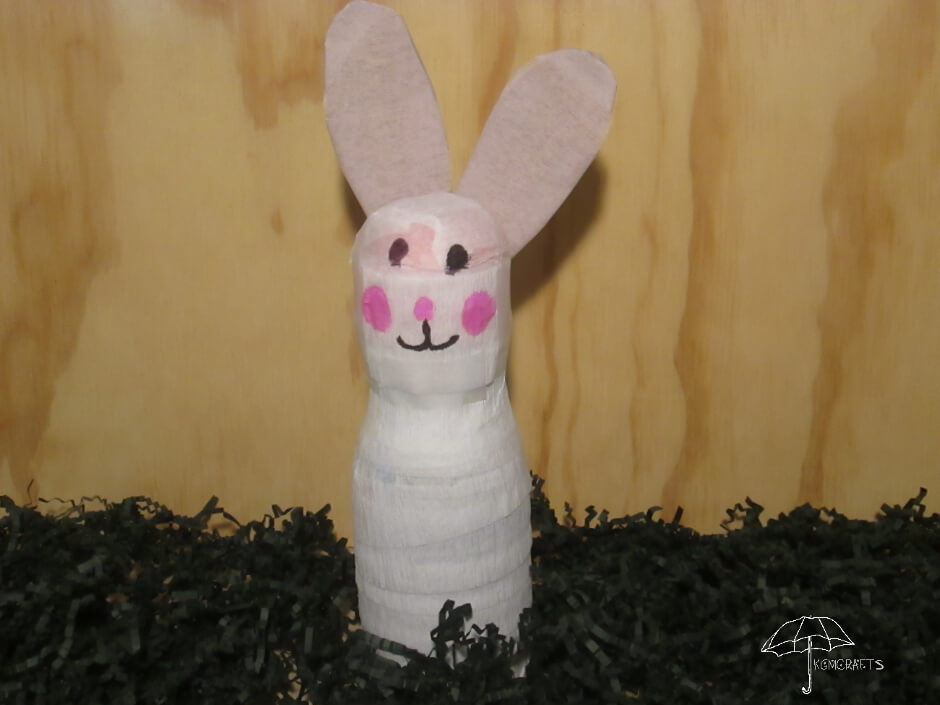
Fluffy white and pink bunny. Hmm, I wonder what he has to hide?
You will need;
- A 16 fl oz empty coffee creamer container
- White and pink streamers
- Cereal box
- Tape
- Black and pink markers
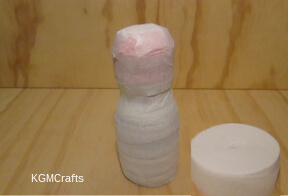
Take your container and wrap the whole thing with the white streamer. Tape the ends of the steamer. Also, cover and tape more white streamer all over the lid.
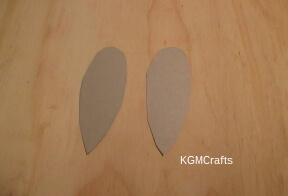
Out of the cereal box, cut two pointed ovals that are approximately 4 1/2 inches long and 1 1/2 inches wide for the rabbit's ears.
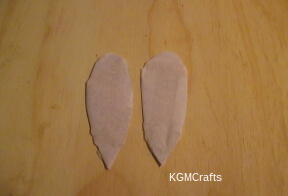
Cut two pieces of the pink steamer and tape them on the ears.
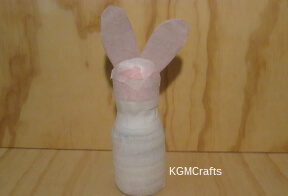
Hold the ears crosswise and overlapping each other at the top of rabbit and tape.
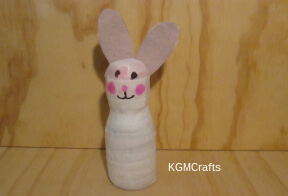
Draw a face with your pink and black markers.
Paper Plate Preschool Easter Crafts
Cross
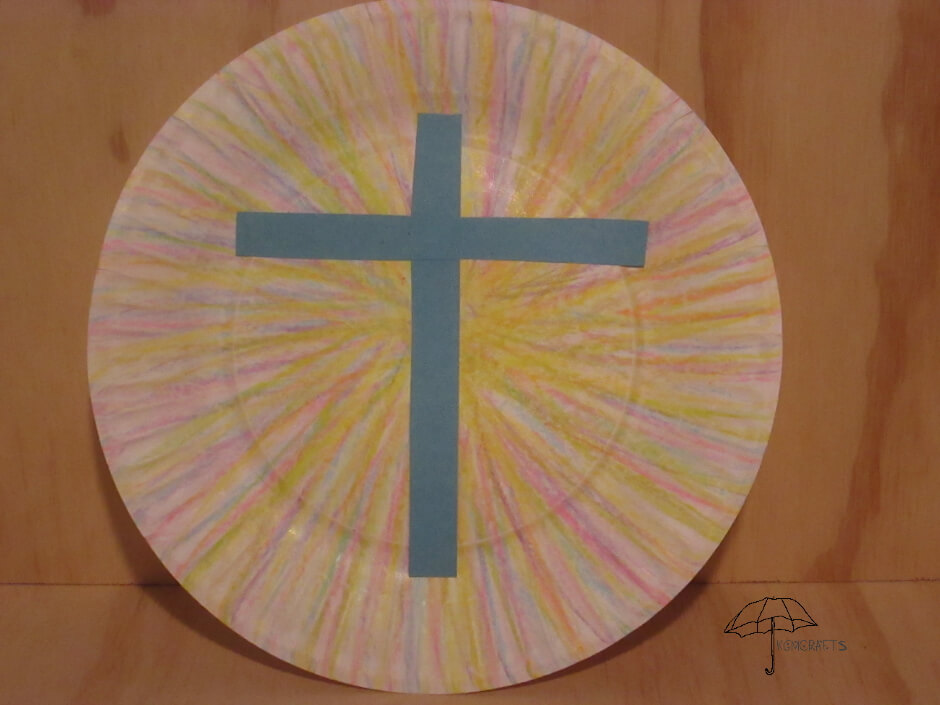
Crosses are a Christian symbol that reminds us of renewal and rebirth.
Supplies;
- Construction paper
- Paper plate
- Color crayons
- Scissors
- Glue stick
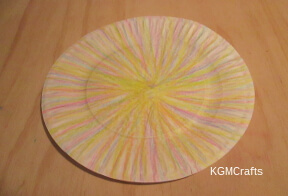
Have your child draw lines using pastel colored crayons on the paper plate. Make sure that the whole plate is covered.
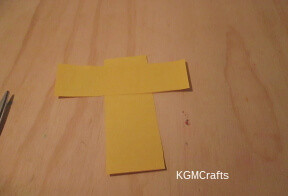
Give your child a 6-inch square piece of colored paper. Have him cut two strips approximately the same width. One should be longer than the other.
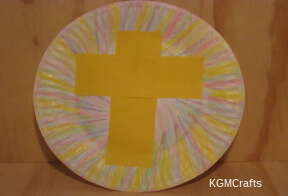
Glue the strips to the paper plate to make a cross.
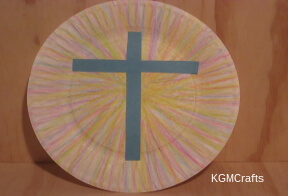
The paper strips can be thick or narrow.
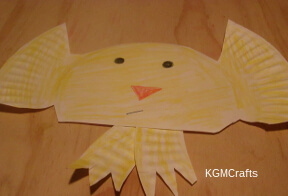
Baby Chick
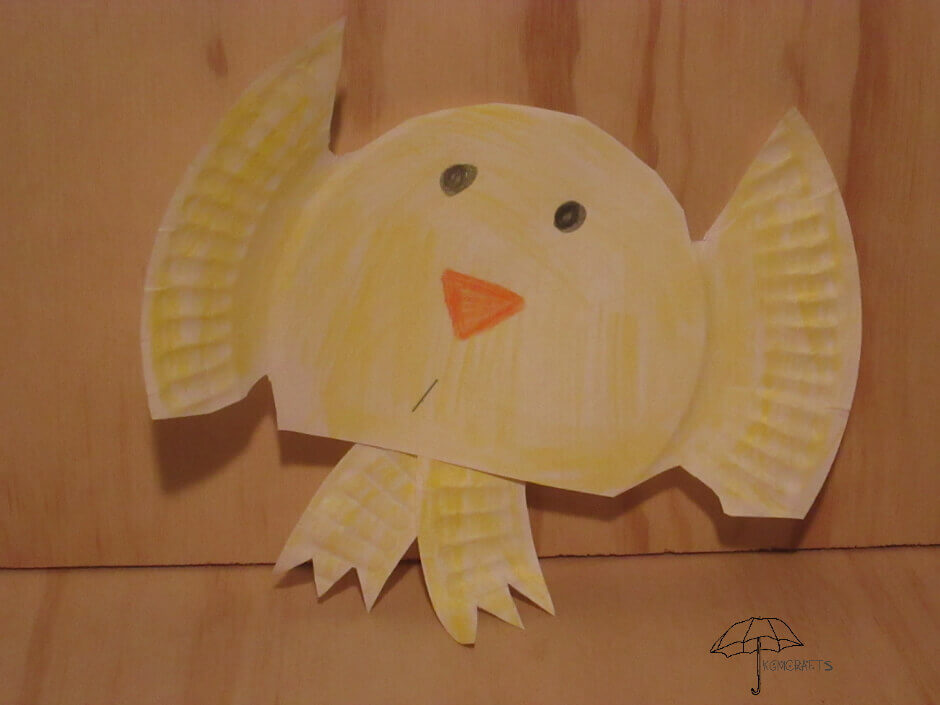
Cluck, cluck! Big and round and low to the ground. He is cute and adorable.
You will need;
- Paper plate
- Colored pencils or crayons
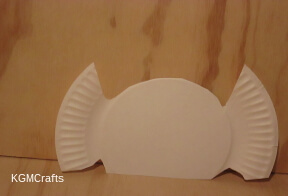
Cut the rim off the bottom so that it is square. Cut the rim off the top. Leave 5 inches on the sides for the wings. Make the tops of the wings pointy.
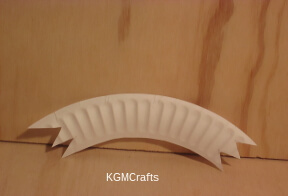
From the rim cut a 6-inch piece. On each end of the piece, cut three triangles for your chick's toes. Fold the piece in half diagonally, so that you have two feet.
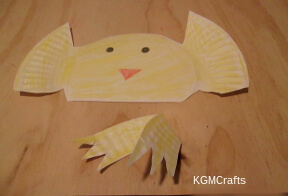
Color your chick and the legs with a yellow colored pencil. Draw an orange triangle in the center. Also, draw two black circles for eyes.
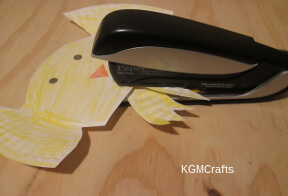
Staple the legs to the bottom of the paper plate.
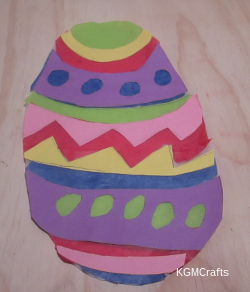
Laced Up Egg
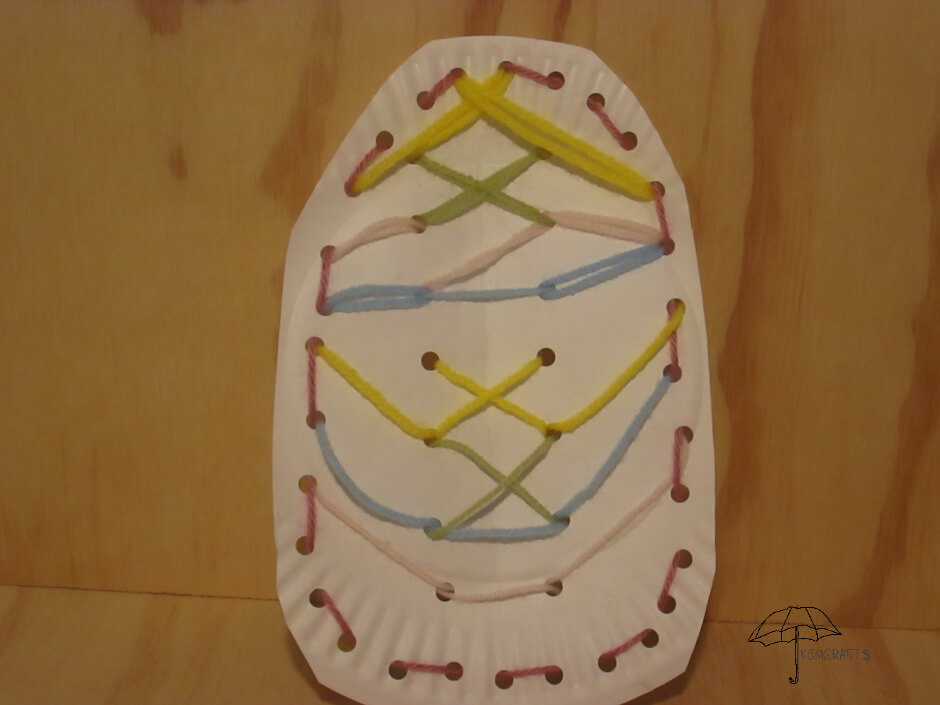
What came first, the chicken or the egg?
Supplies;
- Paper Plate
- Scissors
- Hole punch
- Yarn or ribbon
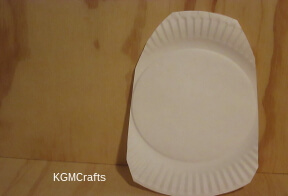
Cut the sides off a paper plate. Cut the top a little so that it is smaller than the bottom, like an egg.
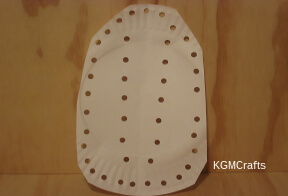
Hole punch around the edge.
Fold the egg in half. Punch some holes in the center.
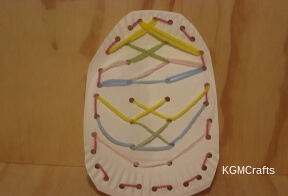
Cut pieces of yarn or ribbon.
Thread the yarn or ribbon through the holes. Make crosses and zigzag lines.
Sew around the edge of the egg.
Tip; Tape one end of the yarn to the back of the plate so that it does not slip through the hole.
Painting Preschool Easter Crafts
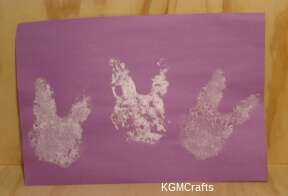
The Bunny Hop Craft
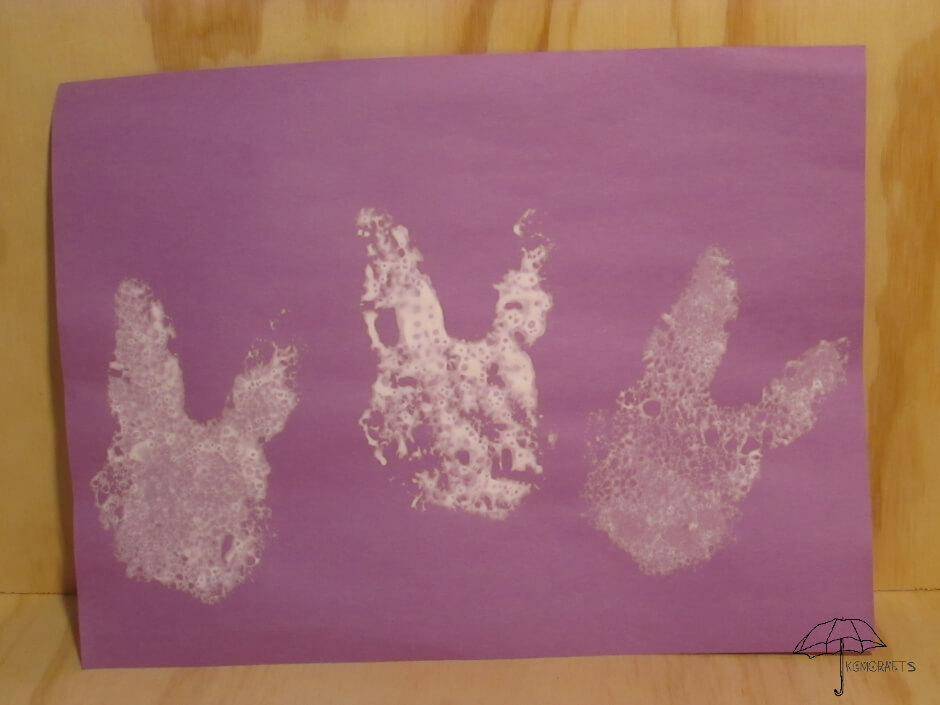
“Can you hop like a bunny? Can you hop over the moon? Let's go dancing tonight, there's room for you. Then let's go painting, here's a sponge. All you need is to sing a tune.”
Supplies;
- Sponge 4.7 x 3 x .6 inch
- White paper
- Marker
- Scissors
- Newspaper or something to cover your table
- Paper plate
- White washable paint
- Construction paper
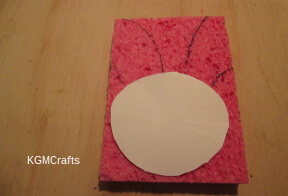
Cut a 2 1/2 inch circle from white paper. Place the circle on the bottom of the sponge. Use the circle to round the bottom.
From the top of the circle, draw curved lines to each top corner for the ears.
The drawing should look like a head of a bunny.
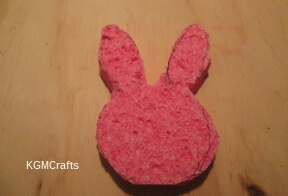
Cut the shape out.
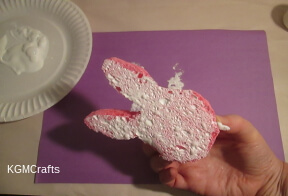
Cover your work surface with newspaper. Give your child a piece of construction paper. Pour a glob of paint on a paper plate.
Have your child dip the bunny sponge in the white paint.
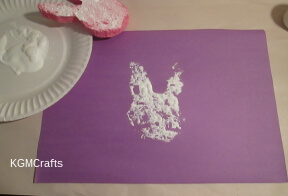
Place the painted side on the construction paper.
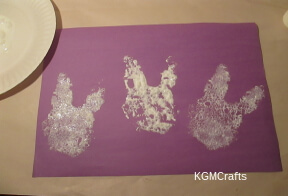
Make another bunny. Let your picture dry.
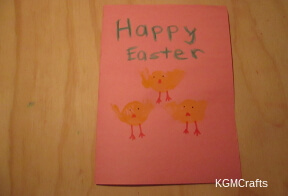
Baby Chicks
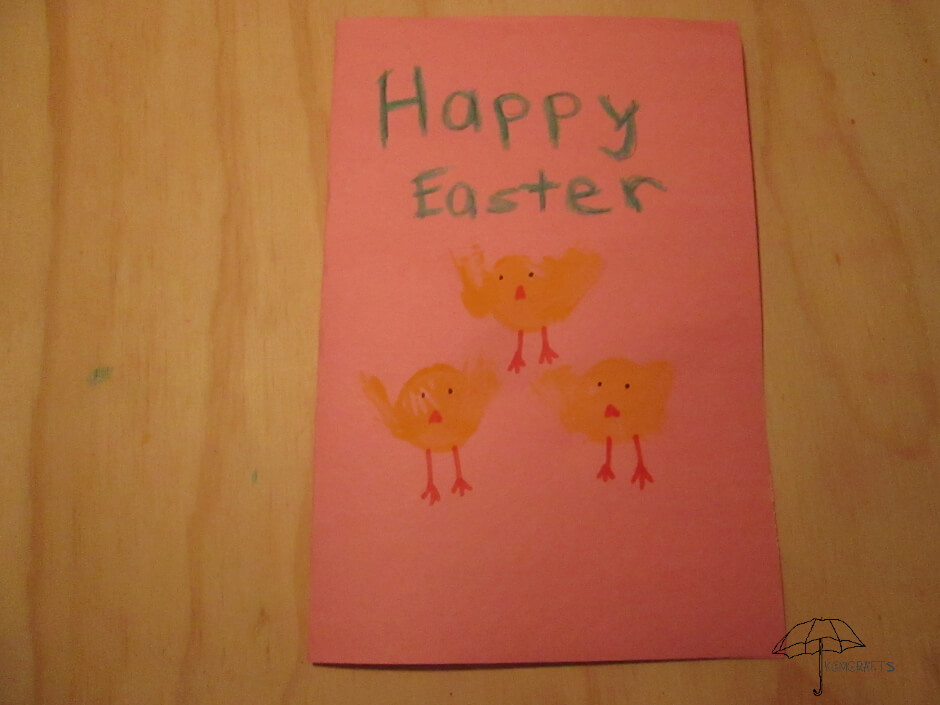
Aww! See the baby chicks? They are a symbol of springtime and new birth.
You will need;
- Newspaper or something to cover your work surface
- Construction paper
- Washable yellow paint
- Paper plate
- Bottle cap
- Marker
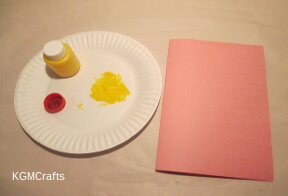
Cover the work surface with newspaper. Pour a small amount of yellow paint on a paper plate.
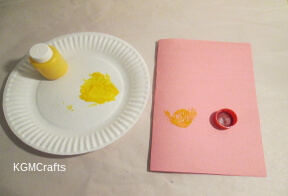
Dip the top of the bottle cap in the yellow paint. Use it like a stamp on the folded construction paper.
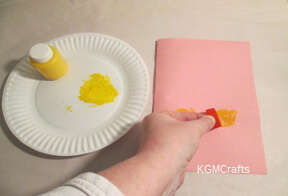
Dip the side of the bottle cap in yellow paint. Use it on the sides of the circle for the wings of the chick.
Let everything dry.
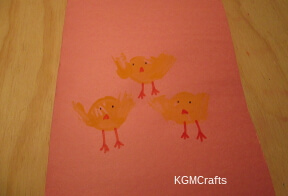
With markers, draw on legs, eyes, and a beak.
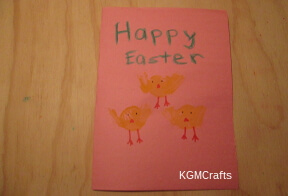
Now you can write “Happy Easter” on the front to make a card to give to someone you love. For a young child, write the words in pencil so that they can write over it with crayon.
This is not the end! No, really this is the beginning. Preschool Easter crafts can bring renewal in both your and your kid's lives. To take a break from our busy lives and to renew ourselves and grow. To spend time with one another and create.
