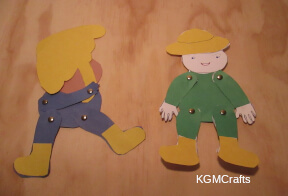
Easy Paper Crafts for Kids
by Karen & Grace Morris
Roll it, fold it, dippy glue, paper crafts for kids that are easy to do. So gather some colored copy paper, scissors, and maybe some glue. Today, the kids can make cards and other fun and cute stuff.
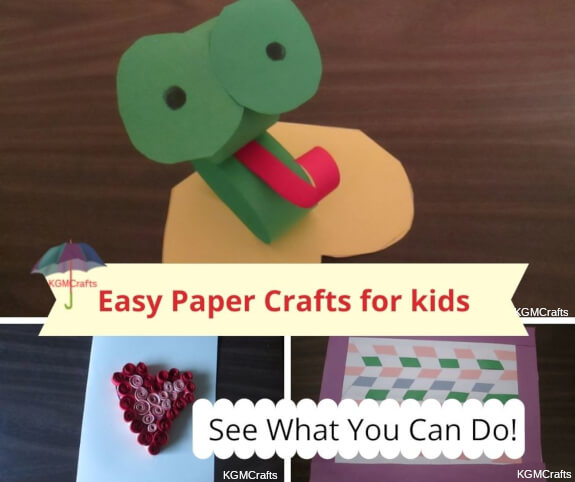
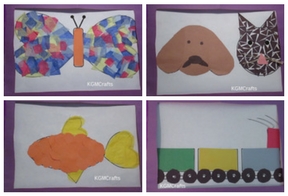
Click the pictures below to take you to the individual paper crafts for kids on the page.
Animal Paper Crafts for Kids
You probably have decorated your Christmas tree with paper chains. Do you know that you can use the same process to make cute animals? Here are three paper crafts for kids that will brighten your day.
Bunny
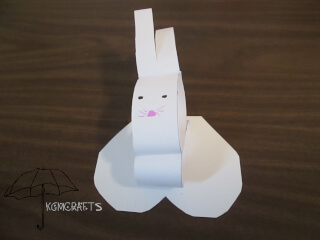
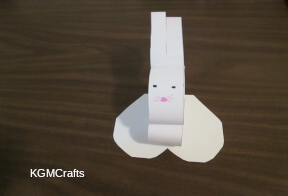
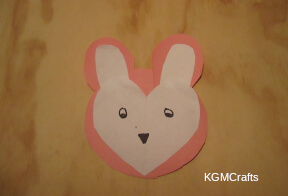
Here is a cute Easter decoration. Let's hop to Easter and make this cute little bunny.
Supplies;
- White paper
- Scissors
- Glue stick
- Markers
- Card stock
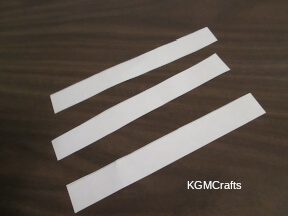
Cut three strips, 1 1/4 by 8 1/2 inches.
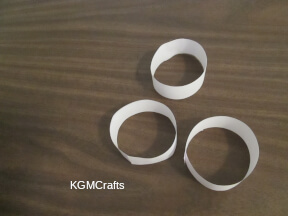
Bring the ends together so that they make a ring, then glue.
Glue two of the rings together.
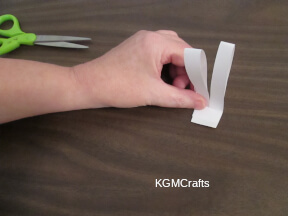
Fold the third strip in half. Cut a 6-inch line down the center of the strip.
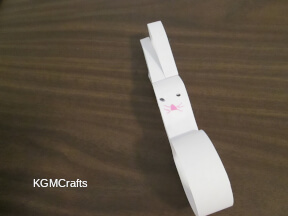
Glue the rings together to make the bunny. Draw eyes and a nose.
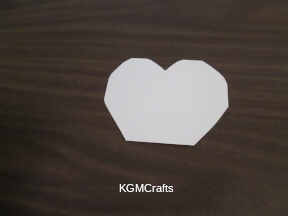
To make the base, cut a 5 1/2 by 4 1/2 inch rectangle from card stock. Draw a heart shape that is not too pointy in the back.
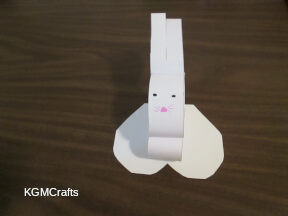
Glue the bottom ring to the base so that your bunny can stand.
Bird
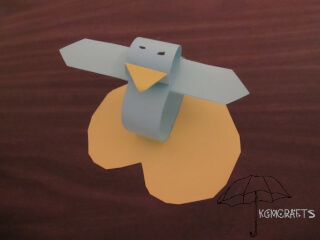
Fly away!
You will need;
- Blue paper
- A scrap of white or yellow paper for the beak
- Scissors
- Glue stick
- Makers
- Card stock
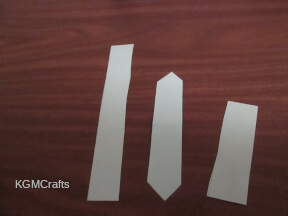
Cut three strips of blue paper 1 1/4 by 8 1/2 inches.
Cut a 1 1/4 by 6 1/2 inch piece of blue paper.
Then cut 3/4 inch square from white or yellow paper. Fold the square diagonally to make a triangle for the beak.
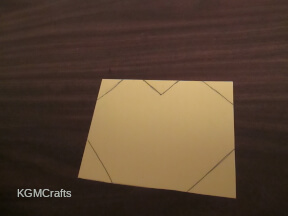
Make a base similar to the bunny. Cut a 5 1/2 by 4 1/2 inch piece of yellow card stock and make feet on one side.
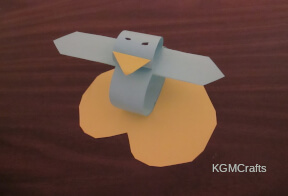
Glue one strip together into a ring.
Cut another strip in half. Fold it into a ring, then glue it.
Glue the smaller ring on top of the larger one.
Fold the third strip of paper in half and cut the corners off the ends.
Glue the strip inside the body piece under the head.
If you used yellow paper to make the beak, glue it on near the bottom of the head. Or color your beak yellow with a marker. Then glue it on.
Add eyes with a black marker.
Frog
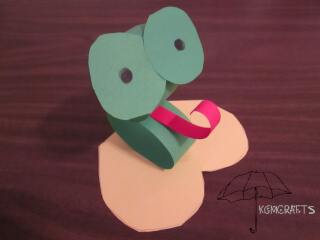
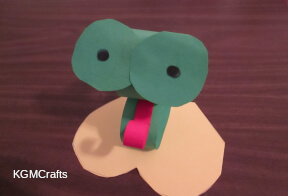
A frog for your lily pad.
Supplies;
- Green paper
- A scrap of red paper
- Scissors
- Glue stick
- Marker or wiggly eyes
- Card stock
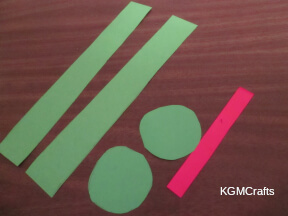
Cut two strips of green paper 8 1/2 by 1 inch. Also, cut two circles 2 inches in diameter.
Cut a red strip of paper 4 1/4 by 1/2 inches.
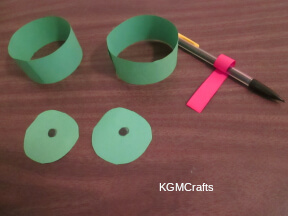
Wind one end of the red strip around a pencil to make the tongue.
With a black marker, make a dot in the center of the green circles for eyes.
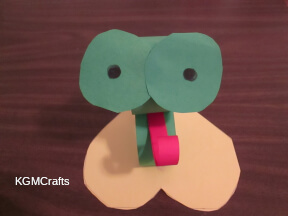
Glue the ends of the green strips together.
Glue the tongue between the two green rings.
Then glue the circles to the center of the top ring.
Glue the bottom of the frog to the card stock.
Quilling Paper Crafts for Kids
Quilling is the art of rolling paper. Usually, you would do it with 1/8 inch wide paper strips. Though, it is easier for kids to use strips between 1/2 inch or 1 inch wide and use a paintbrush for a winder.
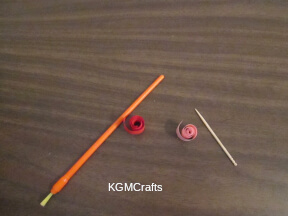 The toothpick makes a tighter quill
Heart Card
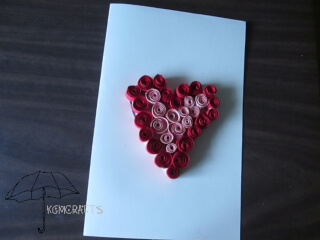
A great Valentine's craft. Don't forget to write your love message!
You will need;
- Card stock
- Red and pink copy paper
- Ruler
- Scissors
- Round toothpick
- White glue
- Paper plate
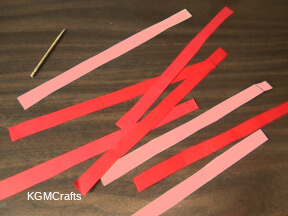
Use a ruler to make the quilling strips. For your first project, make the strips 1/2 inch wide and 8 1/2 inches long. Cut the strips from the paper.
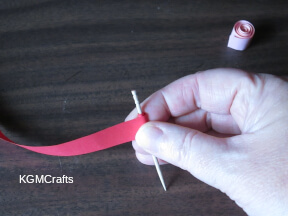
Use your toothpick to roll the strips into coils.
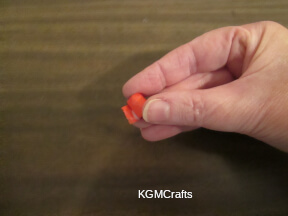
Tear off the end before you glue the coil together. Tearing helps the paper to stay together.
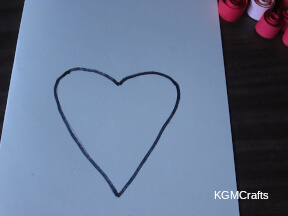
Fold the card stock in half to make a card. On the front, draw a heart shape. Cookie cutters make nice templates.
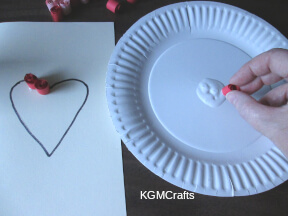
Pour a puddle of glue on a paper plate. Dip the bottom of the coil in the glue.
Place the coil on the heart. Put a drop of glue on the side of the coil.
Dip another coil in the glue. Place it next to the one on the heart. Continue until the heart is outlined in red.
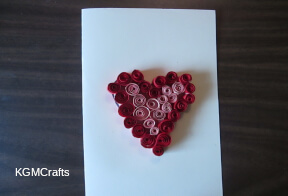
Add pink coils to the center of the heart.
Christmas Tree
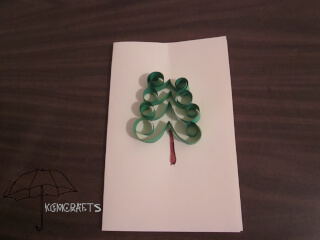
Make a special card for someone special.
You will need;
- Cardstock
- Green paper
- Ruler
- Scissors
- Paintbrush or another round stick to roll the strips on
- White Glue
- Tweezers
Fold your card stock paper in half. Find the center again and draw a line about 4 inches.
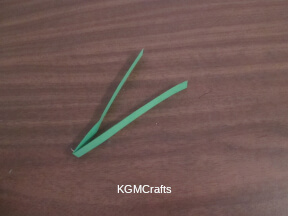
Cut several green strips 1/2 by 8 1/2 inches.
Fold the strips in half.
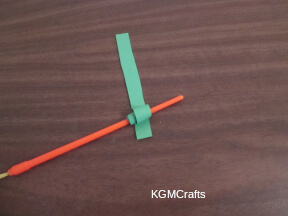
Roll one end to the center
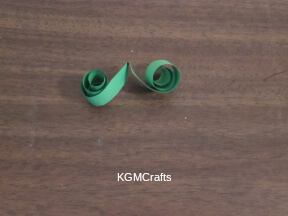
Roll the other end to the center.
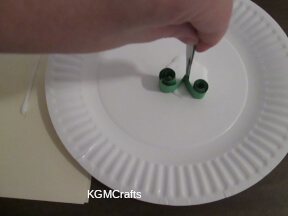
Place a small puddle of glue on a paper plate.
Also, add glue to the line on the card.
With tweezers, dip one of the strips in the glue.
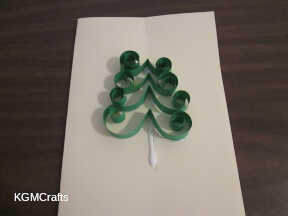
Place on the top of the line on the card.
Dip another strip in glue. Also, add a drop of glue to the rolls.
Place the strip under the first strip on the card. Have the rolls touching each other. Press lightly so that the paper sticks into the glue.
Continue adding the strips to the card. Let the glue dry.
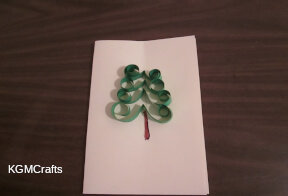
With a marker, color the glue brown to make a tree trunk.
When you get good at quilling you can make
- Jewelry
- Coasters
- Decorative boxes
- Christmas ornaments
- Cards
- Hair accessories
- Frames
If you like quilling, you can buy tools that are helpful. There is a quilling tool for rolling the coils. The paper even comes pre-cut, so you don't have to take the time to cut your own.
Kirigami
Fold the paper and snip, snip with scissors, then you will have a cute banner to hang on the wall. Kirigami is Japanese for paper cutting. The items are symmetrical in design. Think snowflakes and paper chain dolls. These paper crafts for kids don't use glue.
Christmas Tree
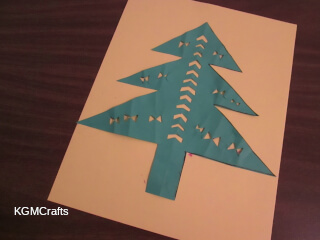
An easy Christmas cutting project.
You will need;
- Green computer paper
- Scissors
- Background sheet optional
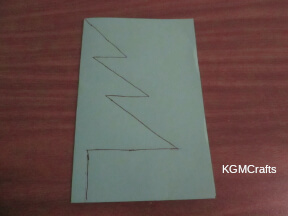
Fold your green paper in half. Draw a small triangle. Below, draw another slightly larger triangle. Next, draw a larger triangle below it. Now draw a rectangle approximately 1/2 inch wide. Cut on your lines. Unfold your paper. You should see a shape that looks like a Christmas tree.
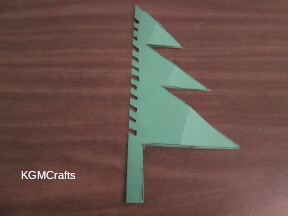
To make the tree decorations. Fold the tree in half again. Now on the fold, cut small rectangles.
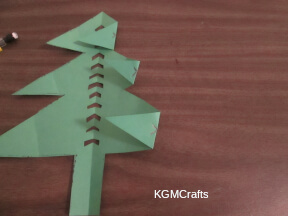
Fold the sides of the tree back. Place a dot on the fold and make a slit from the dot to the outside.
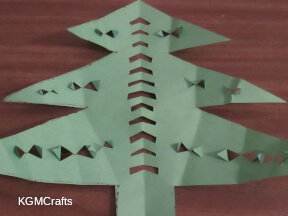
Open the tree up and bend the triangles that you cut to the backside.
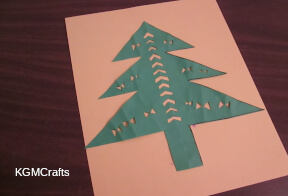
Your project is completed though you can glue the tree to a background piece to make a pretty picture.
Two Ways to Make Folded Chains
“A chain is only as strong as its weakest link”
For each chain you will need;
- Computer paper
- Pencil
- Small star cookie cutter
- Scissors
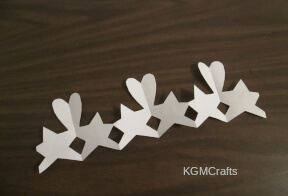
Directions for All in a Line
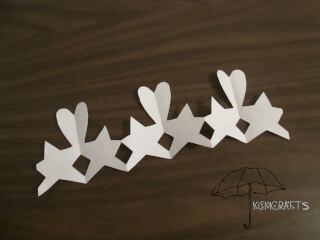
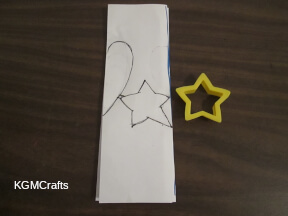
Fold the paper 1 3/4 inch from the edge. Then fold back and forth. There will be a fold on each side.
Place the star on one folded edge and draw around it. Draw a C shape on the other folded edge to make a heart shape. Connect the two shapes.
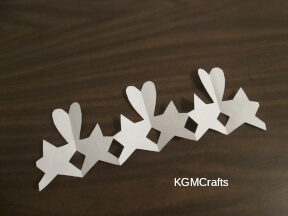
Cut around the C and star, but don't cut between the heart and star.
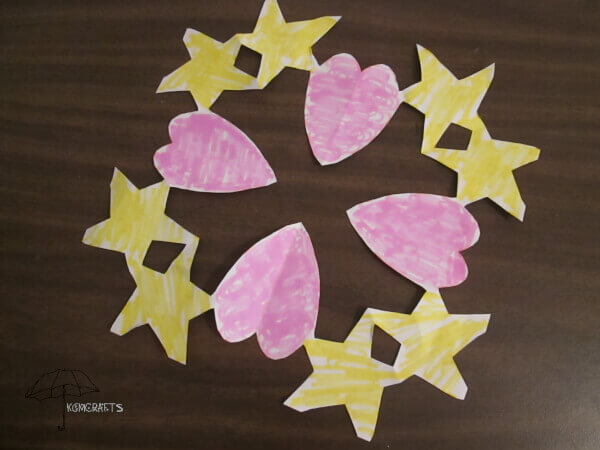
When you unfold your paper, you should have several hearts and star shapes.
Related paper crafts for kids: chain of people (12 Spies Bible Craft)
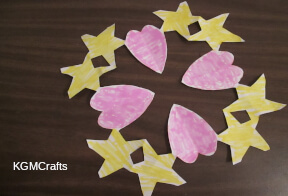
Direction for Circular Chain
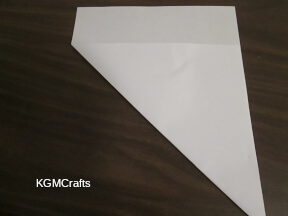
To make a circular chain, you need to fold your paper differently. First, you need to make your paper into a square. So bring the left bottom corner up so the two right sides meet. You will have a strip at the top of the sheet. You can either cut this strip off or simply draw a line.
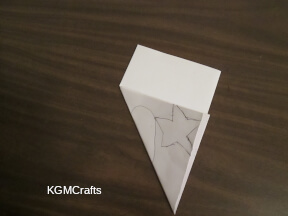
Next, unfold your paper. Then fold up to meet the line. Then fold in half the other way.
Now fold on the diagonal line from when you made the paper into a square.
Next, draw your star and heart design. (You can draw something else if you want.) The heart and star need to connect.
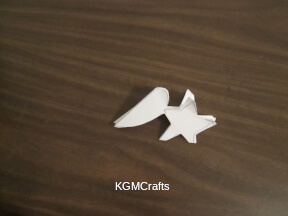
Now cut out the heart and star. Don't cut between the heart and star. Also, don't make your points of the star too narrow. You want two of the points to connect with a small open space between when you unfold your paper.
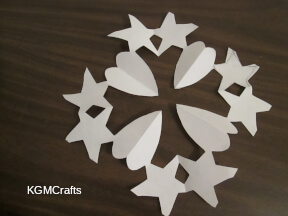
Unfold your paper, the hearts and stars should be connected in a circle.
Snowflakes are another type of Kirigami.
Weaving Paper Crafts for Kids
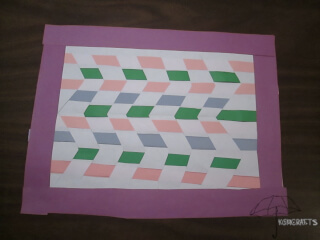
Another paper craft for kids is where you take strips of paper and make something beautiful from them.
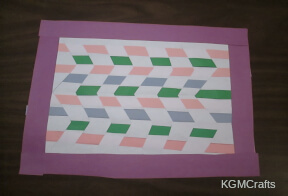
Placemat
You can learn about patterns and colors when you weave placemats.
You will need;
- A piece of background paper
- Different colored paper strips
- Scissors
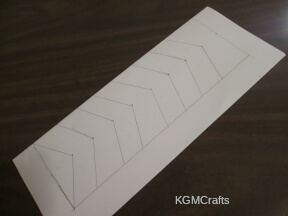
Fold your background paper in half. Measure 1/2 to 1 inch from the edge. From the line to the fold, draw a zigzag line about 1 inch apart.
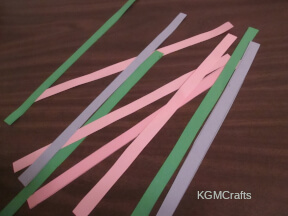
Cut strips 1/2 inches by 11 inches.
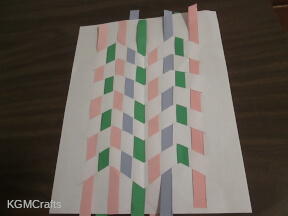
Weave the strips over and under the cut lines on the background piece.
Glue the ends to the background piece.
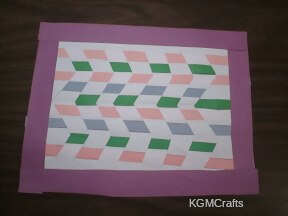
Cut 1-inch strips from colored paper for a border.
Besides placemats, your kids can weave baskets, or use in other projects such as this owl.
Look at all the cute paper crafts for kids that can be created with a ream of paper.
