Who Wants to Make Owl Crafts for Kids?
by Karen & Grace Morris
Me, me! Okay, let's make some “owl some” creations! Owl crafts for kids are quick and easy, so you won't have to spend all night creating them. Well, not unless you want too.
Click to find the directions for the individual owl crafts for kids.
So let's read the directions and gather some supplies. By the way, the items you need should be easy to find. Most will be right in your household.
Cardboard Roll Owl Crafts for Kids
You can a graduation owl. Or you could use brown or white to make a more traditional one.
Graduation Owl
Someone graduating? This wise old owl will be his friend.
Use your school's colors to make this owl. Then he will look like he is wearing a graduation robe.
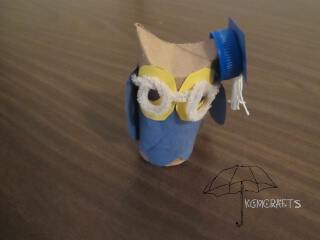
You will need;
- Empty toilet paper roll
- Construction paper
- 12-inch piece of pipe cleaner
- Bottle cap
- Craft string
- White glue
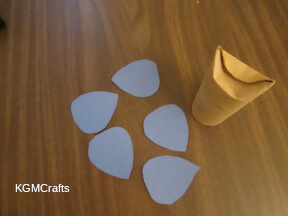
On the paper roll, fold the center of the top down so that it makes two points at each end.
From construction paper, cut five teardrops. They need to be 2 1/2 inches long. Glue to the toilet paper roll so that the points are facing the bottom of the roll.
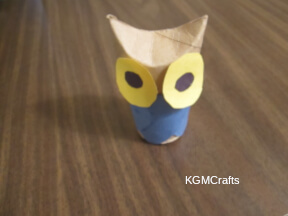
Cut two ovals 1 1/2 by 1 inch from yellow. Cut two circles from black that will fit inside the ovals. Glue together. Then glue onto the paper roll above the feathers.
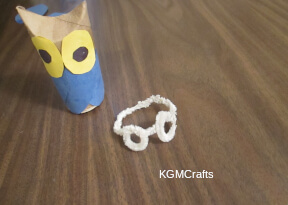
Before you glue on the wing pieces, make your owl’s glasses. Make a loop near the center of the pipe cleaner. Thread the end through the circle. Make another circle near the first one. Twist the two ends of the pipe cleaner together. Make the glasses so that it will fit around the owl's head.
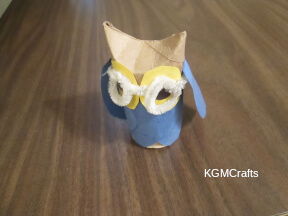
Now cut two more tear shapes 3 inches long for the wings.
Glue the sides of the pipe cleaner to the roll. Glue the wings over the sides of the pipe cleaner. Hold until the wing begins to stick. Let the glue dry.
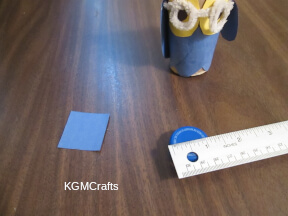
For the graduation hat, measure the top of the bottle cap. Add 1/2 inch to both sides and make a square from paper.
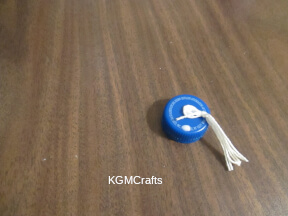
To make the tassel cut a piece of craft string 18 inches long.
Fold the string in half. Then fold in half two more times. The piece should measure 6 inches.
Hold one end. Take one of the cut ends and make a loop around the end that you are holding. Pull the cut end through the loop. You should have made a knot. Do this step one more time.
Cut the loops on the other end.
Put a drop of glue in the center of the bottle cap. Add the string. Then glue the paper square on the cap.

Place your graduation cap on one of the ears on your owl. Now give this cute owl to someone that you know that is graduating this year! Don’t forget to wish him or her congratulations!
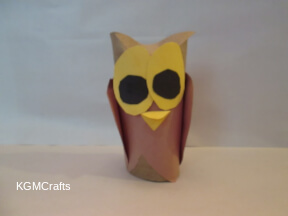
You can also make him without glasses and a graduation hat.
The Great Horned Owl has tufts of feathers that look like large ears or horns on the top of his head.
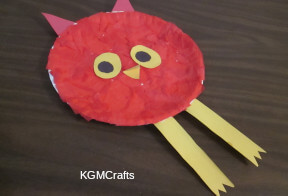
Paper Plate Owl
Here is a fat owl with skinny legs. Doesn't he look funny?
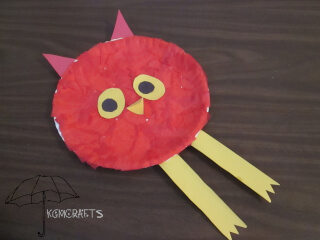
Supplies;
- Red tissue paper
- Paper plate
- Red, yellow, and black paper
- Glue stick
- Tacky glue
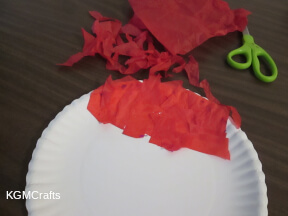
Cut various sizes of tissue paper and glue with a glue stick onto the paper plate. It doesn’t matter how big or small the pieces are, as long as it covers the plate. Trim any excess from the edge.
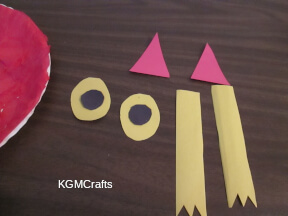
Cut a 1 by 1 inch folded triangle for the beak. Glue below and between the eyes.
Cut two long pointed triangles about 1 3/4 by 2 1/2 inches out of red paper. Glue to the back top edge with tacky glue.
Cut two rectangles approximately 1 by 5 1/4 inches for the legs. Cut three triangles on one end for feet. Glue to the back bottom edge of the plate.
Owls have a binocular like vision. They are also nocturnal, so they can see well at night.
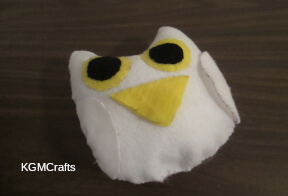
Owl Stuffed Toy
Here is a cool stuffed pillow or toy.
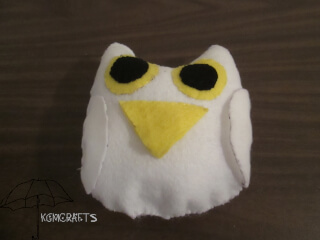
You will need;
- 2 pieces of white craft felt
- Scraps of yellow, and black craft felt
- Thread to match the felt
- Needle
- Stuffing
Download and print the PDF of the owl pattern.
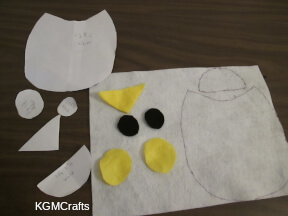
Cut two body pieces and two wings from white felt.
Cut two yellow ovals. For the beak, cut the diamond shape out of yellow felt and fold in half.
Cut two black ovals from felt.
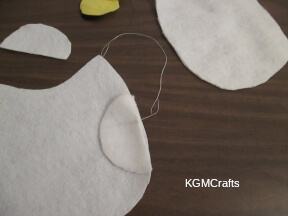
Sew the wings to the sides of one of the body pieces.
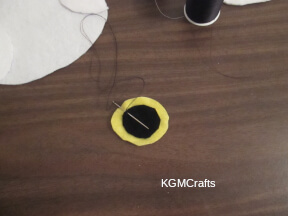
Sew the black ovals on the yellow ovals to make eyes.
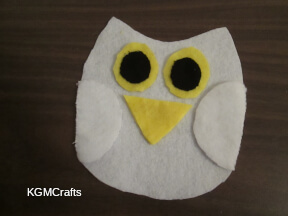
Sew the eyes on the body piece that has the wings. Take the diamond piece and sew the folded part on the body between the eyes.
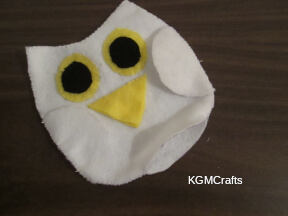
Take the other body piece and place it behind the one with the face. Sew around the outside, leaving a space at the bottom so that you can add stuffing.
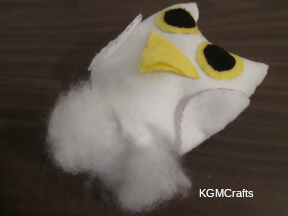
Add the stuffing and sew the bottom shut.
Give the stuffed owl toy to a younger sibling. Or you could just keep it on your bed to cuddle up with!
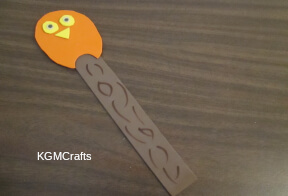
Bookmark
With a good book, you are going to be a night owl.
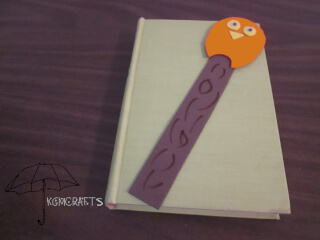
Supplies;
- Craft foam in orange, yellow, and brown
- Scissors
- Tacky glue
- Wiggly eyes
- Brown permanent marker
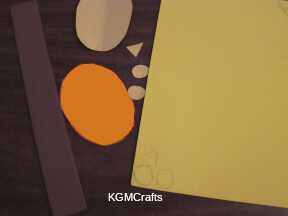
Before you cut your craft foam, it is a good idea to make some paper patterns. So out of paper, cut a 3-inch oval for the owl's body. Cut a 1/2 inch oval for the eyes and a 3/4 by 1/2 inch triangle for the beak.
Use the orange craft foam and the larger oval to make the body. Then use yellow for the eyes and beak.
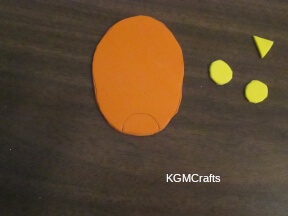
Cut a “C” shape on the bottom to make wing points.
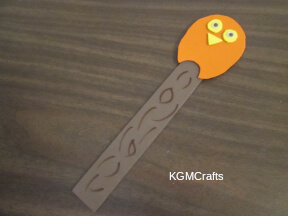
Cut a strip of brown craft foam 8 1/2 by 1 inch long.
Glue the eyes and beak on the orange owl.
Glue wiggly eyes on the yellow circles.
Glue the owl to the brown strip. Use a marker to make lines and circles so that it looks like bark on a tree.
Super Easy Owl Crafts for Kids
The next two owl crafts for kids use construction paper and some other easy to find materials.
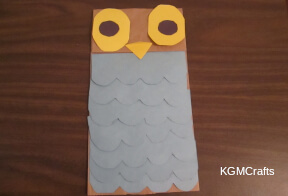
Paper Bag Owl
Don’t worry, he won’t eat your lunch.
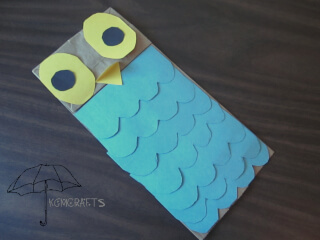
You will need;
- Lunch sized paper bag
- Construction paper
- Scissors
- Glue stick
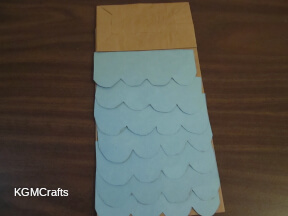
Cut seven strips of paper for the feathers, 5 inches long by 2 inches wide. Cut scallops on one end.
Glue the feathers on the paper bag. The first piece goes just under the fold. Overlap the other six pieces.
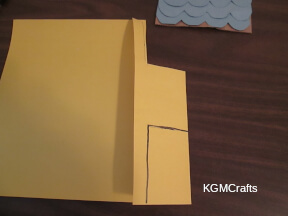
Cut two ovals about 3 inches long by 2 inches of yellow paper. An easy way to make the ovals is to fold a piece of paper 3 by 2 inches. Then cut off the corners. Next, unfold and cut on the fold. Snip off any pointy ends so that it is more round.
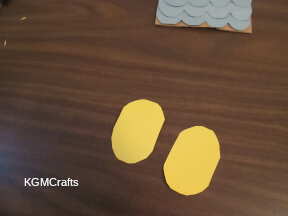
You should have two large ovals.
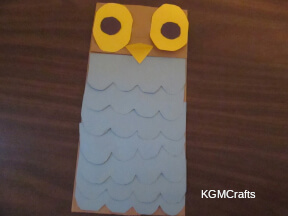
Glue to the folded part of the paper bag.
To make the pupils, fold a piece of black paper in a 1-inch square. Round the corners and cut on the fold. Trim to make it more round. Glue to the yellow ovals to make the eyes.
Cut a folded triangle for the beak. Glue it on the fold of the bag.
Hang this owl on the wall for a fall decoration.
Some people think that owls look like they are deep in thought because of their large eyes.
Paper Owl Crafts for Kids
Who says that owls can't be colorful?
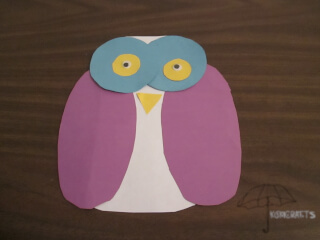
You will need;
- Construction paper in different colors
- Scissors
- Glue stick
- Wiggly eyes

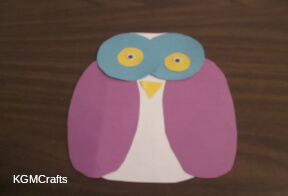
Cut a rectangle 8 by 5 inches and round the corners. Don't round too much, you want it to look more like a rectangle instead of an oval.
Cut two circles 3 inches.
Cut two circles 1 1/4 inches.
Cut two ovals 6 1/4 by 3 inches.
Cut a 1 by 1 by 1-inch triangle.
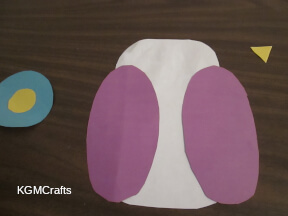
Place the ovals on the sides approximately 1 1/2 inches from the top. Glue in place.
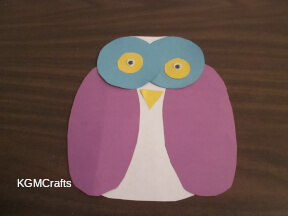
Place the large circles over the wings and at the top of the rectangle. The circles should overlap. Glue the circle to the rectangle.
Glue the small circles inside the larger ones. With white glue, add wiggly eyes in the center of the small circles.
Glue a small triangle below the center of the large circles for a beak.
Woven Owl
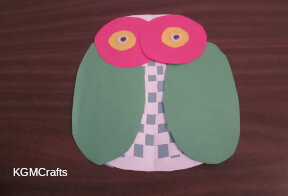
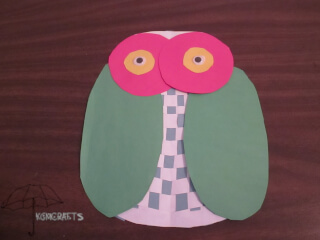
The project above is quick and easy, but if you have time, you might want to do some paper weaving.
Supplies;
- Construction paper
- Scissors
- Glue stick
- Wiggly eyes
- White glue
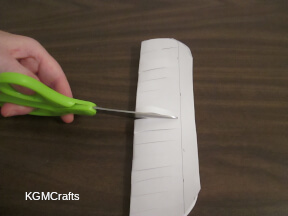
Cut out your pieces like the craft above.
Fold the rectangle in half. Cut slits from the fold to about 1/2 inch from the edge.
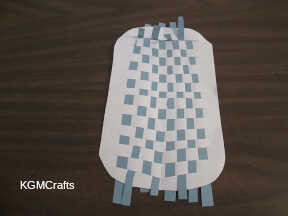
Cut thin strips of colored paper.
Weave the strips in the cuts.
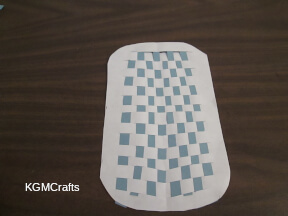
When you are done weaving, trim the strips from the top and bottom. Turn over and glue the strips in place.
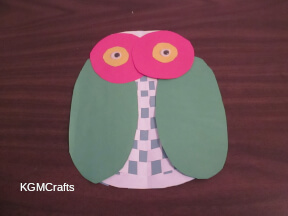
Glue on your wings and eyes like the craft above.
Recycled Owl Craft for Kids
Woodsy Owls says, “Don't give a hoot don't pollute.”
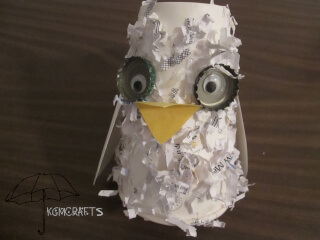
You will need;
- White cup
- Shredded paper
- White glue
- Tacky glue
- Paper plates
- Bottle caps
- Yellow paper
- Wiggly eyes
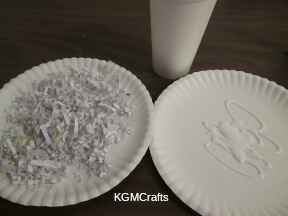
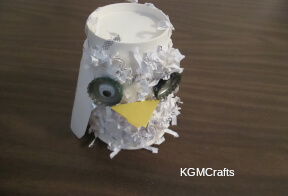
Pour some white glue on a paper plate. Place some shredded paper on another plate.
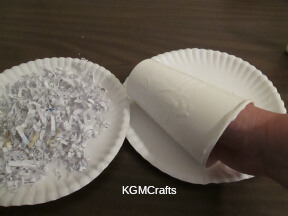
Place your hand inside the cup and dip the sides in the glue. If there are empty spots, add some glue from the bottle.
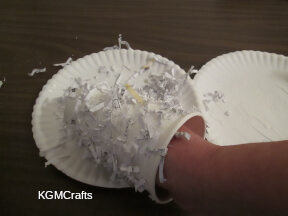
Dip your cup in the shredded paper. You might need to use your hand to add more paper if you have lots of spare areas. Let your owl dry.
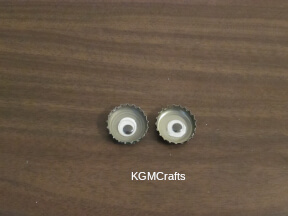
Also, place a drop of tacky glue inside each bottle cap. Add your wiggly eyes. Let the glue dry.
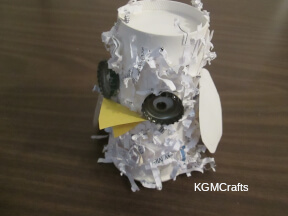
When the glue is dry, glue the eyes to the owl.
Cut a folded triangle 1 1/2 by 1 inch from yellow paper. Also, cut two 4 1/2 by 2 1/2 inch tear shape for the wings. Glue the triangle between the eyes for a beak. Glue the wings to the sides of the owl.
I bet your owl crafts for kids are cute, wise, and friendly.
