6 Lion Crafts for Kids
by Karen & Grace Morris
Let's roar with joy and make lion crafts for kids. The projects are so easy to do, that even your preschoolers can help. Make them after going to the zoo. Or use the crafts in Sunday school, especially when studying Daniel.
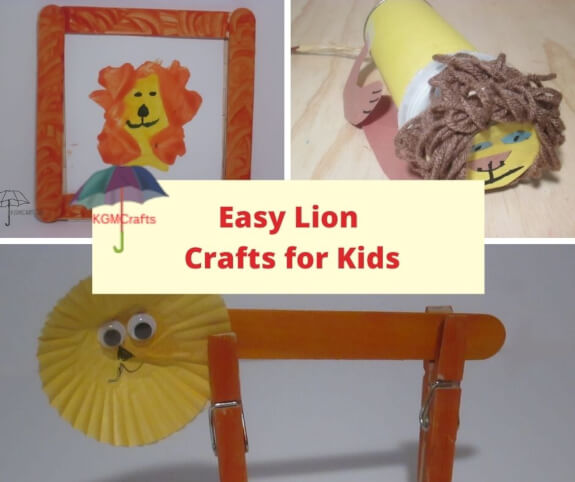
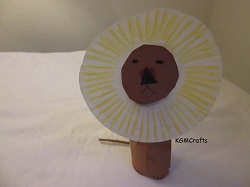
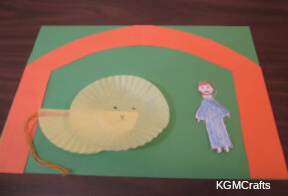
The pictures will take you to the individual lion crafts for kids.
The main feature of a lion is his mane. Well, at least for the males. The lioness doesn't have furry necks. So with the lion crafts for kids, we will focus on making the manes.
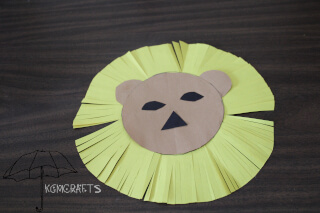
The Snippy Lion
You will need;
- Yellow construction paper
- Brown paper
- Scraps of black paper
- Scissors
- Glue stick
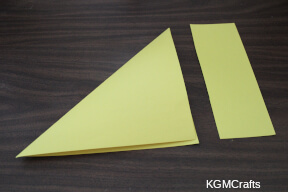
Fold a 9 by 12 inch yellow sheet of paper corner to corner, making a square. Cut off the excess strip.
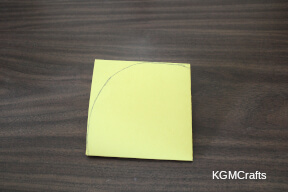
Fold the square in fourths. Cut off the corner to make it round.
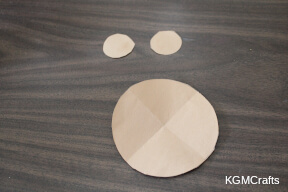
Cut a 4 1/2 inch circle from brown paper. Also cut two 1 1/2 inch circles for the ears.
Fold the circle in fourths. You will use the brown circle in the next step.
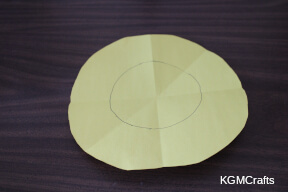
Line the center of the brown and yellow circles together. Draw around the smaller circle.
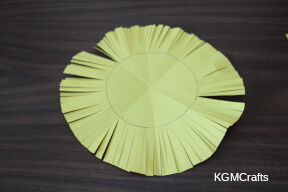
With scissors, cut from the edge to the line. Go around the circle making thin cuts. Don't worry if you cut too much and some of the mane falls out.
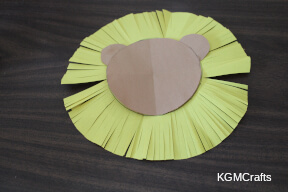
Glue the ears to the back of the smaller circle.
Glue the head to the center of the mane.
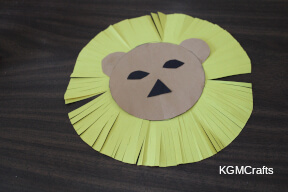
From black paper, cut two almond shapes 1 by 1/2 inches for the eyes. Or you could use wiggly eyes if you want. Also, cut a 1-inch triangle for the nose. Glue the eyes and nose to the brown paper.
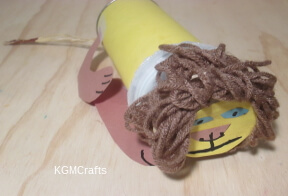
The Laying down Lion
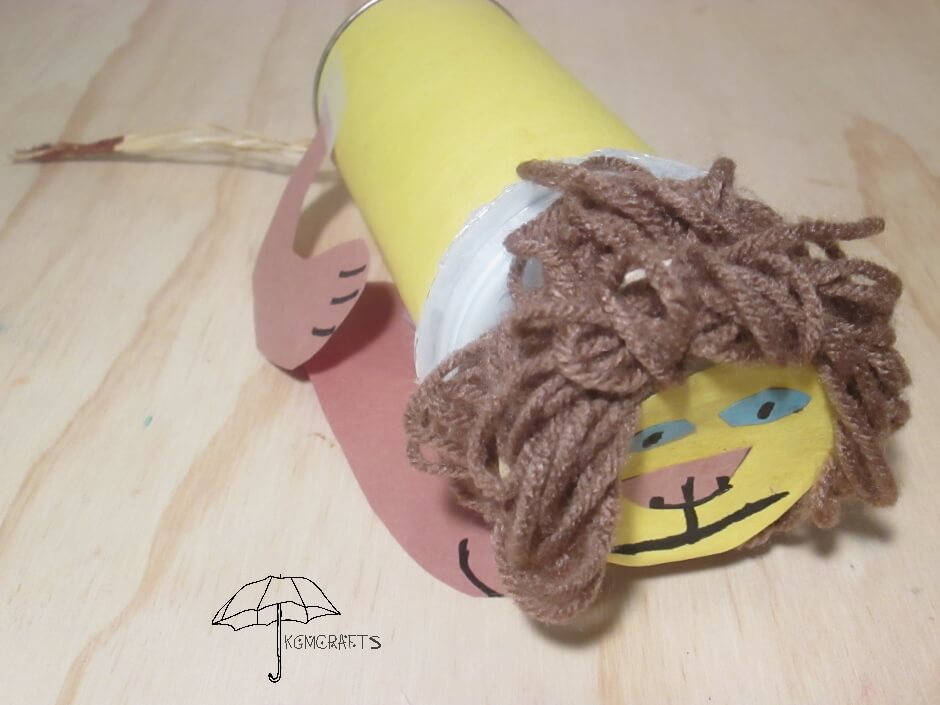
In the jungle, the mighty jungle. The lion sleeps…. Wait, is he sleeping? No, I see his eyes are open.
This lion craft for kids uses recycled materials!
What you will need;
- An empty fruit cup
- A Crème de Pirouline, narrow 3.25oz container
- Brown, yellow, and blue paper
- Raffia
- Glue stick
- Hot glue
- Tape
- Black and brown marker
- Yarn
- Rubber band
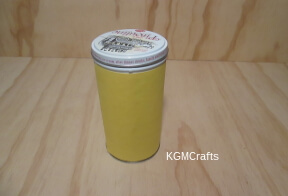
Glue a 9 3/4 by 5-inch piece of yellow paper on the container.
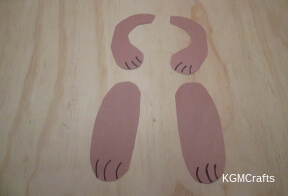
Cut two front paws out of paper, 4 3/4 by 1 3/4 inches. Cut two "J" shapes to make the back paws. Draw toes on the paws.
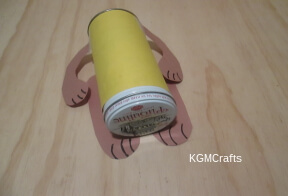
Tape the paws to the container.
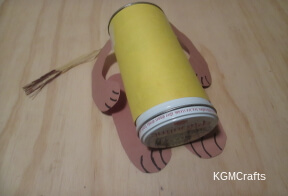
Cut a 5 1/2 inch piece of raffia. With the brown marker, color one end of it. Tape the non-colored end to the back of the container.
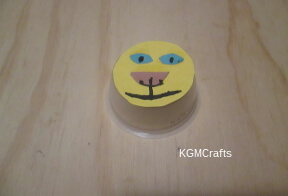
Trace the bottom of the fruit cup on yellow paper. Cut two small ovals with blue paper. Cut a watermelon shape out of brown paper for a nose. Glue everything to the yellow paper with the glue stick. Draw a mouth with the black marker.
Tape the face to the bottom of the fruit cup.
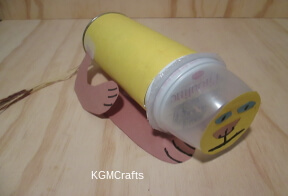
With hot glue, glue the fruit cup on the cap of the container. Let the lion dry.
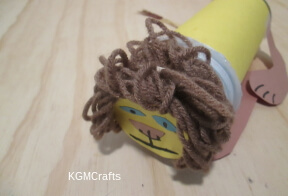
To make the mane, cut a piece of yarn approximately 19 feet. Wrap it around your hand. Place the yarn around the fruit cup. Hold the yarn with one hand and carefully place a rubber band around the fruit cup to secure the yarn.
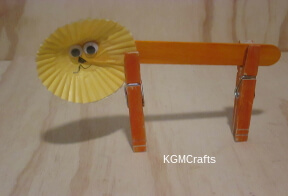
The Skinny Lion
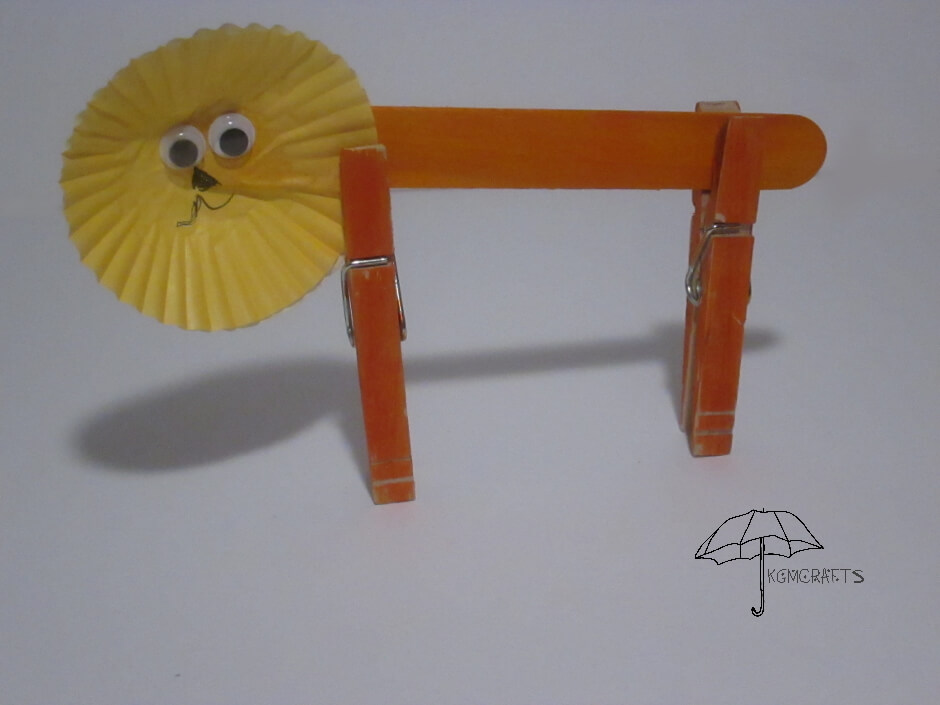
Eat, Eat…. Oh, wait, that is for Santa, not the lion. Anyway, this lion needs to stand twice to make a shadow.
You will need;
- A large orange craft stick
- Two mini yellow cupcake liners
- Two clothespins
- Googly eyes
- Markers
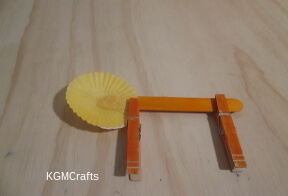
Color the clothespins orange with a marker.
Clip the two clothespins on the large craft stick for the legs.
Glue a cupcake liner on each side of the large craft stick for the mane.
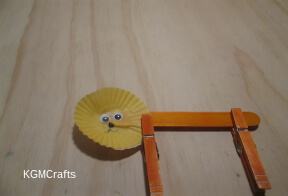
In the center, glue on the googly eyes. With markers, draw on a nose and mouth.
Related: More Popsicle Stick Crafts
Lacing Mane
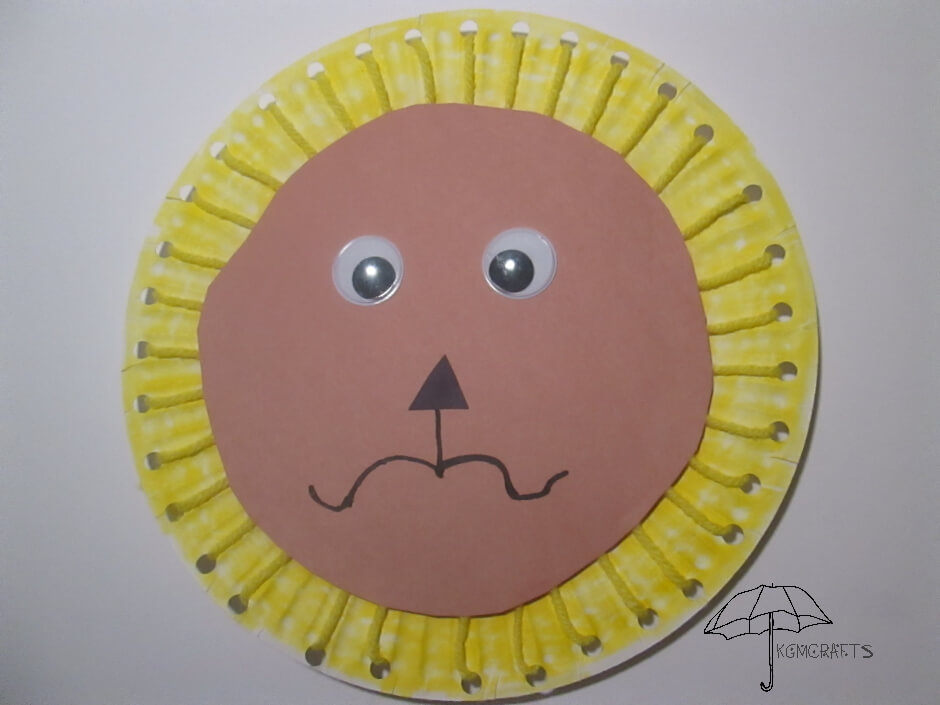
He can't wait to be king. So let's make a mane to crown him.
Supplies;
- Paper plate
- Marker
- Scissors
- Hole punch
- Yarn
- Plastic needle optional
- Construction paper
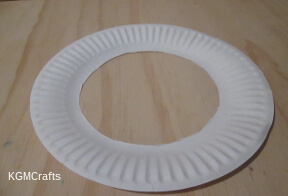
On most paper plates, there is an indentation below the rim that marks the plate section. Fold the plate slightly so that you can cut on this line. You will want the rim intact.
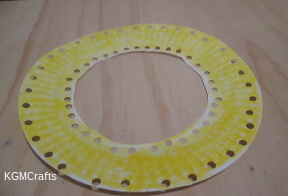
Color your rim yellow, orange, or brown.
With a hole punch, punch a hole near the outside of the rim. Across from this hole, punch another hole on the inside of the plate. Continue around the circle.
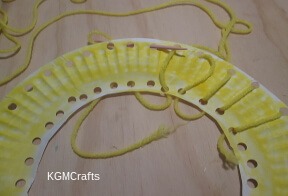
Thread a plastic needle with yarn. Or you could just thread the yarn through the holes in the rim. If the yarn is too short, cut another piece and tie the two together.
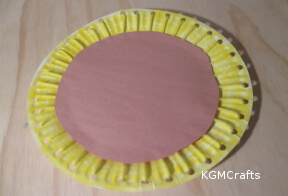
Cut a circle of construction paper, 6 3/4 inches. Glue to the mane.
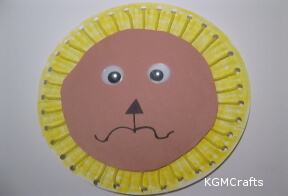
Add a face.
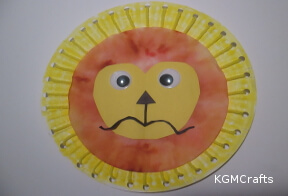
Wait! Before you add a face, make the coffee filter lion below and glue to the circle.
Related: More paper plate lion crafts for kids.
We have cut paper, used yarn and cupcake liners, how many more ways can we make lion crafts for kids?
The Lionhearted
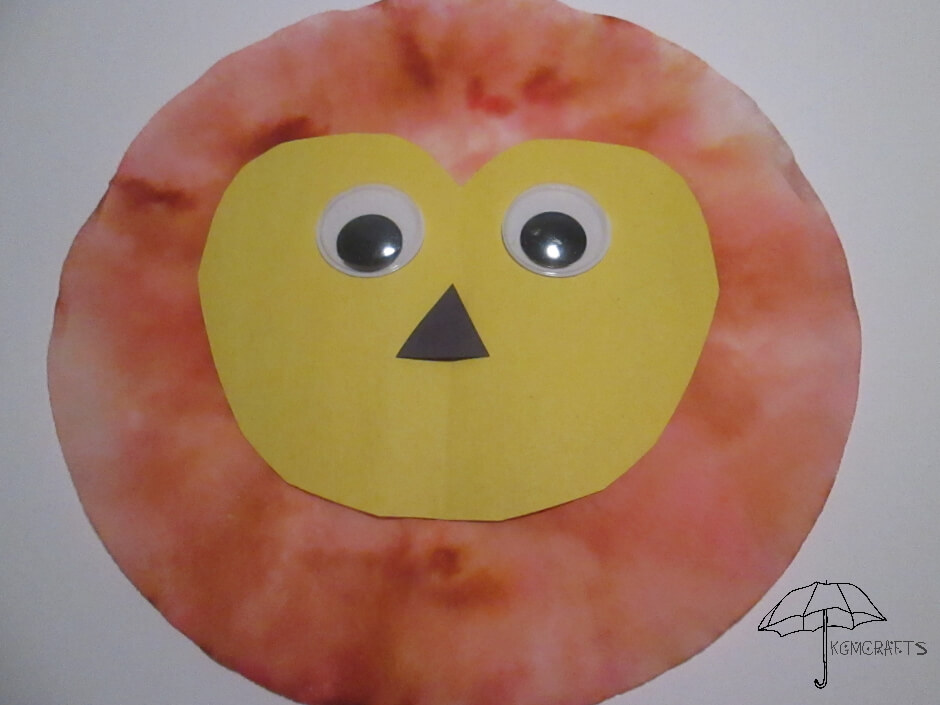
The brave, brave lion will go face the dangers of the wild. He will go through dark valleys, over small hills, and peek over the tall savanna grass.
You will need;
- Coffee filter
- Washable markers
- Plastic tablecloth or placemat
- Spray bottle
- Construction paper
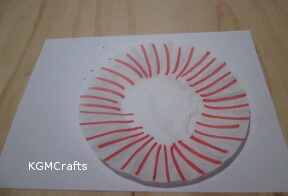
Before you begin, cover your work area with a plastic tablecloth or place mat. Make lines on a coffee filter with a marker.
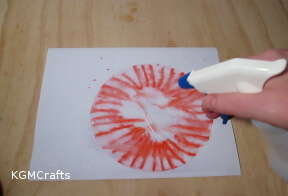
Spray with water. Let the filter dry.
If the color on the filter is not dark enough, make more lines with a different color or the same color. Spray again with water and let dry.
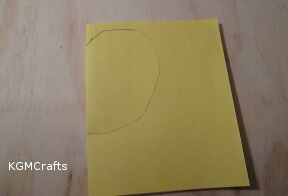
Cut a sheet of 11 1/2 by 9-inch construction paper in half. You only want a half of a sheet.
Fold your piece of paper in half. Draw a heart shape but round the bottom. This will be the lion's face.
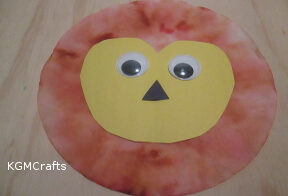
Cut a triangle from black paper for the nose. Draw a curved line for the mouth. Glue on googly eyes.
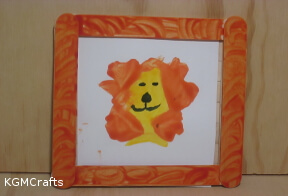
Mane Painting
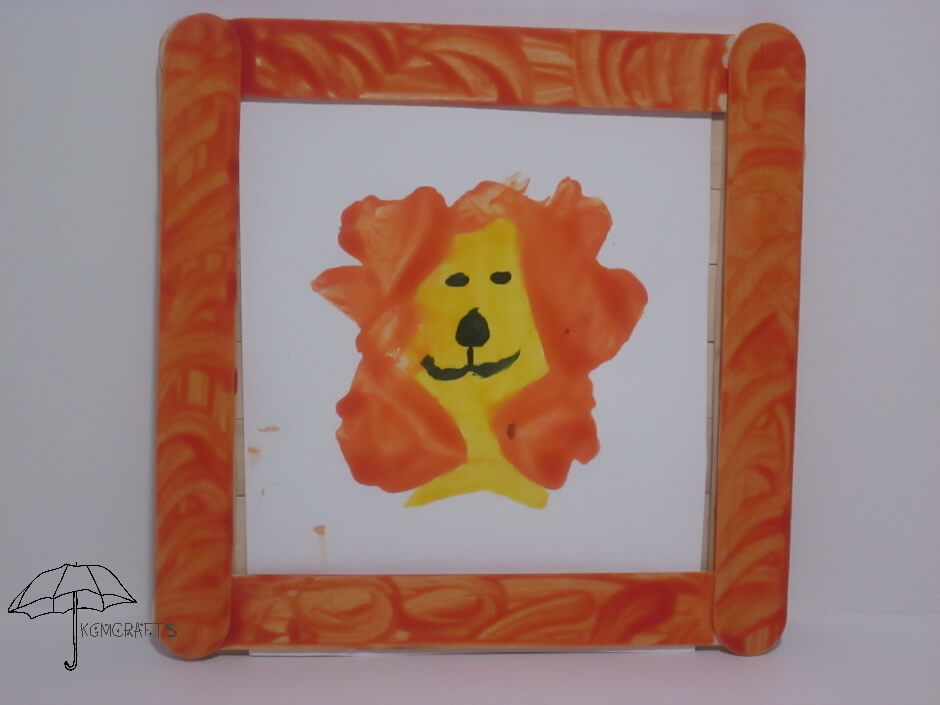
Every king or queen needs their own picture gallery. Here's a picture of Leo the Third that you can paint yourself.
What you will need;
- Paper towel roll
- Plastic wrap
- Card stock
- 14 Jumbo craft sticks
- Orange, yellow, and black paint
- Tacky glue
- Paper plate
- Paintbrush
- Picture hook
Cut a piece of card stock 5 1/2 by 4 1/4 inches.
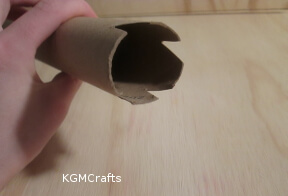
Take your paper towel roll and cut four slits, each about an inch in length.
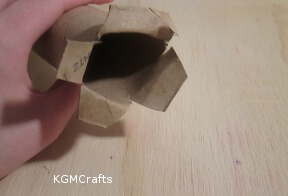
Fold back the slits.
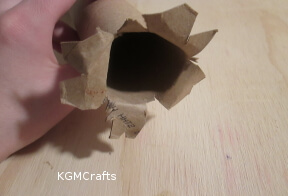
Cut more slits in the original slits to make it look more like a lion's mane.
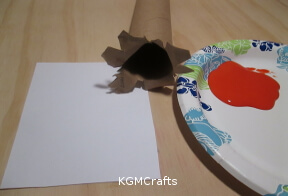
Pour some orange paint on the paper plate. Drip the end of the towel roll that looks like a lion's mane into the paint, so that it is covered. Use like a stamp and gently press down in the center of the piece of card stock.
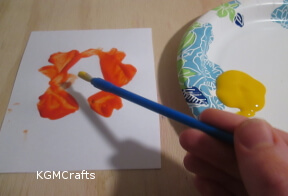
Pour a little of the yellow paint on the paper plate. With your paint brush, paint the inside of the lion's mane yellow. Let dry.
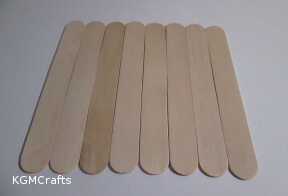
While your lion is drying, take 8 craft sticks and lay them flat side by side.
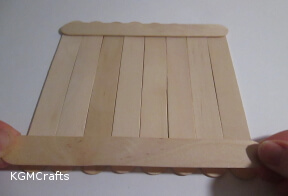
Take 2 craft sticks and glue them with tacky glue, attaching the 8 together.
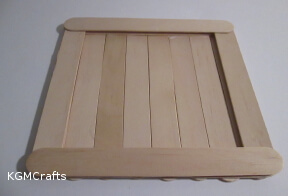
Take the last 4 craft sticks and glue them on, making a picture frame.
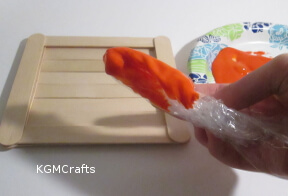
Cut a piece of plastic wrap. Wad it up, so it is a miniature rolling pin. Pour a little more orange paint on the paper plate. Drip your plastic wrap rolling pin into the paint, use it to paint on the Popsicle sticks. Let dry.
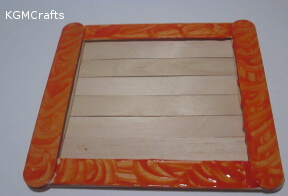
Paint just the sides of the frame.
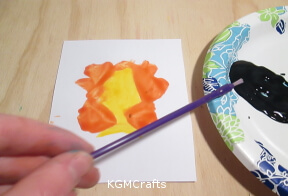
When your lion mane is dry, pour some black paint on the paper plate. Paint a lion face on your lion. Let dry.
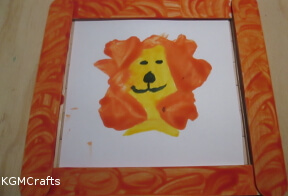
When everything is dry, place the lion picture in the frame.
Put a picture hanger on the back and hang it on the wall. Take a step back and enjoy your masterpiece.
Something crouched down in the savanna grass, staring at its prey. What could it be? Big paws, a lot of claws, and maybe some teeth. The hair around its neck crowned his head, as though he was king. Let's make some lion crafts for kids to show our love of this magnificent beast.
