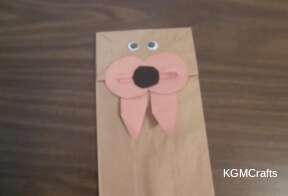
Delightful Letter A Preschool Crafts
by Karen & Grace Morris
Studying the alphabet? Your kids can make some letter A preschool crafts.
Oh, look, the word alphabet starts with the letter A. Well, that will not be one of ours, but there are a lot of other fun projects your kids will enjoy doing.
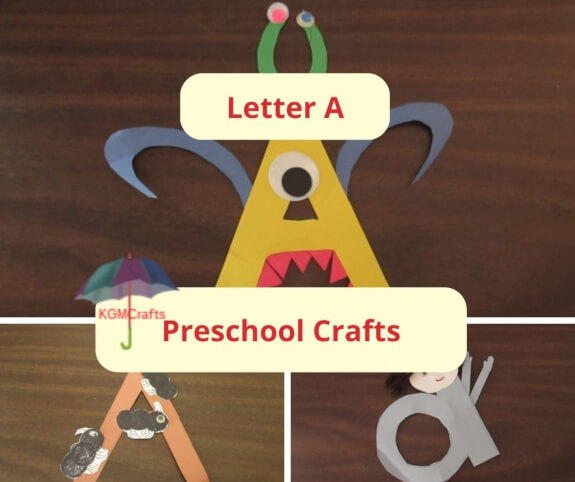
The pictures below will take you to the individual letter A preschool crafts.
Make crafts using both the upper case and lower case letter.
The letter a preschool crafts below use an upper case letter.
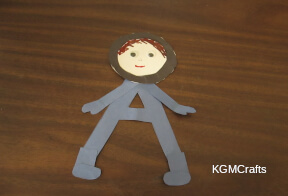
A Is for Astronaut
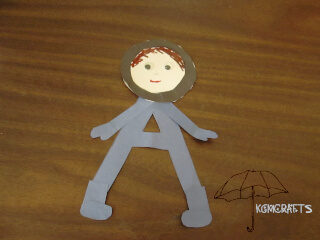
Before you walk out on the moon, be sure to wear your spacesuit.
You will need;
- Construction paper (your favorite color)
- Black construction paper
- White paper
- Scissors
- Glue stick
- Wiggly eyes
- Markers

Cut a 5 1/2 by 2 1/2 inch letter A from construction paper. Use your favorite color. Use the same color to make the boots and arms.
For the boot, cut two rectangles 1 by 3/4 inches and two ovals 1 by 1/2 inch. Glue the ovals to the bottom of the rectangles.
For the arms, cut two strips 2 1/4 inches long. Make two mitten shapes to fit on the ends of the rectangles.
Glue the boots to the bottom of the letter A and the arms just below the point.
Cut a circle 3 inch from white and black paper.
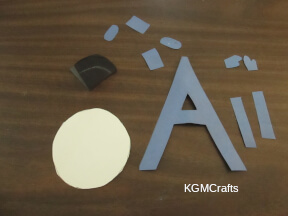
On the black paper measure, 1/2 inch from the end, then cut the center out. An easy way is to fold the circle in fourths and cut on the line.
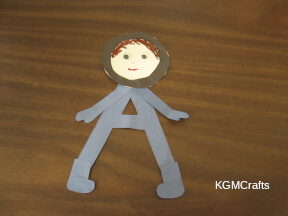
Glue the black circle on the white circle. Trim any white that is showing on the outside edge.
Glue the head to the top of the A, add wiggly eyes, then with a marker, make a smiley face.
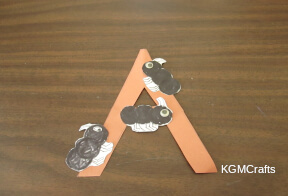
A is for Ant
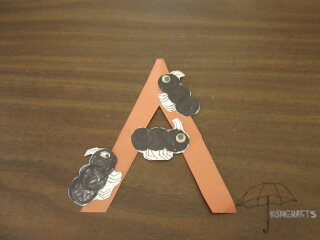
Ants like making anthills.
You will need;
- Brown construction paper
- White paper
- Black crayon or marker
- Scissors
- Glue sick
- Wiggly eyes
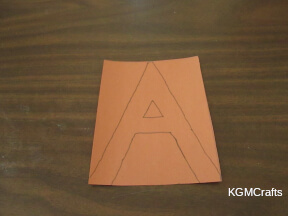
Cut a 5 1/2 by 2 1/2 inch letter A from brown paper. The legs of the letter A are 1/2 inch wide.

Cut on your lines. Fold slightly so you can cut the center out.
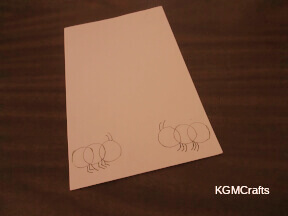
On the white paper, draw three overlapping circles approximately 3/4 inches. A glue stick cap makes a great item to trace around.
Add lines for the antenna and legs. Draw several more ants.
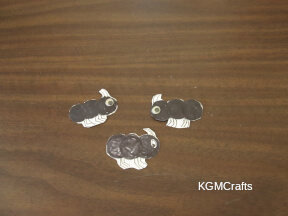
Color your ants black, cut your ants out, then add wiggly eyes.
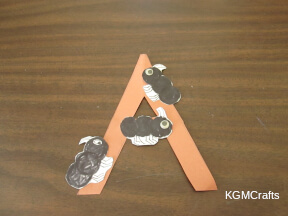
Glue the ants to the letter.
More ant crafts.
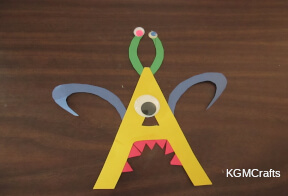
A is for Alien

Imagine what a space alien would look like.
Supplies;
- Construction paper
- Scissors
- Glue
- Wiggly eyes

Cut a 5 1/2 by 2 1/2 capital letter A out of construction paper. Decorate the letter A with different shapes to make arms, antenna, and teeth.
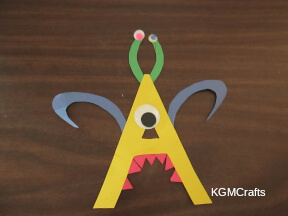
Add wiggly eyes that are different sizes and colors.
More space aliens.
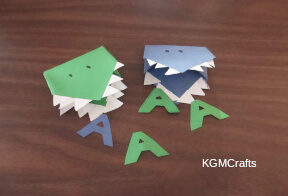
A is for Alligator

This alligator is hungry. Its favorite snack is the letter A.
You will need;
- Construction paper
- White paper
- Scissors
- Marker or Wiggly eyes
- Glue stick

Cut a 4 1/2 inch square from construction paper. Alligators are usually green, but feel free to make yours any color you want.
Hold the square so that one of the points faces you. It will look something like a kite.
Measure 1 3/4 from the point on the side and make a dot. Draw a straight line to the edges. Do the same for the other side.

Fold the sides to the center. The points will overlap 1/2 inch. Then glue where they overlap.
Fold the top point to the bottom point.

Cut twelve triangles 3/4 inches. An easy way is to cut a strip of paper and fold back and forth. Draw a triangle on the top. Then cut the triangle out.

Glue three triangles to each side of the alligator. The triangles need to overlap some. Now, your alligator has teeth.
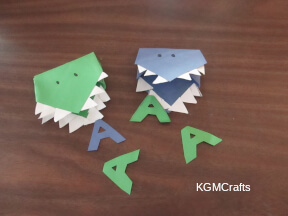
Draw eyes on the front of your alligator. Or you could use wiggly eyes.
Make several letter A shapes that are approximately 1 1/2 by 1 3/4 inches. Then place them in the mouth of your alligator.
Another alligator craft.
Lower Case Letter A Preschool Crafts
Make these letter A preschool crafts using the small letter A.
A is for Apple

An apple a day will help you learn about the letter A.
You will need;
- Red construction paper
- White paper
- Brown construction paper
- Green construction paper

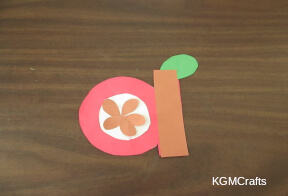
Cut a small letter a from red paper.
Cut a 4 by 1 inch rectangle from brown paper.
Next, cut five small tear shapes from brown paper.
Cut a large, green tear shape from green construction paper.
Cut a 3 1/2 inch circle from white paper.
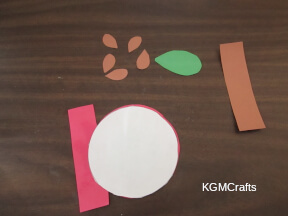
Glue the circle to the center back of the letter.

Glue the leaf to the top of the stick part of the letter A. Glue the brown rectangle over the stick part.
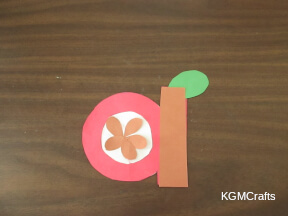
Add the seeds.
More Apple Crafts
Sun catcher apple
An apple story
A basket full of apples
A is for Angel
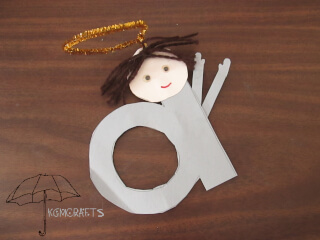
Everyone needs an angel in their life.
Supplies;
- Construction paper
- White paper
- Yarn
- Markers
- Small wiggly eyes
- Pipe cleaner
- Tape
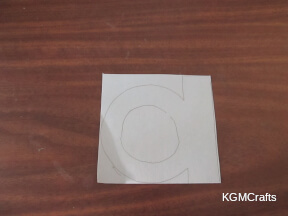
Use your favorite color construction paper and cut a 4 1/4 by 4-inch rectangle. Draw a small letter a on the rectangle.
The stick is 1 inch wide and 4 inches long. Make the inside circle approximately 3/4 inches from the outside.
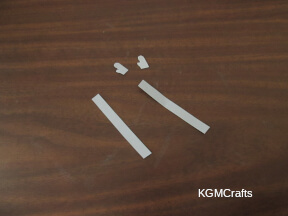
Also, cut two 3 inch long strips for the arms. Make mitten shapes for the hands, glue the mittens to the rectangles, then glue the strips to the back of the letter a shape.

Cut a 2-inch circle from a white piece of paper for the angel's head.
Make several loops of yarn approximately 4 1/2 inches long. Using a small piece of yarn, tie the center of the loops together.
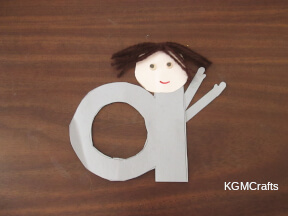
Glue the center of the yarn bundle to the top of the circle. Let dry.
Then cut the yarn loops to make hair.
Add wiggly eyes and a mouth to the circle shape.
Glue the head to the top of the letter A.
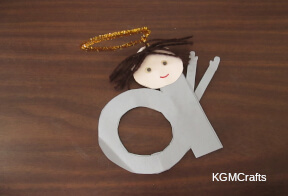
Fold the pipe cleaner into a circle. Tape the end to the back of the letter A.
More angel crafts
Downloadable Letter A Preschool Crafts
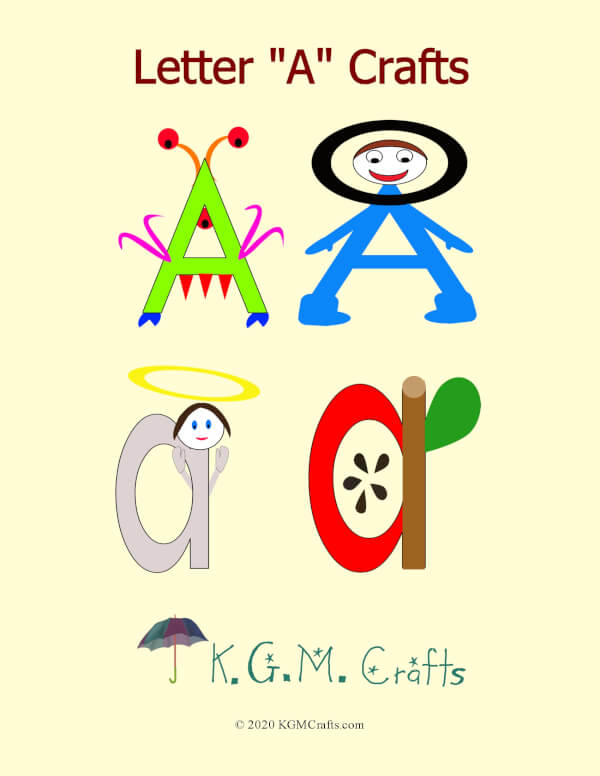
The letter A crafts above are easy, but wait we, have an even easier option. A downloadable PDF. It is a very low prep. Just download and print. Then give your kids some crayons or markers, a pair of scissors, and a glue stick. Then they can make the letter A crafts. The PDF is available from my Teachers Pay Teachers store.
Hope your child had fun making the letter A preschool crafts.
