Creative January Themed Crafts for Kids
by Karen & Grace Morris
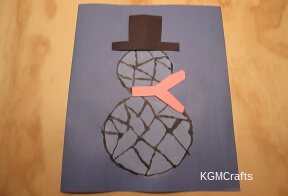
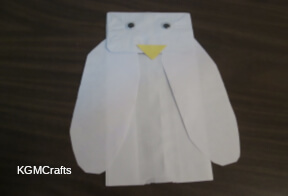
Celebrate winter with January themed crafts for kids! Winter is cold (brrr) so stay inside making an igloo or snow globe. (Come on baby, it's cold outside! Who says we can't play with the snow near the fireplace?) Or maybe instead of thinking up ice cubes, you could create something to celebrate a holiday like popcorn day.
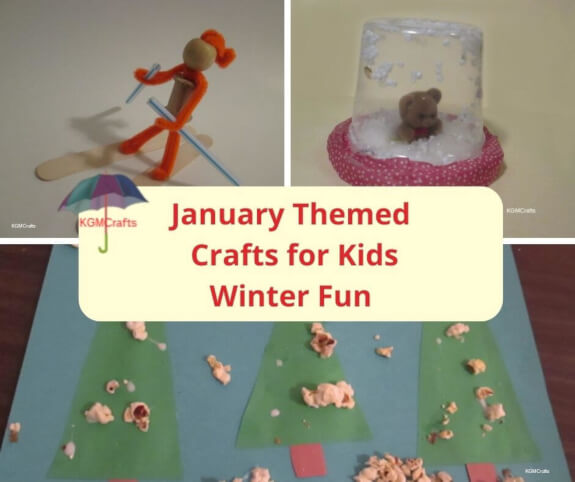
Click the pictures to go to the individual January themed crafts for kids.
Make a Snow Globe
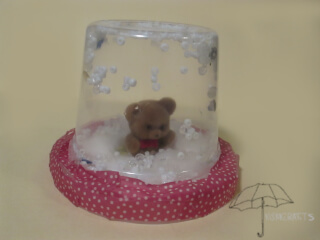
Shake and let it snow!
You will need;
- Pudding cup
- 3-inch clear plastic lid
- 1-inch bear or similar small item
- Hot glue
- Seed beads and a few optional sequins
- Cotton ball
- White glue
- Washi tape
Several of the January themed crafts for kids use a glue gun.
Please ask for adult help when you work with the hot glue gun. The glue can be hot and might burn fingers.
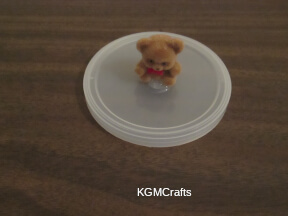
Warm your hot glue gun. Place a glob of glue in the center of the lid. Place the bear on the glue.
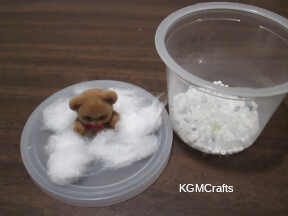
Add enough seed beads to cover the bottom of the pudding cup. Add a few silver and blue sequins to make it sparkle.
Pull your cotton ball apart. Put some white glue around the edge of the lid. Add small pieces of cotton to the glue. You want it to look like snow.
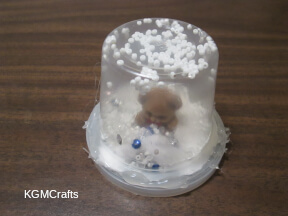
Add a ribbon of hot glue to the edge of the plastic lid. Turn the pudding cup over and place it on the hot glue.
Some beads will stick to the top and sides of the pudding cup, looking like a snowstorm.
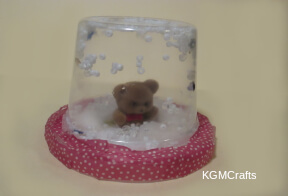
Add a strip of colored washi tape to the sides of the snow globe. If the sides of the plastic lid are still showing, then add another strip. Tape or glue the end of the washi tape to the cup so that it sticks.
More Winter January Themed Crafts for Kids
Winter doesn't have to be all cold and dull, here are more January themed crafts for kids to add color to your home.
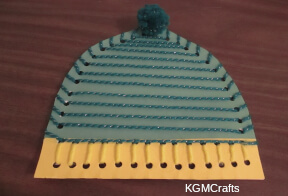
Lacing Hat Craft
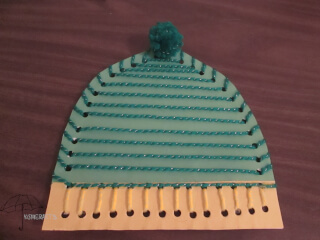
A fun little card that will warm anyone’s heart.
You will need;
- Construction paper in two colors
- Card stock
- Scissors
- Glue stick
- Hole punch
- Yarn in two colors
- Tape
- Fork for optional pompom
- White glue
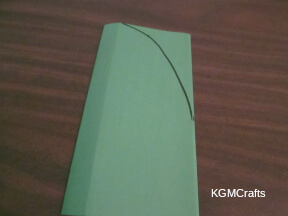
Cut a rectangle 8 by 7 1/2 inches from construction paper. Fold in half and cut off the top corner so that it rounded.
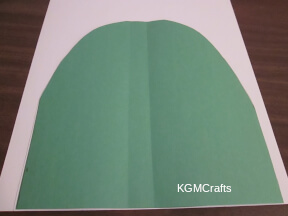
Use as a pattern to cut the shape from card stock.
To make the different colored rim, cut off 1 1/2 inch from the bottom of the hat. (Just cut the green construction paper.) Then cut a 1 1/2 by 7 1/2 inch piece from your second color (yellow).
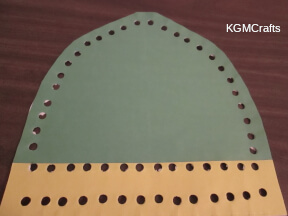
Glue the hat and rim to the card stock.
First, make the rim. Mark where the holes are going to go. They need to be 1/2 inches from the edge and 1/2 inch from each other. Also mark a line of holes 1 1/2 inches from the bottom edge.
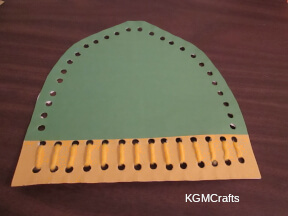
Cut 30 inches from the color of yarn that will be the rim. Put the yarn through one hole. Tape the end to the backside of the hat. Sew from one hole to the other.
Wrap your second yarn 11 times around a ruler. Cut the yarn so that you have a piece about 132 inches long. Tape one end of the yarn, so it does not unravel. If this is too long to handle, simple cut the yarn into smaller pieces.
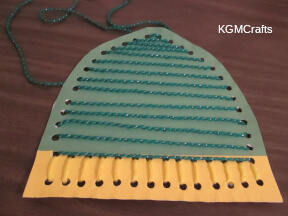
Take your taped end and pull through the hole on the top left of the rim. Tape the end to the backside of the hat. Bring the yarn across the front to the hole on the right side. Then bring the yarn to the front through the next hole on the right side. Bring the yarn to the next hole on the left side. Thread the yarn through the next hole on the left side.
Continue until you are at the top of the hat.
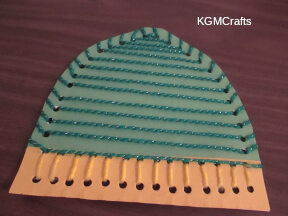
Next, sew around the outside of the hat. When you get to the bottom, bring the yarn across the back. Then sew around the other outside edge.
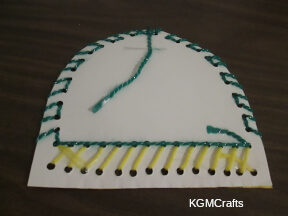
The back of the hat should look like this.
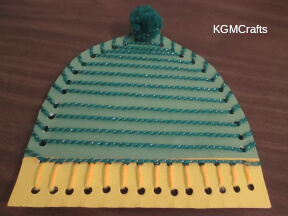
Use the fork to make a small pompom with some of your yarn. You can find directions on this page (link will open in another tab). Glue the pompom to the top of your hat.
Skier

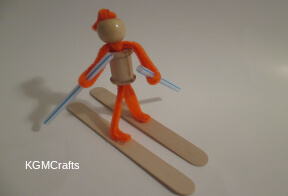
Skiing has been around for a long, long, long time. The word comes from an Old Norse word ‘skíð’ which means a split piece of wood. So let's make our split piece of straw and a little man to ski down the mountain for us.
Supplies;
- 3 12-inch pipe cleaners
- 1 straw
- Wooden spool 1-inch long
- Wooden bead 1/2 inch
- Hot glue
- 2 large craft sticks
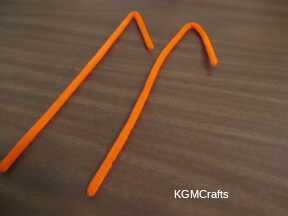
Bend up 3-inches on two pipe cleaners and twist the ends to make legs.
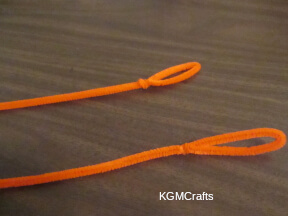
Bend the folded end up 1/2 inch to make feet.
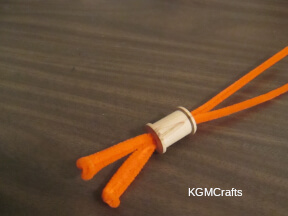
Thread the two pipe cleaners in the hole in the wooden spool. The bottom of the spool will sit on the twisted part of the legs.
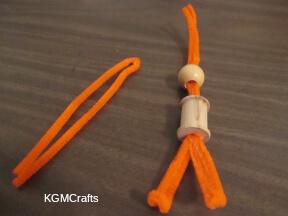
Add the bead to the pipe cleaners for the head.
Fold the last pipe cleaner in half.
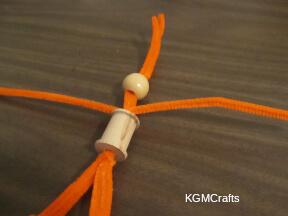
Twist once around the two pipe cleaners between the bead and spool.
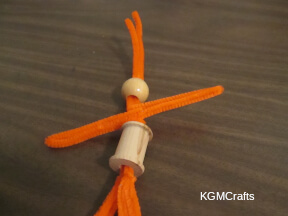
Bend back each end to the center to make arms. Twist each arm once around the two pipe cleaners.
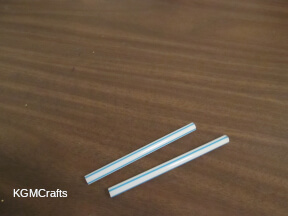
Cut two 3 1/2 inches pieces of a straw to make ski poles.
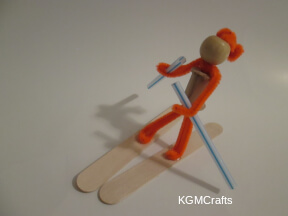
Bend the two pipe cleaners at the top back to the bead. Twist the folded ends together to make a hat.
Heat your hot glue gun. Add a drop of glue to the craft sticks. Place the feet of the skier on the hot glue.
Remember to ask for adult help when using the hot glue!
January Themed Crafts for Kids -- the Far North
Here are some January themed crafts for kids that will go along with your study of the arctic.
Eskimo
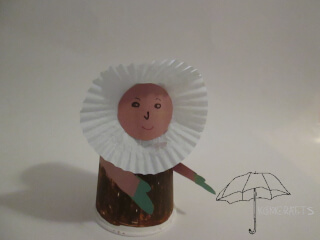
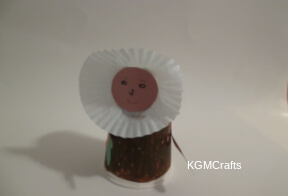
Let's get on our fur coats and live as the Eskimos did! Brrr!
Supplies;
- Paper coffee cup
- Brown solid tempera paint
- White cupcake liner
- Brown construction paper
- Brown, Black, and Red Markers
- A scrap of colored construction paper
- Glue stick
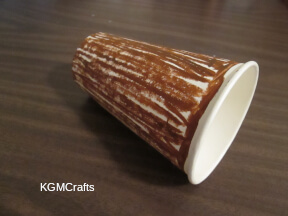
Use the tempera paint to color the cup.
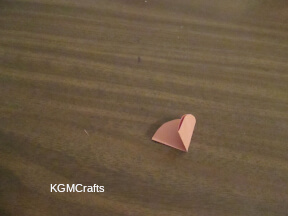
Cut a 2-inch square from brown construction paper. Fold in fourths and cut off the corners. You should have a circle about 2 inches.
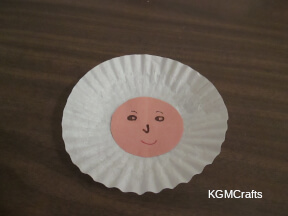
Draw a face on your circle and glue to the center of the cupcake liner.
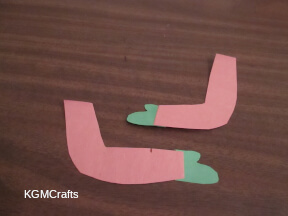
Fold the brown paper in half. Draw a rounded “L” shape on the one side. Cut out the shape. This will be the arm.
Fold a small piece of colored paper. Draw a small mitten shape. Cut the shape out.
Glue the mittens on the arm shapes. You will want the thumbs facing up.
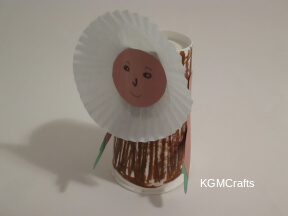
Turn the cup over so that the bottom is facing up. Glue the cupcake liner to the side of the cup just below the top.
Glue the arms on the sides 1 inch from the bottom of the cup.
Igloo
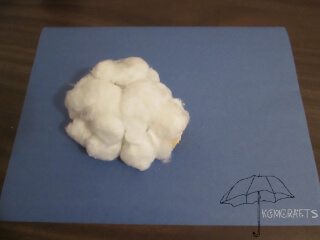
Let's build a home from snow and ice!
Supplies;
- Empty plastic fruit cup container
- Thin cardboard such as a piece of a file folder
- Tacky glue
- Blue construction paper
- Cotton balls
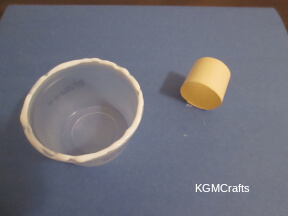
Cut a 4 1/2 by 3/4 inch piece of cardboard. Roll the cardboard so that it is in a circle. With tacky glue, glue the ends together. Hold until the glue sticks.
Add glue to the rim of the fruit cup.
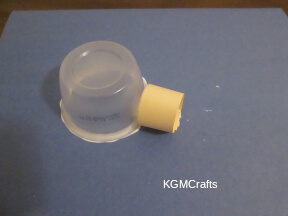
Turn the cup over and glue to the construction paper.
Glue the cardboard roll next to the fruit cup.
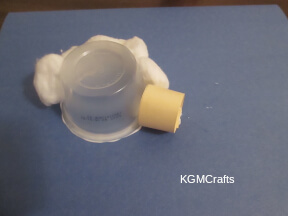
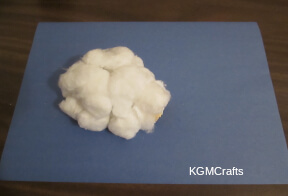
Glue cotton balls to the sides and top of the fruit cup.
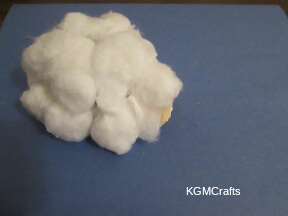
Pull apart one cotton ball so that it will fit over the cardboard roll. Place some glue on the paper and on the cardboard. Add your cotton ball to the glue.
Holiday January Themed Crafts for Kids
Here are some January themed crafts for kids that will help you celebrate.
Popcorn Day Craft
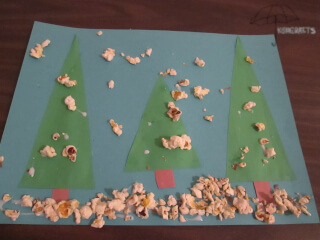
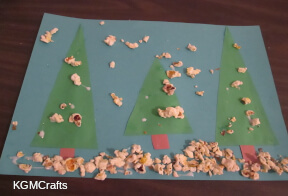
Popcorn day is January 19. So pop some corn and do this craft. Be sure to munch on some popcorn too. Yummy!
You will need;
- Blue construction paper
- Green Construction paper
- Scraps of brown construction paper
- Popcorn
- White glue
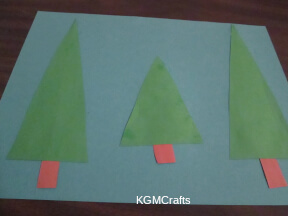
Cut two green triangles with a base of 2 3/4 and a height of 7 1/4 inches. Cut another triangle with a base of 3 inches and a height of 4 1/4 inches.
Then cut three rectangles approximately 1 1/2 by 1/2 inches.
Glue the rectangles on each tree for the trunk.
Glue the trees to the blue paper.
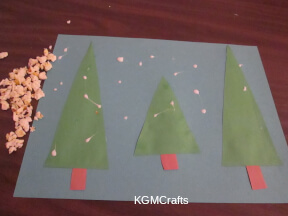
Crumble some popcorn so that you have crumbs.
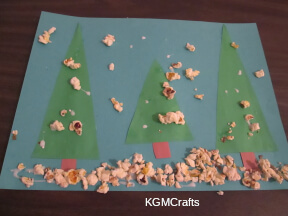
Glue the crumbs on the blue paper and trees to look like snow.
Martin Luther King Craft
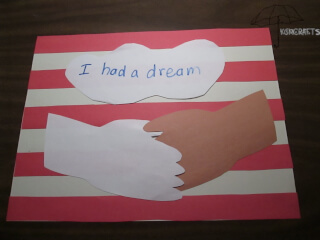
Martin Luther King, Jr. Day is celebrated the third Monday of January.
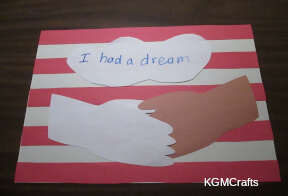
I had a dream …
You will need;
- Red construction paper
- White construction paper
- Brown construction paper
- Marker
- Ruler
- Scissors
- Glue stick
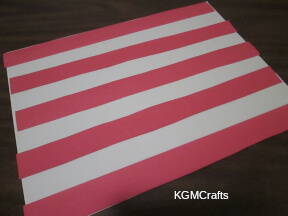
Cut five red strips from construction paper that are 1 by 12 inches.
Place your white paper so that it is lengthwise. Starting at the top, glue a red strip.
Measure down 1 inch and place another red strip. Continue until you end with a red stripe at the bottom of your white paper.
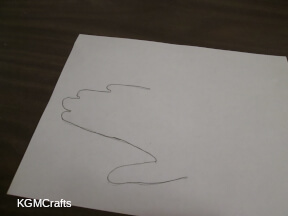
To make the hands; place your right hand on a piece of paper. Don't spread your fingers. Have someone draw around the tips of your four fingers and the thumb. Continue around your hand until they reach your wrist.
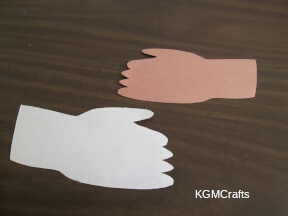
Place the piece of paper with your hand print on top of the other sheet and cut around the hand shape.
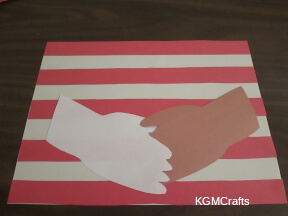
Place the two hands together so that they look like they are shaking hands. Glue to the bottom of the red and white paper.
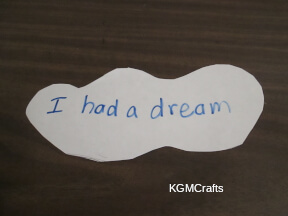
Cut a cloud shape from white paper, 8 by 3 inches. With a marker, write “I had a dream.”
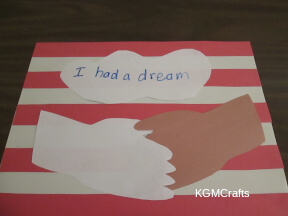
Glue the cloud above the two hands.
Hot Chocolate Mug to Celebrate With
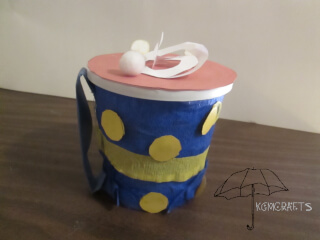
Hot chocolate day is January 31 so let's make a funny mug that will be a conversation starter! Psst, hot chocolate is better than coffee, don't tell anyone, hehe.
Supplies;
- Colored streamers
- A piece of yellow, blue, white, and brown paper
- 3 small white pompoms
- Container with lid
- White glue
- Hot glue
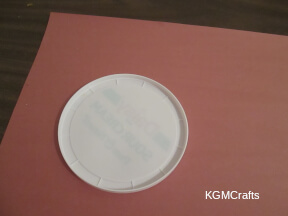
Take the lid off the container and put it on a piece of brown paper. Trace around the lid. Then cut the circle out.
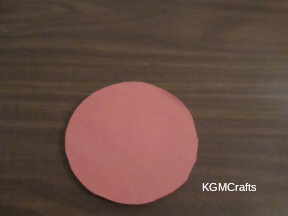
Glue the brown circle onto the top of the lid.
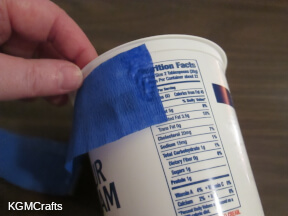
Wrap the blue streamer around the container to cover.
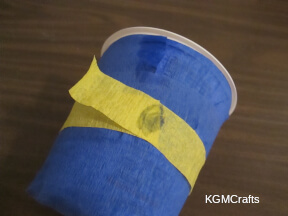
Cut a 14-inch (or a strip that will fit around the center of your container) piece of a yellow streamer. Now cut the streamer in half width-wise. So you have a piece 14 by approximately 1 inch. Glue to the center of the cup.
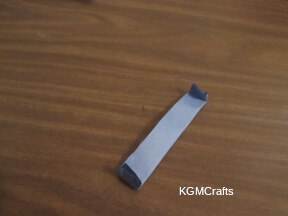
To make the handle, cut a rectangle 5 by 6 inches. Make a fold about 3/4 of an inch by 6 inches. Continue folding. You will do about five folds. Fold the ends up.
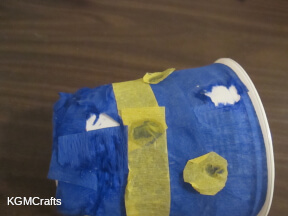
Make a hole in the top of the blue streamer so that the container shows. Make another hole in the blue streamer across from the first hole. This will be where you want your handle.
Also make circles from yellow paper. Glue to the container.
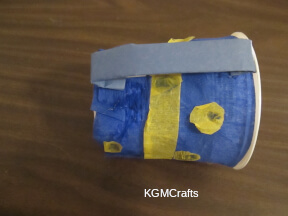
Warm your hot glue gun. Place a dot of glue on the container where the holes are. Add the ends of the handle to each dot of glue. When you are waiting for the hot glue gun to warm, sing the song “Hot, Hot, Hot Chocolate” from the “Polar Express” movie.
Remember to ask for adult help with hot glue.
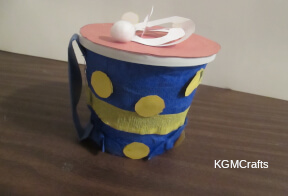
To make the steam, cut a 2 3/4 inch circle. Cut the circle in a spiral. Glue the ring to the lid.
With white glue, glue the three pompom balls on the brown paper of your cup so that you have marshmallows.
You will not be able to drink from this hot chocolate mug, but it was fun to make. So now that you have finished your craft, go into the kitchen and make yourself a real cup of cocoa.
January themed crafts for kids reminded us that we can stay out of the cold and create some fun.
