Halloween Preschool Crafts
by Karen & Grace Morris
Here are some simple Halloween preschool crafts. Your younger child will have fun decorating the house with his creations.
Your preschooler can make pumpkins, bat wings, scarecrows, and other interesting items.
Click on the pictures to find Halloween preschool crafts.
All the crafts use easy to find materials.
Halloween is
a Time for
Jack-O-Lanterns
Corn Mazes
and
Scary Fun
Farmer Joe the Scarecrow
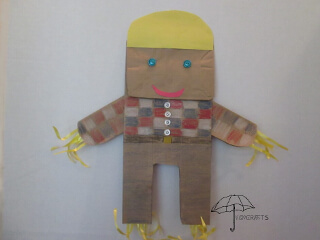
Is this farmer Joe? Young children will have fun using a paper bag and buttons to make Halloween preschool crafts.
Materials you will need;
- 2 Lunch sized paper bag
- Color crayons or markers
- Buttons
- Yellow ribbon
- Scrap of paper for hat
- Tape
- Glue
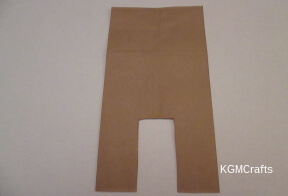
To make the legs, cut a 4 1/2 by 2 inch rectangle from the opening of the bag.
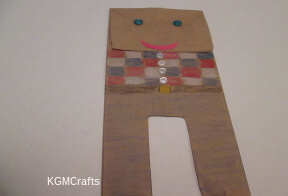
On the bottom of the bag, glue two buttons for eyes. Make a mouth in a shape of a crescent moon (careful not to make it too fat, though). I used red paper.
Color the bag to look like your scarecrow is wearing a shirt and pants. I glued on buttons to represent buttons on a shirt.
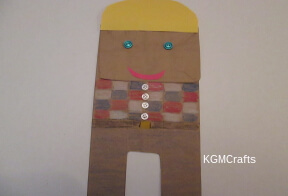
Glue a half circle of yellow paper for a hat. (Maybe this scarecrow’s head is filled with more than straw).
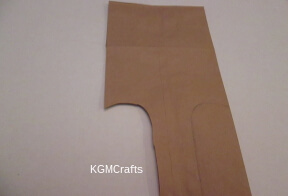
To make the arms, cut 4 1/2 by 2 inches on each side of the fold on the other bag. Color to match the shirt.
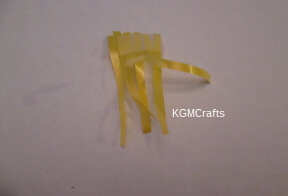
For each arm and leg, cut five pieces of ribbon and place on a piece of tape.
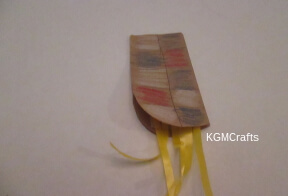
Put the tape with the ribbon on the leg or arm. The ribbon will represent straw.
Then glue the insides of the arm and legs to keep the two pieces together.
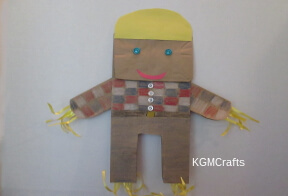
Glue the arms just below the fold on the bottom of the bag. I placed mine in the fold on the sides.
Though you won’t be able to hang this craft outside, a scarecrow is one way that farmers use to scare birds from their fields.
The Candy Corn Man
When I was little, I enjoyed making a heart shaped man for Valentine’s Day, so I thought that making a candy corn man would be fun too.
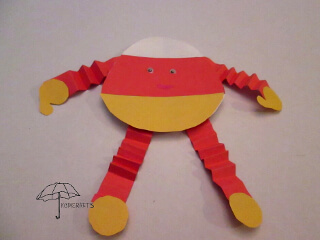
For this project you will need;
- Paper Plate
- Yellow and orange construction paper
- Wiggly eyes (optional)
- Glue stick
- White glue if you use the wiggly eyes
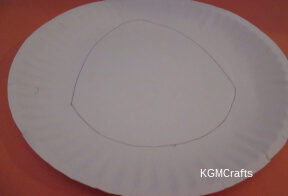
Draw a candy corn shape on a paper plate. At about 1 3/4 inches from the bottom angle each side up to a rounded point at the top.
The shape should measure 6 1/4 by 5 1/4 inches. It will look something like a rounded triangle.
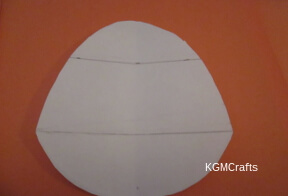
Cut out candy corn.
Draw a line 2 inches from the bottom and another line 4 1/2 inches from the bottom.
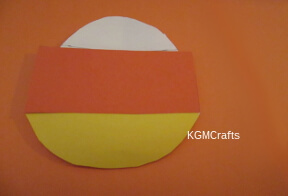
Cut yellow paper 2 by 5 1/4 inches to fit the bottom of the candy corn.
Cut orange paper 2 1/2 by 5 1/4 inches for the center piece. You will have to trim the sides so that it will fit.
Glue the orange and yellow pieces to the candy corn.
Leave the top of the plate white.
Add eyes and a mouth to the orange section.
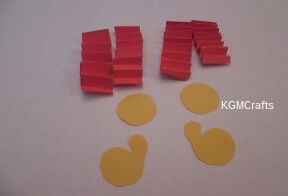
Cut four orange strips 5 by 1 inch. Fold each piece back and forth.
Cut two circles from yellow paper. Glue the circles to two of the strips. These are the candy corn’s feet.
Cut two mittens for hands. Glue to two of the strips.
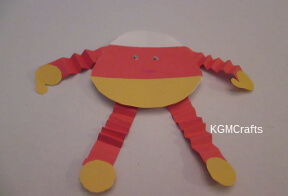
Glue the paper strips to the candy corn. You are ready to hang your decoration on the wall.
Candy corn was first made by George Renninger in the 1880’s.
Halloween Preschool Crafts – Spiders
Here are two cute spiders made out of egg cartons. Are spiders ever cute? Just don't scare your sister with these Halloween preschool crafts.
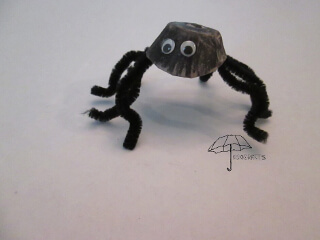
You will need;
- An empty egg carton
- Black crayon
- Black pipe cleaners
- Scissors
- Wiggly Eyes
- Glue
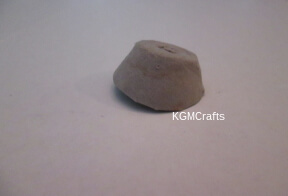
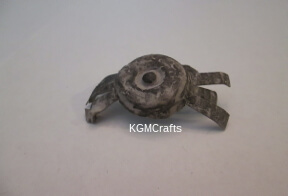
First separate the bottom of the egg carton. You will want one of the egg holders. I cut it so that there were no bumps.
Color the piece that you cut off black. Or another color if you want, not all spiders are black. Some have many colors and different designs. You can search online and show your kids what some of them look like.
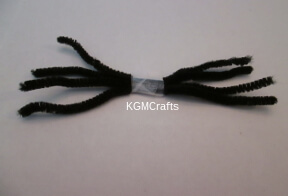
Hold four 6 inch pipe cleaners and wrap the center with tape. Don’t they look like kitty cat whiskers?
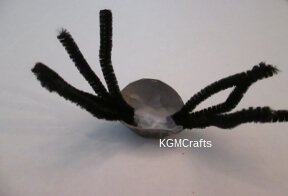
Tape the pipe cleaners in the egg carton piece.
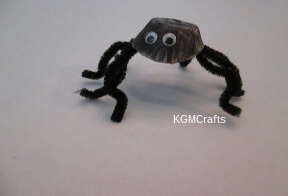
Glue on wiggly eyes.
Bend your legs so that it looks like a spider.
Another Way to Make a Spider
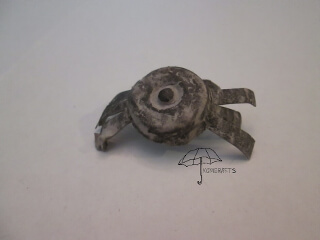
Take one of your egg cells that you cut off from your egg carton. On this spider, the sides do not need to be equal.
Color your spider.
On one side, make four legs by cutting the side. Turn the spider and do the same for the other side. Cut the front and back of your spider so that it is shorter than the legs.
Jack-O-Lanterns are great Halloween preschool crafts
Pumpkins and Jack-o-lanterns make great Halloween preschool crafts.
Happy Jack-O-Lantern
This is a simple cutting and gluing exercise.
Materials;
- Two paper plates
- Yellow paper
- Orange crayon
- White glue
- Scissors
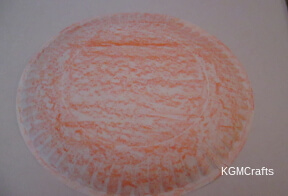
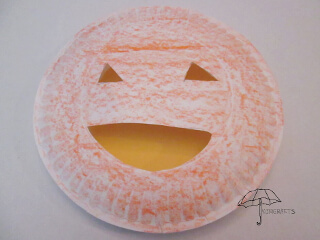
Have your child color the outside of the paper plate. I used a broken crayon and colored with the sides.
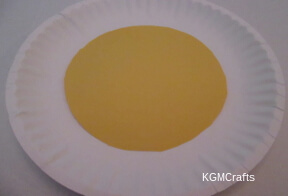
Cut a circle of yellow paper that will fit inside of one of the plates. Glue in place.
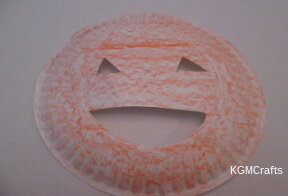
On the other paper plate, draw two triangles for eyes and a mouth shape.
Fold the plate slightly and make a cut inside one of the triangles. Cut out along the lines. Do the same for the other side and the mouth.
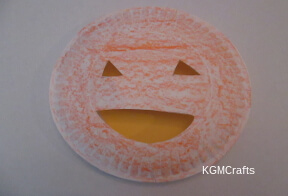
Glue the plate with the facial features onto the plate with the yellow circle. Through the mouth and eyes, you will see yellow.
Cool. Look at it glow.
Jack-o-Lanterns aren’t really named Jack.
Surprise your kids with these easy to do Halloween preschool crafts that involve coloring.
Jack-O-Lantern Rubbing
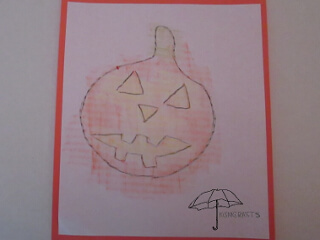
Make a jack-lantern appear on a piece of paper.
You will need;
- Paper Plate
- Crayons
- Glue stick
- White Paper
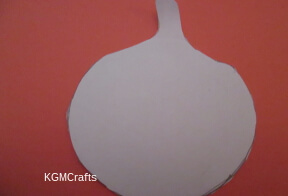
Cut a Pumpkin shape from the bottom of a paper plate.
From the rim cut three triangles for the eyes and nose. Also make a toothy piece for the mouth.
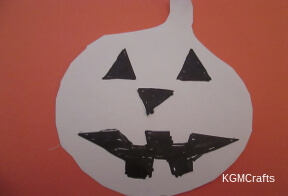
With a glue stick, glue the pieces to the pumpkin shape.
I colored the pieces with a marker so that they would show in the picture. You do not need to do this.
Place the Jack-o-lantern under a piece of white paper, such as computer paper or typing paper.
With the side of a green or brown crayon, color the stem of the pumpkin.
Next, use a yellow color crayon to color over the eyes, nose, and mouth.
Don’t worry, you will have some yellow on the pumpkin. With an orange crayon, color over all the pumpkin. It should outline the eyes, nose, mouth, and sides of the Jack-o-lantern.
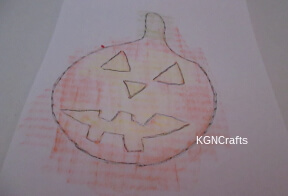
Next you can use a black crayon to outline the eyes, nose, and mouth.
Bat Wing Rubbings
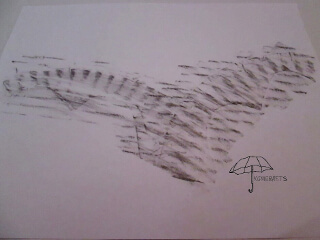
I thought that it cool to use a paper plate as a rubbing. You could use this craft as a way to make nice looking paper for making homemade cards.
What you need;
- Paper plate
- Black crayon (You could use any color that you want)
- White paper (I don’t think that other colors would work well for this)
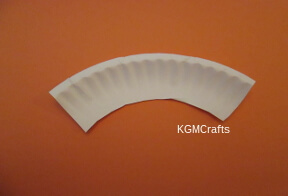
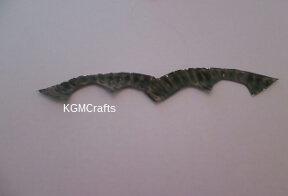
Cut a piece of your paper plate rim. It can be big or small, as long as you have a curve shape to work with.
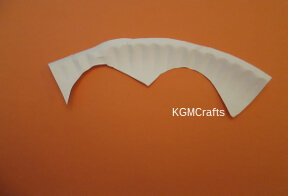
Cut “M” shapes with points on your rim to make it look like a bat wing.
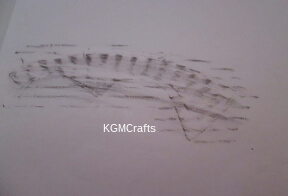
Put your bat wing underneath a piece of paper. Using the side of your crayon, color over the wing piece.
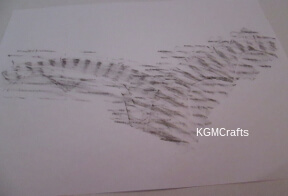
Flip the wing on the other side, keeping it under the paper.
Color again with the crayon.
Use your paper to make a card or even wrapping paper.
Don’t rub your bat the wrong way. He might get mad!
Bats are not birds, but are mammals.
Halloween preschool crafts that involve painting
Cat Painting
For this craft you will need;
- Card stock
- Black paint or turquoise, red, and yellow paint
- Scissors
- Plastic lid
- Plastic fork
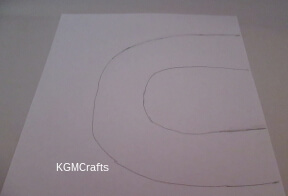
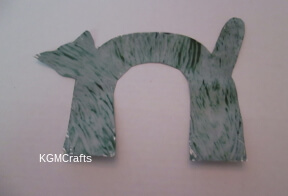
Draw a cat on your card stock. First, draw a “c” shape approximately 2 inches wide.
Draw a rounded rectangle for the tail.
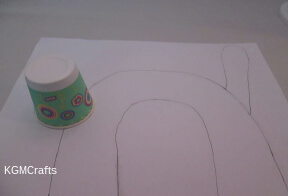
Use a 3 ounce cup to make the head. Draw two triangles for ears.
Cut your cat shape out.
A lot of Halloween preschool crafts use black paint. Below is a recipe if you can't find black paint at the store.
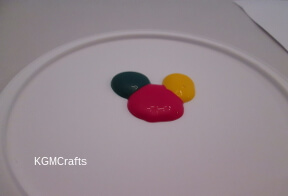
To make black paint, place equal globs of turquoise, red, and yellow paint on a plastic lid.
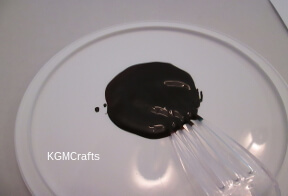
Mix the paint with a fork.
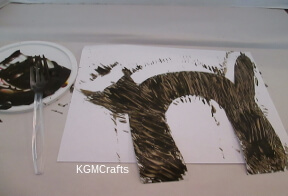
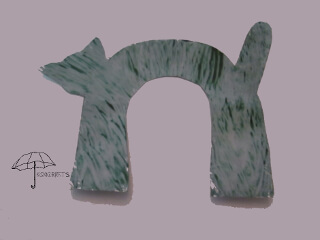
Dip your fork in the black paint. Use it to paint your cat. It will look like your cat’s hair is sticking up like he is scared.
Depending on the type of card stock that you used, your cat may change to a gray color when it dries.
When a cat is afraid, his fur will stand on end. The cat will also arch its back. They are trying to look bigger and more threatening than what is scaring them.
Painted Bat
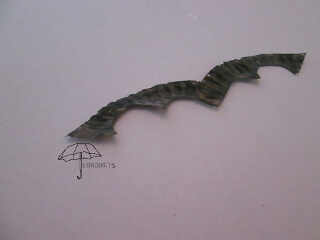
You will need;
- Rim from a paper plate
- Black paint
- Stapler
- Fork
- Scissors
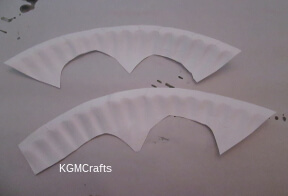
Cut off the rim of a paper plate. You will need two pieces approximately 7 inches long.
Hold the two pieces together and cut a “M” shape on the cut end. Cut two of ends at an angle, so they look like the tips of bat wings.
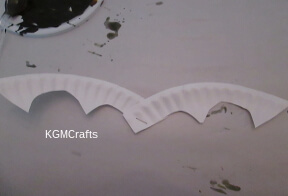
Staple the two pieces together.
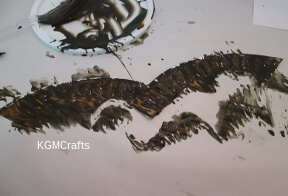
With a fork, paint the bat black. Use an equal amount of turquoise, red, and yellow paint to make black paint.
Let dry. Then hang.
Have fun making Halloween preschool crafts with your child.
If you have older children, you might like this Halloween page.
