- Home
- Sunday School
- Free Printable Christian Easter Crafts
Free Printable Christian Easter Crafts Easy and Fun
by Karen & Grace Morris
You'll save a bunch of time and money, thanks to our free printable Christian Easter Crafts. They are easily accessible, and perfectly suited for Sunday School, making your Easter lesson planning a breeze.
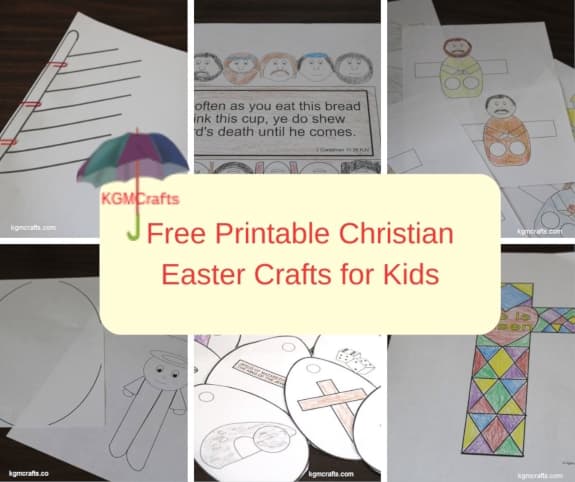
The pictures will take you to the individual Easter Crafts.
Easter is a special time for believers around the world, and what better way to build anticipation and remembrance for this meaningful holiday than through crafting? Get excited, because we're about to delve into a treasure trove of free printable Christian Easter Crafts that will have your kids immersed in Scripture and the story of Christ's resurrection.
Palm Branch Printable
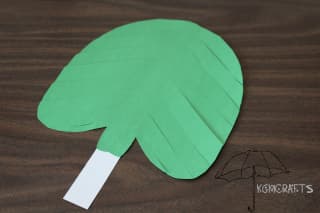
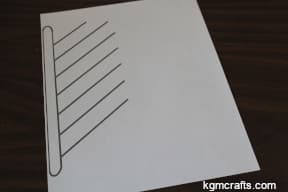
Our first activity centers around Palm Sunday, marking the start of the Holy Week. Read Matthew 21:8-11 about the triumphant entry into Jerusalem while you use this template to make a paper palm branch.
Supplies you will need;
- Palm branch PDF
- Green construction paper
- Strip of card stock
- Paper clips
- Scissors
- Glue
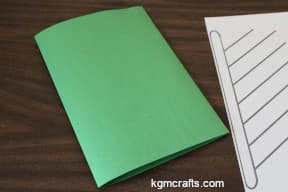
Fold a 12 by 9 inch piece of green construction paper so that it measures 6 by 9 inches.
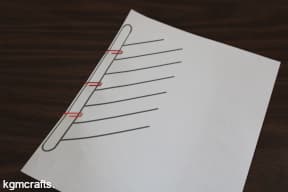
Place the PDF on the fold so that the shorter line is on top. Use some paper clips to secure.
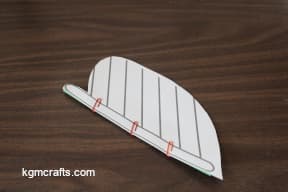
Cut around the top of the PDF and down to the first line. Next, cut a curved line along the outside of the lines.
Then, cut on each line.
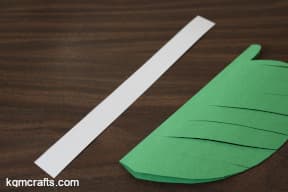
Unfold the green paper.
Cut a strip of card stock 11 by 1 inch. Glue to the back of the green paper. This will give the palm leaf some stability and provide a handle.
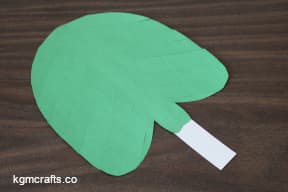
Have your students wave the palm branch and say, “Hosanna in the highest.”
Last Supper Place Mat
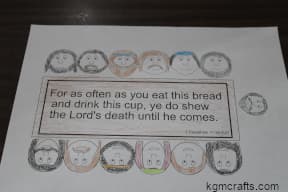
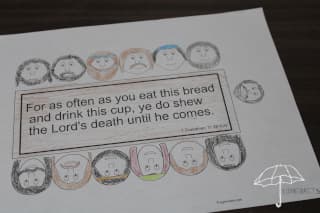
Moving on to the Last Supper, we have a fantastic printable place mat bearing the image of the Last Supper. On the table is words from 1 Corinthian 11:26.
You will need;
- PDF of Last Supper
- Crayons
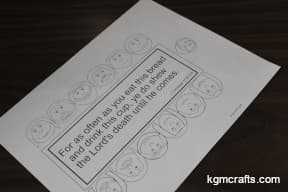
Print the PDF of the Disciples and Jesus around the table. Have your students color the picture while you are telling about the Last Supper and Communion.
Stained-glass Cross Craft
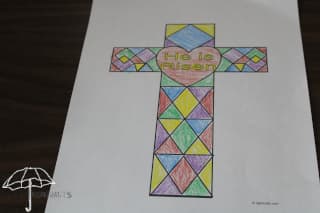
The third craft is a cross printable, inspired by the stained-glass windows found in churches. This is a quick project for kids to do.
Supplies;
- PDF of cross
- Crayons or markers
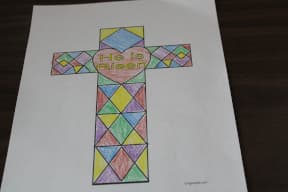
Print the printable for each child. Have them color the cross.
Empty Tomb Finger Puppets
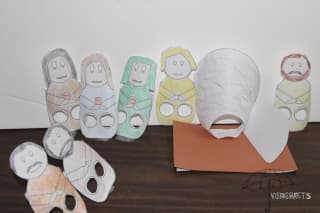
Onto the most exciting part of the Easter story, the resurrection! Our next craft is an empty tomb printable, a delightful and engaging reminder of Luke 24, which is guaranteed to send a wave of joy and hope through your classroom.
You will need;
- Empty tomb finger puppet printable
- White paper or card stock
- Crayons
- Scissors
- Glue stick
- 4 by 6 index card or card stock
- Brown construction paper
- Stapler
- 7/8 of an inch hole punch (optional)
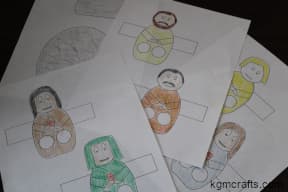
Print the tomb and people. Have your students color the items.
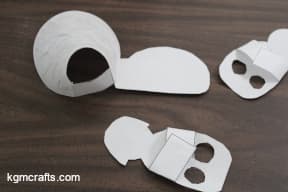
Cut out the tomb and rock, including the side tabs. Be sure to cut around the circle in the center of the tomb. Fold the tabs on the tomb to the back and glue. Glue the tab of the rock to the right side of the tomb. Fold the rock so that it looks like it sits away from the tomb.
Cut out the people, including the tabs. The tabs give the puppets more stability. Fold the tabs to
the back and glue. Omit the tabs if you are using card stock. Cut out the holes for the fingers or
you could use a circle punch. The circles for the puppets are 7/8 of an inch.
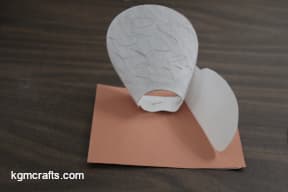
Cut a piece of brown construction paper to fit the index card. Place the paper on top of the index card. Put the glued tabs on the brown paper and staple.
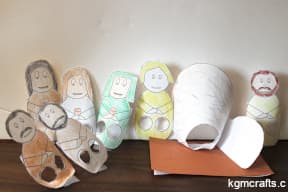
Now put on a puppet show. Slip your index and middle fingers in the leg holes of the puppet to
make it walk.
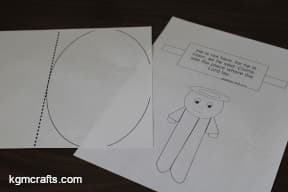
“He is Risen” Pop-Up Card
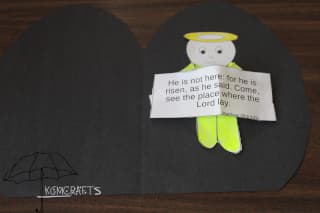
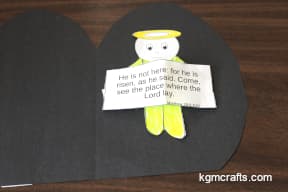
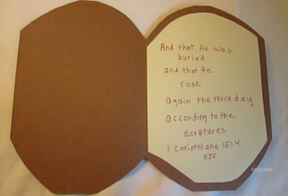
For those children who love hidden surprises, we have a “He is Risen!” Pop-Up card that they can take home and share with their family. This craft combines Matthew 28:6 with their creative skills, resulting in a beautiful personalized Easter message.
You will need;
- PDF of the card and message
- Black construction paper
- Scissors
- Yellow marker
- Yellow fluorescent highlighter or marker
- Glue stick
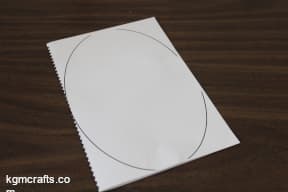
Fold the card on the dotted lines. Cut off the four corners so that you have a large oval. Don't cut on the fold.
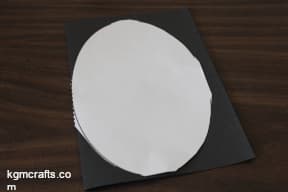
Fold a 9 by 12 inch piece of black construction paper in half. Place it inside the oval. Cut off the two top corners and the bottom left.
Glue the black paper to the inside of the card. Some black paper should show on the front of the card. Which will make it look more like a tomb.
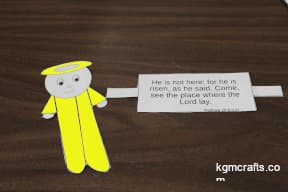
Color the angel before cutting (it will be a little easier to add color this way). Use a yellow marker or crayon to color the halo. Use a fluorescent highlighter to color the robe. You want the robe to look shiny.
Cut out the message with the tabs and angel.
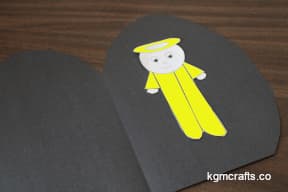
Glue the angel to the center of the right side of the card.
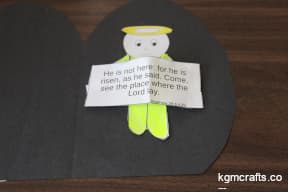
Fold the tabs to the back. Pinch the bottom center of the message. Place it on top of the angel just below the hands. Glue the left tab down. Place the right closer to the left and glue. This will make the message kind of pop out some.
Give your card to someone and say “Happy Easter.”
Story Eggs
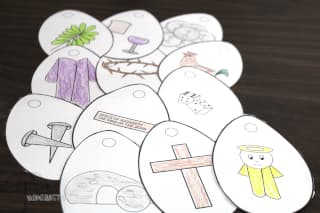
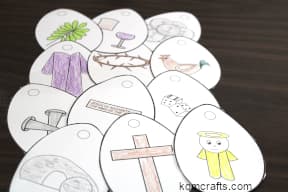
Through these activities, they will journey with Christ from Palm Sunday to Resurrection, discovering along the way God's love displayed through His only Son, Jesus. You can use the eggs as a kind of decoration displaying what happened.
Supplies;
- Card stock
- PDF of eggs
- Color crayons or markers
- Scissors
- 3 by 5 cards (optional)
- Glue stick (optional)
- Hole punch (optional)
- Ribbon (optional)
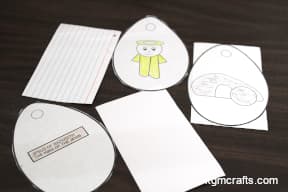
Print out the three pages with the Easter Eggs on card stock. If you don't have card stock, print on paper. Then provide a 3 by 5 inch index card for each egg. The egg will overlap about 1/4 of an inch on each side, but this will be okay.
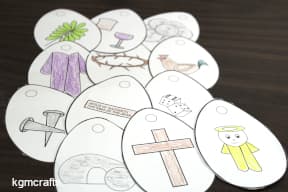
Have the children color the symbols on the eggs. They can also color the eggs if they want.
Cut the eggs out. One optional step is gluing the eggs on index cards. Glue so that the lines on the card on the back, that way they will not show through on the egg. You will only have to do this if you are printed on paper.
Use the eggs to remember the sequence of events.
An optional step is to punch a hole in the top of each egg. Thread ribbon through each egg. Now you can decorate an Easter tree.
Make no mistake; crafting isn't just about pasting and coloring. It's also about discussion and reflection on the biblical journey from Palm Sunday through Easter Sunday. Each free printable Christian Easter craft is meant to enrich their understanding of Christ's sacrifice and resurrection.
