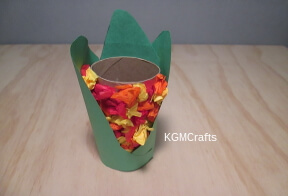
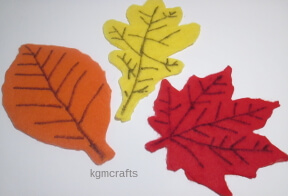
Colorful Fall Preschool Crafts
by Karen & Grace Morris
You may still need your sunglasses with these fall preschool crafts. Look at the bright reds, orange, and yellow leaves.
The projects are simple, fast, and inexpensive.
The pictures will take you to the individual fall preschool crafts.
Leaves
Continue making apples, pumpkins, and other autumn decorations.
Pumpkins
Apples and Corn
Fall
is Like
a
Second Spring
Beautiful Leaves
Fall Preschool Crafts
It wouldn't be fall without colorful leaves, unless you live in an evergreen forest.
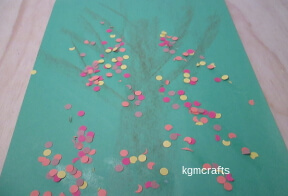
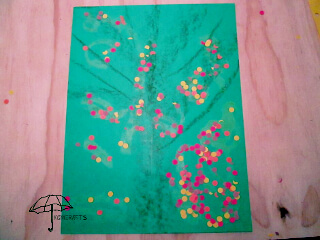
Tree of Fallen Leaves
This is one of the preschool fall crafts that uses a hole punch. This is great for active for stressed out kids, as well as building the hand muscles.
You Will Need;
- Construction paper for the background
- Broken brown crayon
- Scraps of brown, yellow, orange, and red paper
- Hole punch
- Glue stick
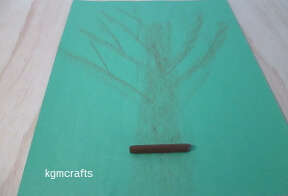
Hold a small piece of crayon by the side. Color from top to bottom to make the trunk of the tree. For the branches, make quick strokes with the crayon.
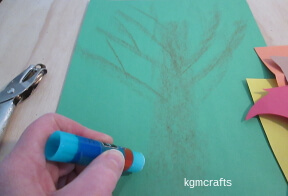
With a glue stick, draw several lines where you want the leaves to go. Do only a small section. Then move to another section.
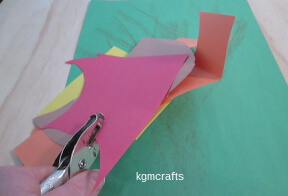
Hold a piece of brown, yellow, orange, and red paper together.
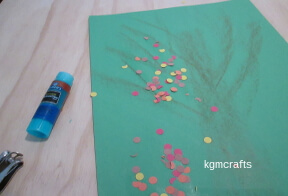
While the glue is wet, punch holes in your colored paper. The circles should land on some glue and stick. When you have enough leaves in this section, move to another section to add more leaves.
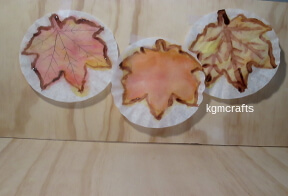
Maple Suncatcher Leaf
Dark and cloudy out? Add some color to your windows with this sun catcher.
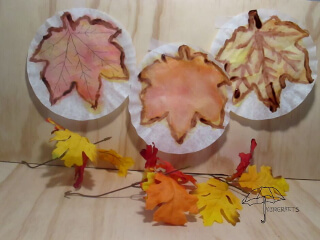
You will need;
- PDF of maple leaf
- Coffee filter
- Pencil
- Water color paint
- Paint brush
- Brown Washable liquid paint
- Cotton swab
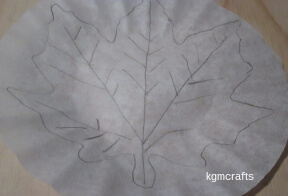
Download the FREE leaf patterns. Print the maple leaf (page 2).
In the PDF there are two other leaves that you can use as coloring pages etc. Keep your pages to use in more fall preschool crafts.
Place the maple leaf under the coffee filter. Use a pencil and copy the lines.
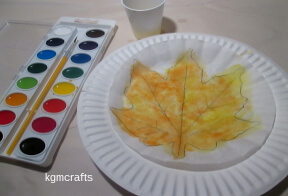
Place the coffee filter on a paper plate. Using a paper plate make the project portable. You can move it off the table if you have too.
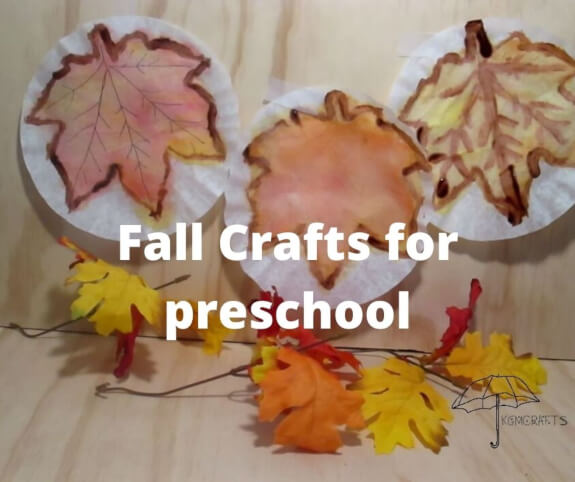
Use fall water colors and paint the leaf. Paint with the dark orange first. Then use yellow to highlight. Your coffee filter should look like a fall leaf. Each one will be different, like real maple leaves.
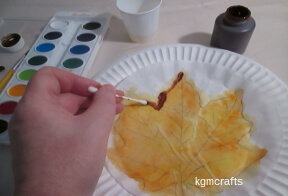
Dip a cotton swab in liquid brown paint. With the cotton swab, draw over the outside lines on the leaf. This makes the leaf stand out.
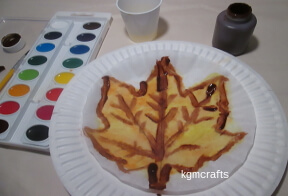
An optional step is to do the inside lines using either liquid brown paint or a marker.
Let your coffee filter dry. Then hang in the window to catch the sun.
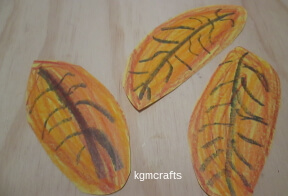
Scribble Crayon Leaves
Not everyone needs to be a fine artist to make art. Just scribble to make something beautiful.
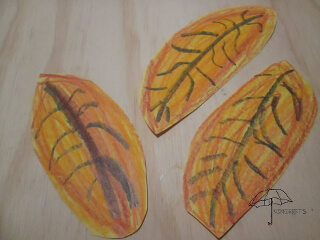
Supplies;
- Construction paper (yellow is a nice color)
- Fall colored Crayons (red, brown, orange, green)
- Scissors
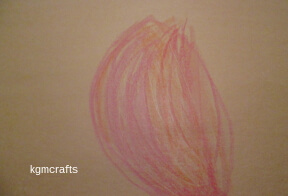
Scribble with different fall colors on the piece of paper. After you use one color, switch to another one and repeat. Scribble leaf-like shapes. They don't have to be perfect.
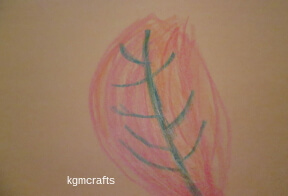
Add the vanes with a green crayon.
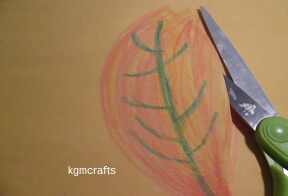
With the scissors, cut around your leaf-like scribbles. You can cut them a little to make them more leaf shape.
Tip: Buy scissors that actually cut paper. Some companies put so much safety in their product that the scissors are no longer useful for crafting. Just remind your kids only to use them for crafting and not to cut other things like hair, books, or other important items.
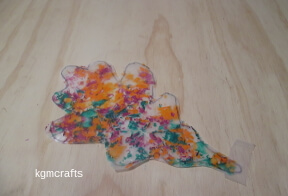
Melting Crayon Leaves
Crayons tend to break. So here is a way that allows you to use them.
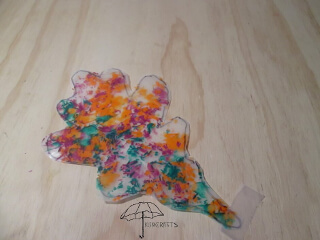
What You Will Need;
- Our FREE PDF leaf pattern
- Printer paper
- Fall colored broken Crayons (red, brown, orange, green)
- Old pencil sharpener
- Wax paper
- Black marker
- Hair dyer
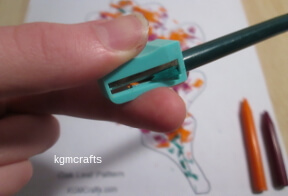
Print out the desired leaf from the FREE PDF on the printer paper.
Cut a piece of wax paper that is twice the size of the leaf. Place the wax paper over the leaf.
Shave off pieces of your Crayons on the wax paper.
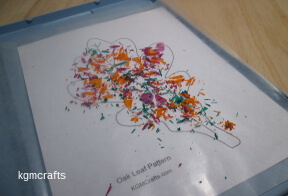
When the shavings cover the leaf pattern, fold the wax paper over.
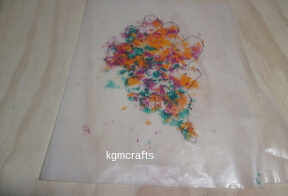
With a black marker, draw the outline of the leaf pattern on the wax paper.
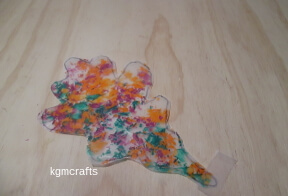
Use a hair dryer to melt the wax paper and crayon shavings. Cut near your black outline.
Make several to hang on the wall or place on a table.
After you have made these fall preschool crafts, it would be fun to go outside and jump into a pile of leaves.
Pumpkins
Fall Preschool Crafts
Do you like the color orange? Jack would be proud of these fall preschool crafts.
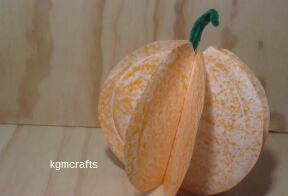
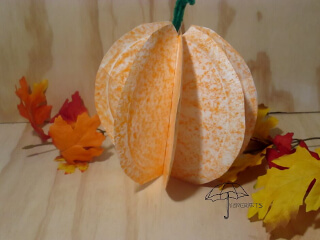
Paper Plate 3D Pumpkin
Plates can be used for more than holding pie.
Supplies;
- 4 paper plates
- Orange crayon
- Green pipe cleaner
- Scissors
- Stapler

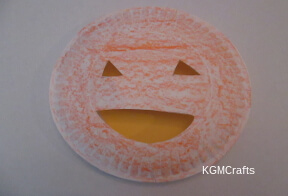
Color the four paper plates with the sides of an orange crayon. Do both sides of the plate.
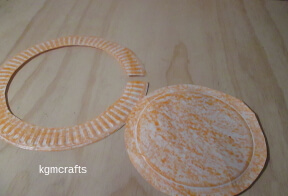
Cut the rim off the plate.
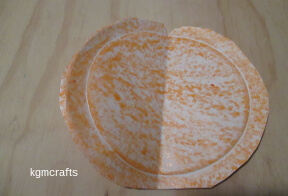
Fold the plate in half and cut a small "v" shape at the top. Trim the bottom so that it is square and not rounded.
Stack the plates together. Staple on the fold at the top.
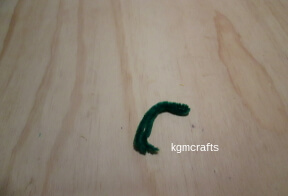
Bend a pipe cleaner in a stem shape.
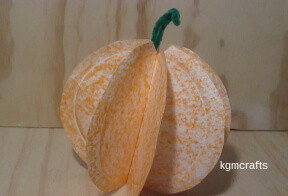
Add the stem to the top of the pumpkin.
Small Pumpkin
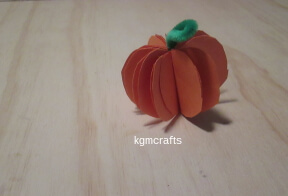
No paper plates? Use paper to make a tiny pumpkin.
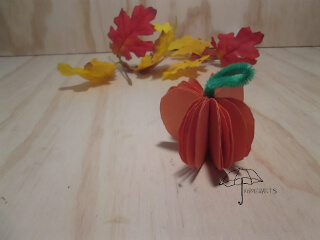
You Will Need;
- Orange construction paper
- Scissors
- Stapler
- Pipe cleaner

Cut 16 2 1/2 by 2 inch pieces from construction paper.
Fold the paper in half.
Cut a heart shape from the paper, but the bottom is rounded and does not come to a point.
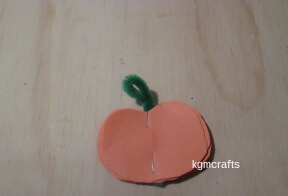
Fold the pipe cleaner in a stem shape.
Stack the pieces together.
Add the pipe cleaner to the center of the stack.

Fold and bend the paper so that it stands up.
Pumpkin Rock
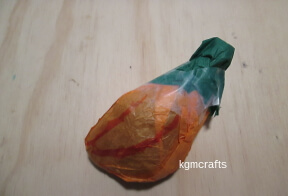
It's like a pet rock. Only it is not. It is one of the fall preschool crafts that you can't eat.
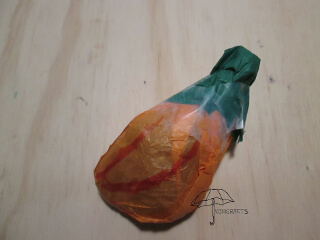
Supplies;
- Rock (any normal rock will do, though certain shapes looks more like a pumpkin than others)
- Orange and green tissue paper
- Orange marker (optional)
- Tape
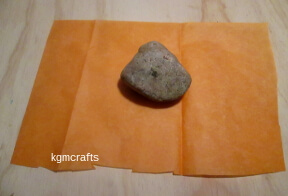
Cover your rock with orange tissue paper and tape.
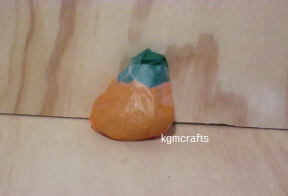
Cover the top of the rock with green tissue paper and tape.
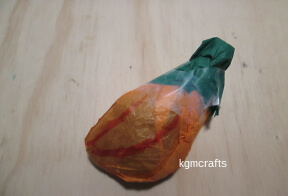
This next step is optional. With an orange marker, draw in the groves of a pumpkin.
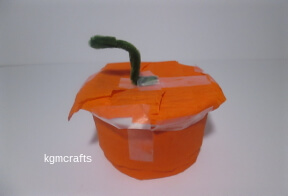
Cookie Jar Pumpkin
Cookies!!!! Cookies in a pumpkin!!!! Pumpkin Cookies!!!! Yum-yum-yummy!!!!
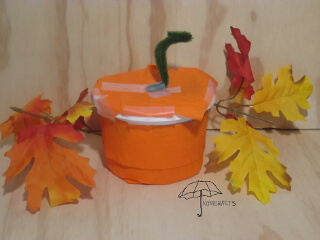
What You Will Need;
- Empty and washed 16 oz. wide sour cream container with lid
- Orange streamer
- Green pipe cleaner
- Tape
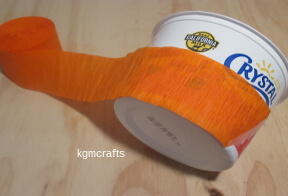
Tape the end of your steamer to the end of your container.
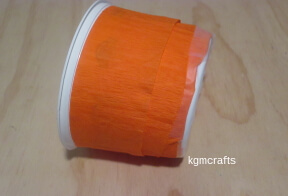
Wrap the streamer around the container until completely covered. Then tape the end.
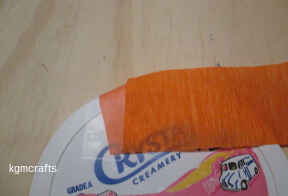
Get another piece of streamer and tape the end to your lid.
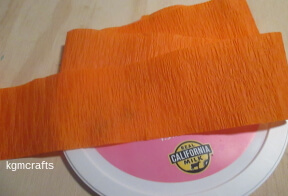
Fold back and forth until the lid is completely covered.
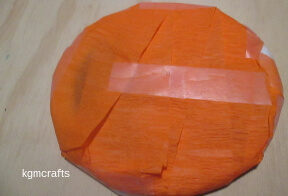
Tape the streamer.
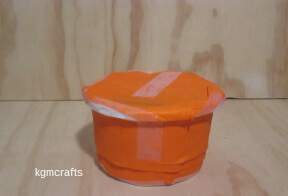
Tape the side of the lid, so the streamer doesn't unravel. Make sure you tape it in such a way that you can still use the lid and be able to take it on and off of the container.
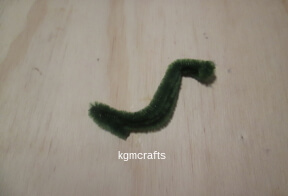
Take your 12-inch pipe cleaner and bend it three times to make a stem. Tape it in the center of your lid.
Now you can put pumpkin spice cookies inside the jar!
Lots of pumpkin fall preschool crafts, be sure to visit our Halloween page for even more crafts.
Apples
Preschool Fall Crafts
An apple for the teacher and an apple for you. I am sure that everyone will like these fall preschool crafts.
The Little Red House
Do you know the about the little house with no windows or doors?
Carolina Sherwin Bailey wrote a story called the Little Red House. In the story, a mother sends her son on a journey to find a red house with no windows or doors. He talks to several people on his way, but no one knew of such a house. The wind finally takes him to an apple orchard. The boy brings an apple home and his mother cuts it in half crosswise. Inside the apple is a star that holds five seeds.
There is a newer picture book called The Apple Star Adventure by Chris Summerhayes.
Here is a craft that will help children remember the story. It is fun to have fall preschool crafts that go with a story.
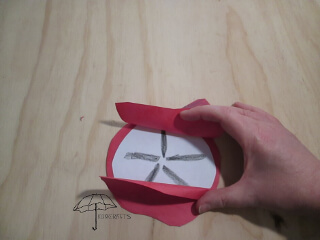
Supplies;
- Red construction paper
- White paper
- Black, green, and red color crayon
- Glue stick
- Scissors
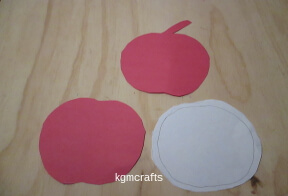
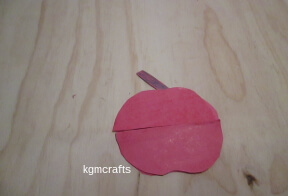
On a red piece of construction paper, draw an apple shape with a stem. Draw another apple shape, but leave the stem off.
Before you cut, color your stem. You can also use the side of a red crayon to color the apple if you want.
Cut a white oval.
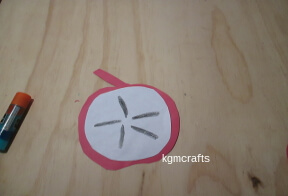
On the white oval, draw a star with a black crayon. It looks something like this. A small oval at the top. Then two small ovals at the sides. Next, draw two ovals at the bottom.
Glue the oval on the apple shape with the stem.
Cut the other piece horizontally (from side to side) in half.
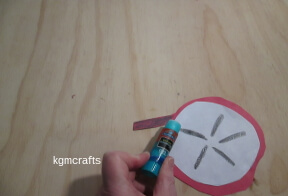
Glue one half to the top and the other half to the bottom of the apple with the stem.
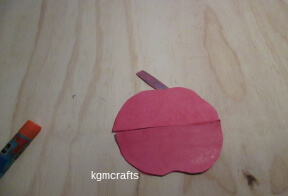
Add the two top pieces to hide the star.
A Basket of Apples
A gift a preschooler can make for his/her teacher. Because who doesn't like an apple?
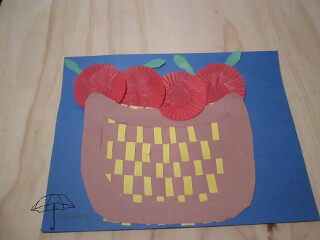
Supplies;
- PDF of basket shape
- 2 sheets of brown construction paper
- Yellow construction paper
- Scraps of green construction paper
- Background colored paper of your choice
- Scissors
- Glue stick
- Red mini cupcake liners
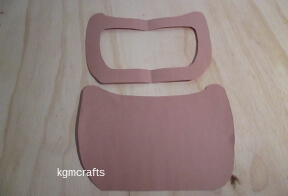
Download the FREE basket PDF. (Save the pages and make other fall preschool crafts.)
Cut two from brown paper.
Mark the boarder and cut the inside out of one of the basket shapes.
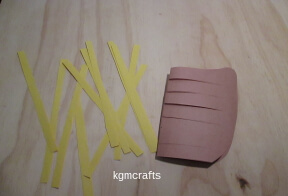
Fold the other basket in half and cut strips from the fold.
Cut thin strips from yellow paper.
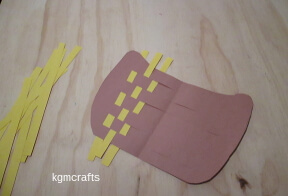
Weave the yellow strips in the cuts in the basket. The strips will be longer than the basket. Don't cut yet.
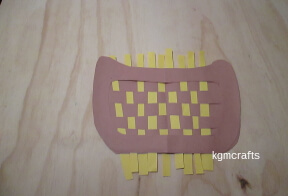
Glue the boarder piece on the basket.
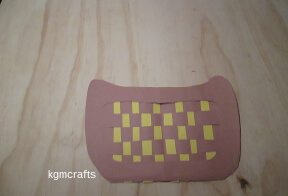
Trim the yellow pieces even with the top and bottom of the basket.
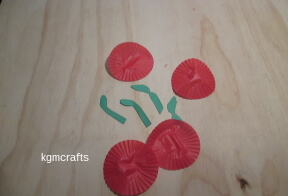
Cut apple stem from green paper.
Glue the stems to the cupcake liners.
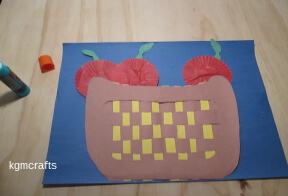
Place the basket on the background piece. Add the cupcake liners so that some are under the basket. Glue everything in place.
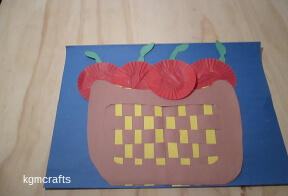
Add the last apple on the top of the basket.
Autumn Corn
Here are some corny fall preschool crafts.
Indian Corn
A corn too pretty to eat. Color it red, white, blue, or your favorite.
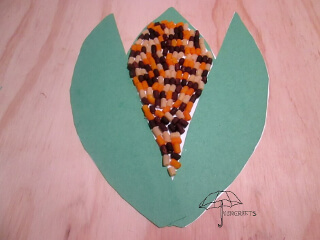
Supplies;
- 1/8 cup of Ditalini pasta this is a small tube pasta that is used when making soup
- 1/8 cup of purple dyed Ditalini pasta
- 1/8 cup of orange dyed Ditalini pasta
- Corn PDF Pattern
- Green paper
- Card stock
- Glue stick
- Tacky glue

First, you are going to need to dyed your two colors of pasta (remember that you want at least a 1/8 of a cup of plain as well).
You can find out how to make it here. Just half the recipe for each color. Let dry.
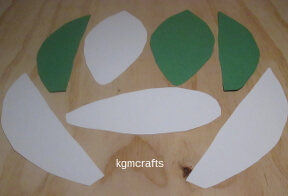
When your dyed Ditalini is dry, it's then time to make your corn.
You will need to print out your FREE corn PDF on regular printer paper.(the corn is on pages 2-4)
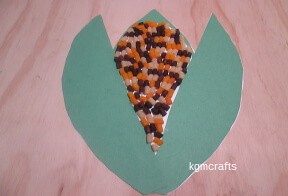
When the pattern is printed, cut out. Trace the “back husk” and “front husk” pieces on green paper and card stock. Also, trace the “cob” on a piece of card stock.
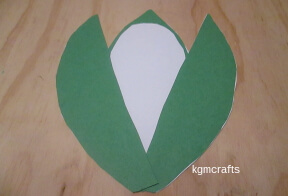
With the glue stick, glue both the “back husk” pieces together. Do the same to the “front husk” pieces.
Glue the “cob” piece on top of the “back husk”.
Cut the “front husk” piece in half. Arrange both husk pieces so that you can see the cob. Glue the bottom and sides.
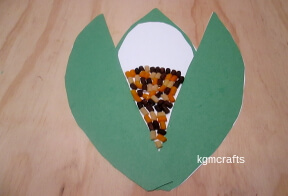
Now start gluing your dyed and regular pasta with tacky glue on the “cob” piece. Let dry, then your craft is complete.
Painted Corn
A fun corn to husk!
You Will Need;
- PDF of corn shapes
- Green construction paper
- Scissors
- White paper
- Yellow paint
- Cotton swab
- Glue stick
- Brad
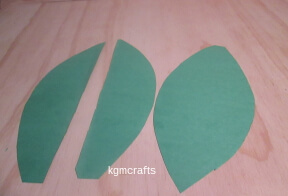
Download the FREE corn PDF and cut out. (page 2-4)
The two pointed ovals are cut from green paper to make the corn's husk.
Cut the third piece from white paper.
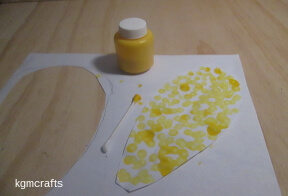
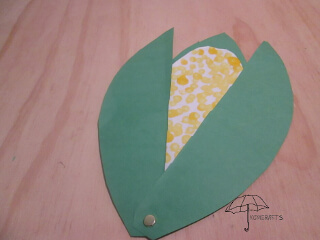
Dip a cotton swab in yellow paint. Dab the swab on the white paper to make the corn kernels. Let dry.
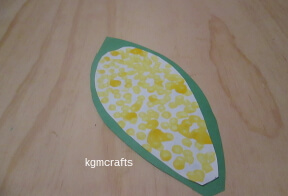
Glue the corn to the green back.
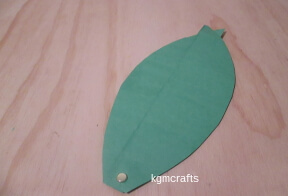
Place the two cut halves over the corn cob. Make a hole for the brad. An easy way is to use a hole punch.

Now you can "peel" the corn husks and see the cob.
It might be cold and rainy outside, but with fall preschool crafts, your home will look cheery.
