Cute Easter Chick Crafts for Kids
by Karen & Grace Morris
Your kids will have fun making Easter chick crafts.
Baby chicks are sooo CUTE! Like so cute! Super, super cute and so fluffy! Who wouldn't want to have something so wonderful on top of their pencil? Or as a great card to open?
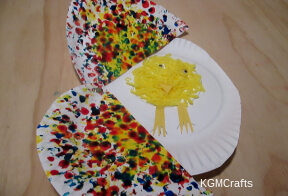
Click the pictures below to go to the individual Easter chick crafts.
Of course, anyone will be able to get that awe-striking result with a soft pompom or even with a cupcake liner. Let's get your supplies together and start crafting!
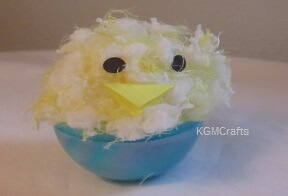
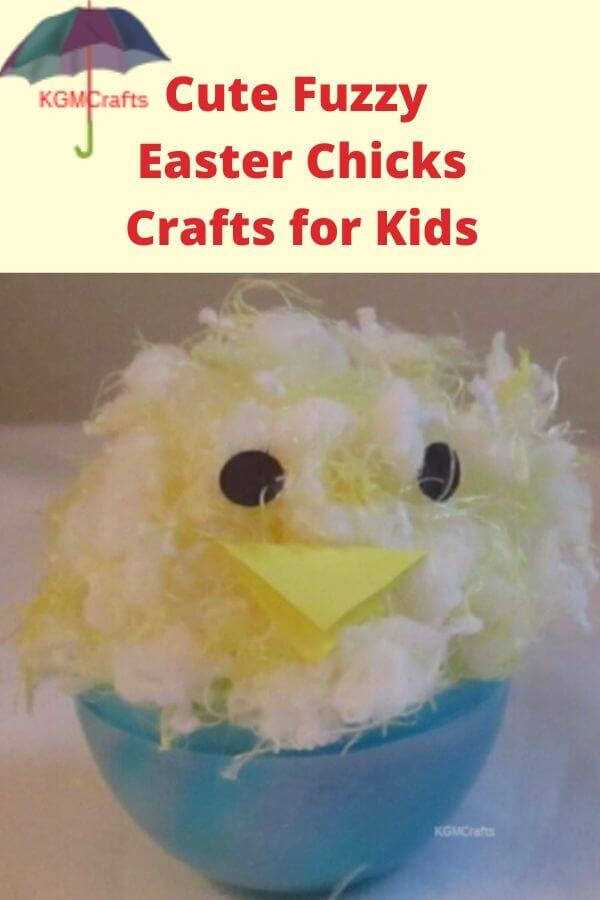
Pompom Chick
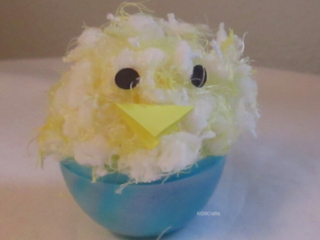
What came first the chicken or the egg?
For this craft you will need;
- One-half plastic egg
- Yellow yarn (Bernat Happy yarn in the color daisy)
- A scraps of black paper
- Scraps of yellow or orange paper
Bernat Happy Yarn in Daisy is no longer available. You can use another brand of fluffy yarn or standard yarn to make the pompom.
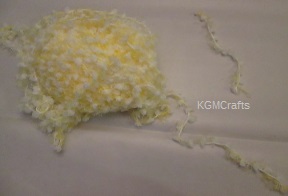
To make the soft fuzzy chick you will need to make a pompom. Cut a 6-inch piece of yarn and set aside.

Take the end of the yarn that is still on the ball wrap it around three of your fingers. Continue to wrap the yarn about thirty times. You might need to wrap more or less to make a fluffy pompom.
Slip the yarn off your fingers. Take the 6-inch piece of yarn and tie it around the center of the yarn bundle. Pull it tight and make a knot.
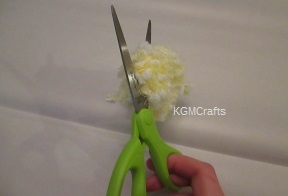
Cut the folded yarn. Trim so that the pieces of yarn are the same length, but don’t trim too much. You want your pompom to be big and round.
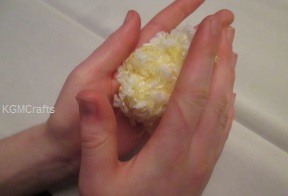
Rub the pompom in your hands. Baby chickens are cute and plump looking.
Place your pompom in half of a plastic egg.
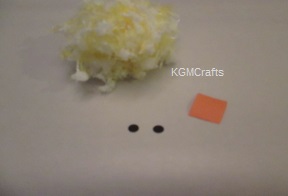
Cut circles from black paper for the eyes. Or you could use small wiggly eyes.
Make a beak out of yellow or orange paper. To make the beak cut a small square of paper. Hold the paper so that it is a diamond shape. Fold the two ends together. You should have a triangular shape.
Glue the beak and eyes to the pompom.
Do you have preschoolers who would like to make a chick? Instead of making your pompom, buy a large yellow one. Your child can then glue the pieces together.
You can also make an adult chicken using a three oz. cup.
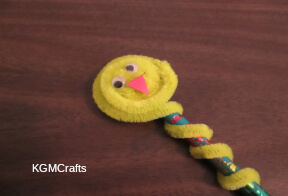
Pencil Topper
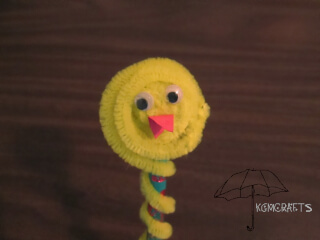
This would make a non-sweet Easter treat!
You will need;
- 2 12-inch yellow pipe cleaners
- Wiggly eyes
- A scrap of red, orange, or yellow paper
- Tacky glue
- Yellow craft string
- Pencil
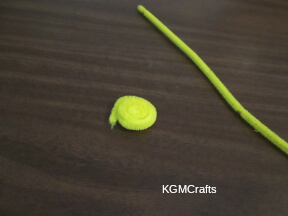
Bend one of your pipe cleaners so that it is in a circle.
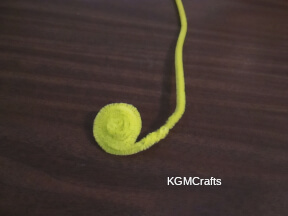
Twist the other pipe cleaner to the end of the first one. Go around the circle one more time.
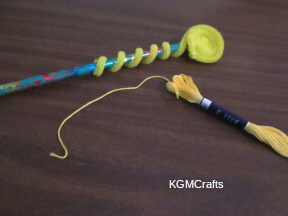
Wrap the long end of the pipe cleaner around the pencil.
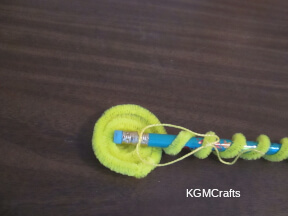
Thread a small piece of yellow string through the front of the circle and around the pencil. Then go back through the circle. Do this two or three times. Tie the ends of the string in a knot on the back of the pencil. Cut off the excess string.
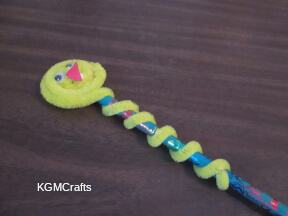
Cut a folded tiny triangle from construction paper. With tacky glue, glue the triangle to the center of the circle. Add wiggly eyes above the triangle.
Paper Easter Chick Crafts
Use different types of paper to make these Easter chick crafts.
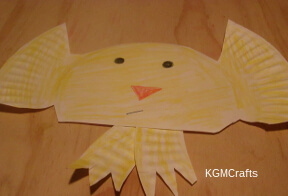
Cupcake Liner Chick
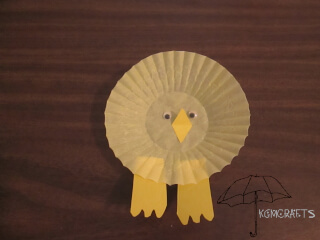
Even though it is common for chicks to hatch in the springtime they can also hatch in the fall and winter.
Supplies;
- Yellow cupcake liner
- A scrap of yellow construction paper
- Scissors
- Wiggly eyes
- White glue
Flatten your cupcake liner.
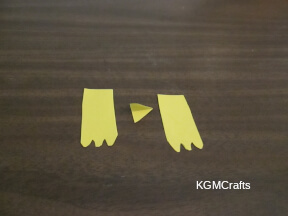
Cut two 1 3/4 by 3/4 inches rectangle from yellow paper. Cut an “E” shape on one of the ends to make feet.
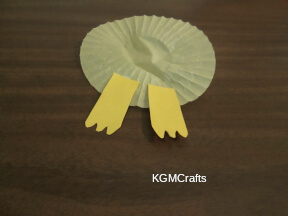
Glue the feet to one end of the cupcake liner
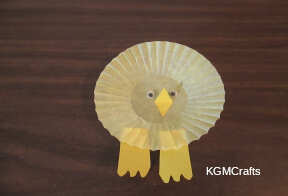
Cut a 1/2 by 1/2 inch folded triangle. Glue to the center of the cupcake liner. Add wiggly eyes.
Easter Chick Card
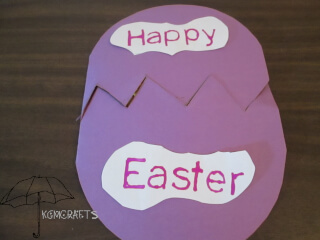
What did the egg do when you told it a joke? It cracked up.
You will need;
- Construction paper
- Scissors
- Yellow streamer or tissue paper
- White glue
- Wiggly eyes
- Optional lids
It is helpful to have two size lids to help draw curved lines. To make your oval you will need a circle with a 5 3/4 inch diameter. To make the circle for the chick you will need a lid 1 3/8 inches.
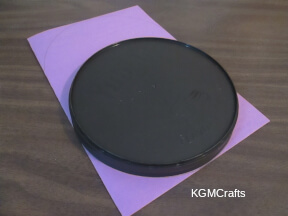
Fold the 9 by 12-inch piece of construction paper in half. Use the larger lid to round the top and bottom of the card. If you don't have a lid cut off the four corners to make an oval shape.
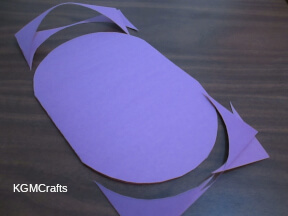
Cut on your lines.
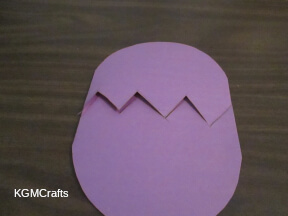
In the center of the card cut a zigzag line from the cut end to the fold.
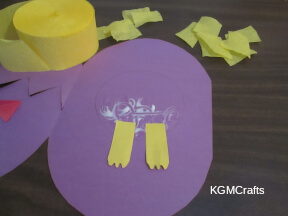
Use the smaller lid to draw a 1 3/8 inch circle on the inside of the card.
From yellow paper cut a 2 by 1 1/2 inch rectangle. Fold the rectangle in half so that it is 2 by 3/4 inches. On one end cut a rounded “E” shape. Cut the shape out. Then cut on the folded line. You will have two chicken feet.
Glue the feet to the bottom of the circle.
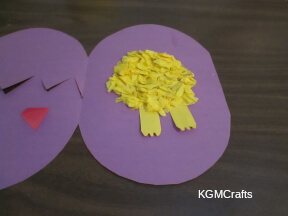
Cut several pieces of the yellow streamer.
Add glue to the inside of the circle. Make wads out of the pieces of streamer and place in the glue. Continue until the circle is filled.
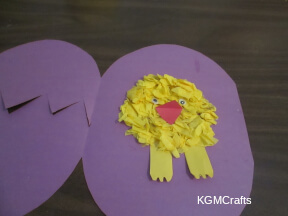
Cut a folded 1 by 1-inch triangle for the beak. Glue the beak to the center of the chick. Add wiggly eyes above the beak.

On the white paper write Happy Easter and cut out. Glue the shape to the front of the card.
After your kids finish their Easter chick crafts they can place them in a basket as a special gift for their loved ones. Now everyone will be able to enjoy the cuteness of baby chicks!
More Easter Crafts
You can find several more Easter chick crafts on the following pages.
