Easy David Bible Crafts
by Karen & Grace Morris
Are you studying about the kings of Israel? Making David Bible crafts can teach your kids about the life of an Israel ruler.
David had an interesting life.
He watched his family's sheep,
played the lyre,
defeated a Philistine,
and died a king of Israel.
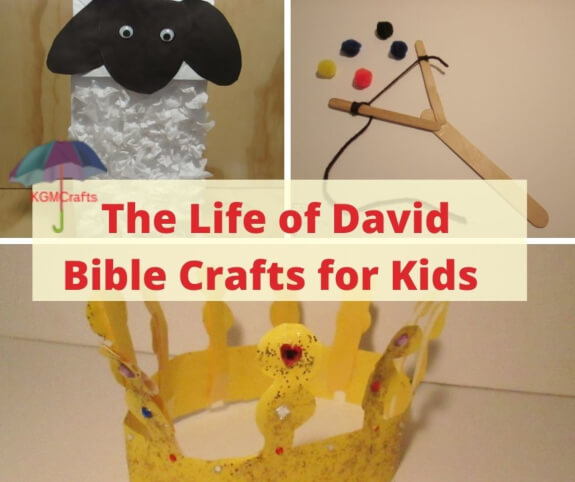
Click the pictures to find directions to the individual David Bible crafts on the page.
We have crafts to show the different milestones in David's life.
You can read about David in
1 Samuel and 2 Samuel
David the Shepherd Boy
Samuel went to David's family looking for a king. The dad brought his sons one by one to Samuel. Samuel looked at each one, but God said not this son. When Samuel came to the last boy, he asked if that was all. The father said there was one still in the field watching the sheep. You can read about Samuel visiting David's family in 1 Samuel 16:1-13.
Sheep
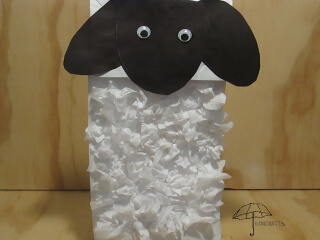
Every shepherd needs a flock of sheep, so you might want to make more than one.
You will need;
- Paper lunch sack preferably white
- Black construction paper
- Scissors
- White glue
- White streamer or tissue paper
- Wiggly eyes

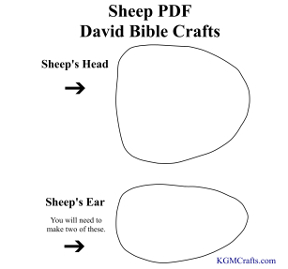
Cut the two ears and the head out of black paper. Glue to the flap on the paper bag.

Cut a square from the streamer or white tissue paper. Wad the pieces up.
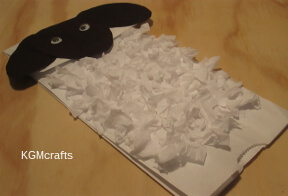
Glue to the bag to make the sheep look furry. Then add wiggly eyes.
David the Lyre Player
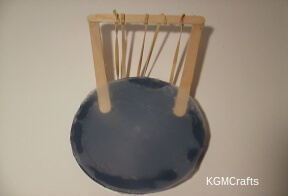
After David was anointed king by Samuel, he went to the court of Saul because he was tormented. It was suggested that the music of a lyre would soothe Saul's soul. David was the person called to play. (1 Samuel 16:14-23) He also wrote many of the Psalms, which are worship songs.
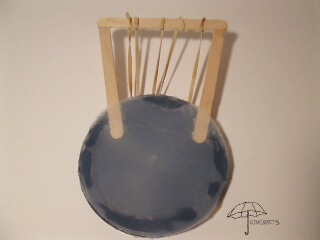
A lyre is similar to a harp.
Supplies;
- 3 craft sticks
- 2 plastic lids
- hot glue
- pipe cleaner
- Rubber bands

Glue the three craft sticks together at an angle. Glue the two ends to one of the lids. Cut the other lid so that it is flat and will fit on the craft sticks and lid.
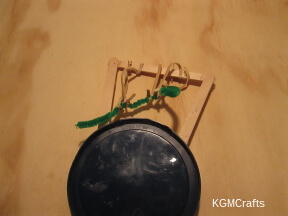
Cut 5 rubber bands in half. Tie the rubber bands to the top craft stick. Tie the other end to a pipe cleaner.

Glue the pipe cleaner under the rim of the lid.
Strum your lyre.
David the Giant Slayer
Israel was at war with the Philistines. One giant of a man started taunting the men of Israel.
The giant's name was Goliath. No one would fight him except David.
You can read about David and Goliath in 1 Samuel 17.
These David Bible crafts will help your child remember the story of Goliath.
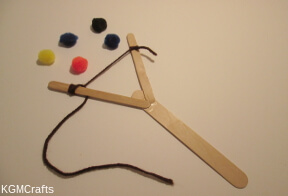
Slingshot
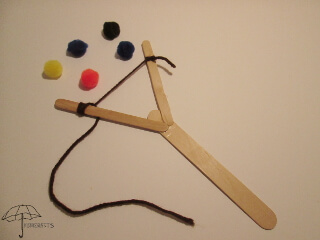
David refused the armor and weapons that Saul offered. He instead used his shepherd's slingshot.
The slingshot that we will make is probably different from the one that David used. His looked more like a piece of leather with string on two sides. Rocks were placed in the leather piece then the item was swung around the shepherd's head and then one end was let loose and the rock would hit its target.
Our slingshot will shoot pompoms, but to be extra safe don't shoot anyone.
You will need;
- 2 Popsicle sticks
- 1 Jumbo craft stick
- Tacky glue
- Yarn
- Pompoms
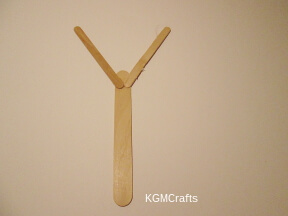
Glue the two Popsicle sticks to the top of the jumbo stick at an angle. Place under some wax paper and top with a heavy book. Let dry overnight.
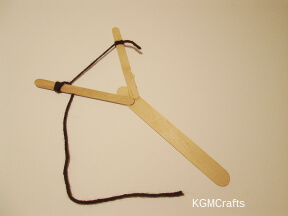
Cut 22 inches of yarn. Wrap one end of the yarn around one of the Popsicle sticks. Tie in a knot. Pull the yarn tight and tie on the other side.
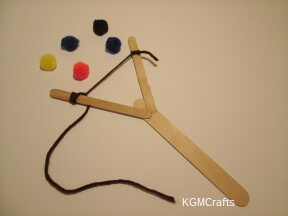
Place a pompom in the center of the yarn, hold with your thumb and first finger. Pull and let go, the pompom should go flying.
Rock Bag
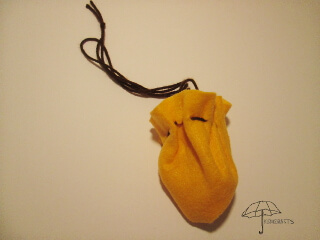
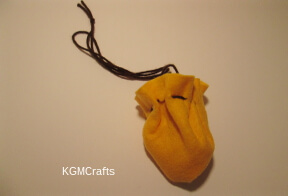
David chose five rocks to place in his rock bag.
You will need;
- Felt
- Scissors
- Hole punch
- Yarn

Fold a rectangle piece of felt over and make a triangle. Cut off the small rectangle. Now you should have a square that measures 9 inches.
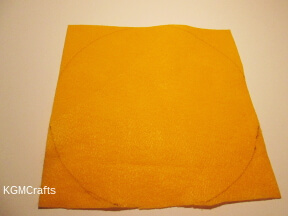
Round a 9-inch square piece of felt.
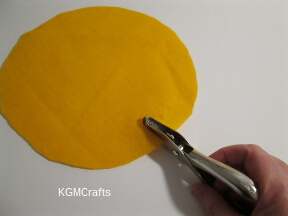
Punch holes along the edge with a hole punch.

Cut approximately 4 feet of yarn. Thread the yarn through the holes and tie.

Pull the yarn tight to make a bag. Add your pompom rocks.
The David Bible crafts that we have done so far can also remind us of David's youth. He took care of the sheep. Defended them with a slingshot and played learned to play the lyre.
Another David and Goliath Craft
This craft is available on my Teachers Pay Teachers store.
This is a very easy craft to do.
You will need;
- PDF from my Teachers Pay Teachers store
- Printer
- Lunch size paper bag (5 1/8 by 3 1/8 by 10 5/8)
- Scissors
- Glue stick or glue
- Crayons or markers optional
The PDF is available at my Teachers Pay Teachers store.
Kids can have fun making David and Goliath puppets. Or use the puppets to help teach your Sunday school lesson.
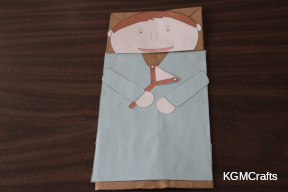 David Puppet
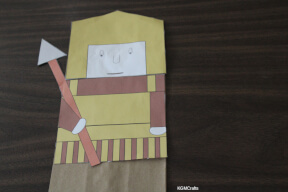 Goliath Puppet
The PDF includes David with a slingshot and Goliath in armor.
All you need to do is cut out the pieces and paste to a lunch sized (5 1/8 by 3 1/8 by 10 5/8) paper bag. The bag is not included.
Directions are included, so the puppet is supper easy to make.
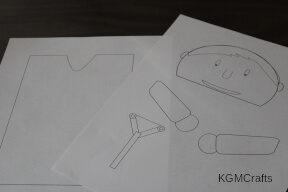 Picture of David black and white pieces
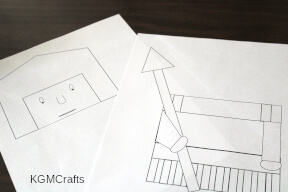 Picture of black and white pieces for Goliath
The puppet pieces also come in black and white. Kids can color and make their puppets their own.
There is even a short story based on 1 Samuel 17.
Have fun putting on a Bible puppet show for David and Goliath.
David's Friend Jonathan
Jonathan gave David his armor, sword, bow, and belt as an act of friendship. You can read about it in the 18th chapter of 1 Samuel. He also warned David with an arrow, you can read it in 1 Samuel 20:18-42.
David Bible Crafts the Bow and Arrow
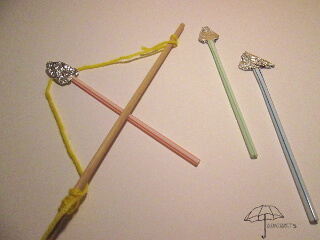
Supplies;
- Wooden Dowel
- String
- Straw
- Card stock
- Foil

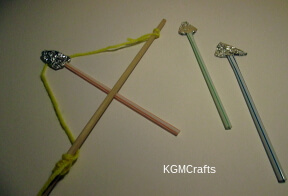
Tie approximately 30 inches piece of yarn to both ends of the wooden dowel.
Cut the bendable part of the straw off.
Draw a Christmas tree shape on card stock. You want the triangle to be about 1 inch. The rectangle is approximately 1/4 inch wide so that it will fit inside the straw.
Cover the triangle with a small piece of foil.
Place the rectangle inside the straw. Now your arrow is done.
David Gets a Crown
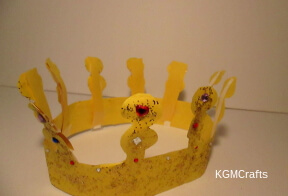
David finished taking the city of Rabbah and took the crown from the king's head and placed it on his own. The crown was gold with precious stones. (2 Samuel 12:29-30)
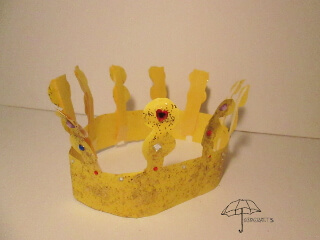
The crown of Rabbah was said to weigh a talent, which is equal to 75 pounds. This one will be a lot lighter than that.
You will need;
- Yellow construction paper
- Scissors
- Card stock
- Gold glitter
- Plastic jewels
- White glue
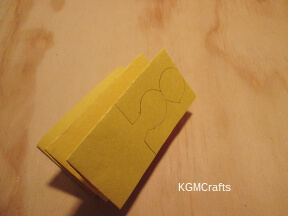
Fold a 9 by 12 inch piece of yellow construction paper in half. Fold accordion style four times. The piece should measure 4 1/2 by 2 1/2 inches.
Draw a small circle near the cut edge. Draw another circle below the first. A bottle cap is about the right size for the circle.
Draw 1/2 inch square below the circle.
You should have 2 inches left from the square to the fold.
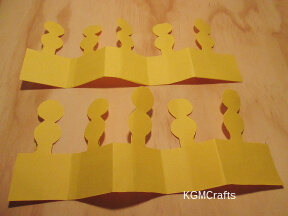
Cut from the folds to the sides of the square. Cut up to the first circle. Cut around the side of the circle, but don't cut the circles apart. Cut along the bottom fold to make two crown pieces.
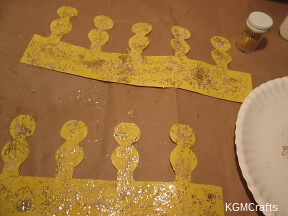
Thin some white glue with water. Add gold glitter. Paint the glitter glue mixture on your crown pieces. Sprinkle with more glitter. Let dry.
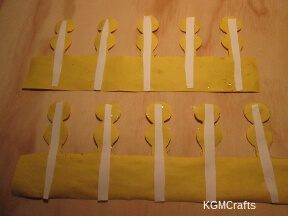
So the arches stay up, glue strips of card stock on the back side. Then cover the card stock with yellow construction paper.

When the glue is dry, add plastic “jewels” with white glue.
Staple the two pieces together and place on your head.
Creating David Bible crafts will help your child learn about the life of this interesting character.
