Lovable Christmas Tree Crafts for Kids
by Karen & Grace Morris
Soon your children will be rocking around Christmas tree crafts. Laughing while making 3D, sparky, or trees with polka dots! Just not the chicken pox. :)
So, it is time to gather green craft supplies and turn the wintry scene outside into an evergreen forest inside.
The pictures will take you to the Christmas tree crafts on the page.
A Random Fact
Farmers start shaping an evergreen during the tree's third year of its life? It takes 7 or more years before it is in the proper cone shape and is high enough to make a Christmas tree. Well, it won't take 7 years to make these Christmas tree crafts.
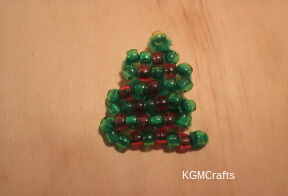
Beaded Tree
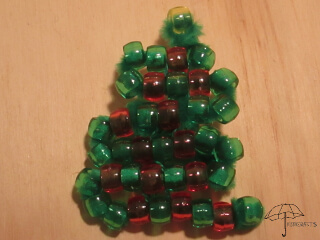
Let's check our list and see who deserves one of these Christmas tree crafts.
You will need;
- A 12-inch pipe cleaner
- 1 yellow or gold pony bead,
- Twenty-four green pony beads
- Thirteen red pony beads
- Green craft string
- 6-inch pipe cleaner
- pin back
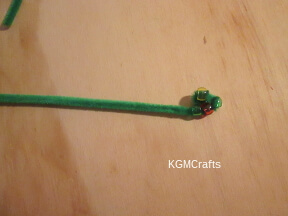
Put the gold pony bead on one end of the 12-inch pipe cleaner. Fold over the end, so the bead stays on.
Thread the pipe cleaner with beads. Start with one green, then a red, add two green.
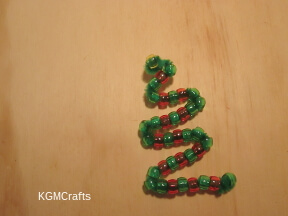
Bend the pipe cleaner to the left. Add a green bead, red, green, red, then three more green beads. Bend the pipe cleaner to the right.
Continue the pattern with three greens on the ends and a pattern of red, green, red in the center. Using the twenty-four green and the thirteen red beads.
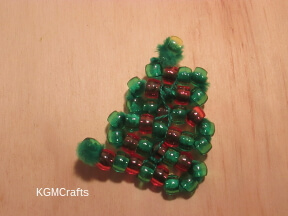
Tie a piece of craft string around the yellow bead. Bring the thread down and around the red bead. Next, tie the string around the green bead below the red bead. Continue until all the center beads are tied together.
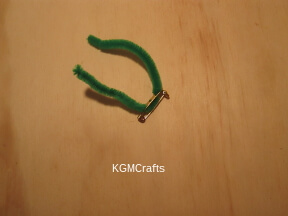
Thread one end of a 6-inch pipe cleaner in a hole on the pin. Place the other end in the other hole.
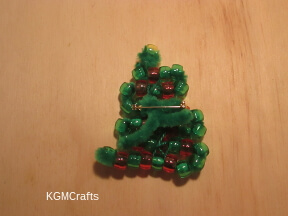
Place the pin back on the back of the tree. Twist the pipe cleaner around the center row of beads in such a way that the pipe cleaner does not show on the right side. Your pin is done and ready to give!
If you didn’t want to make a pin, you could leave the pin back off and place a Christmas tree hanger under the gold bead and use as an ornament. Or you could put a magnet on the back, so you can put it on the refrigerator.
Doesn’t your beaded Christmas tree look lovely? Just like in the song “Oh Christmas Tree”.
3D Christmas Tree Crafts
Sometimes we want our trees to have three dimensions, so we can put gifts under them.
Pipe Cleaner Tree
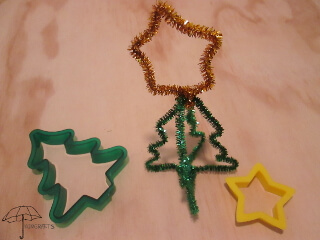
See, cookie cutters are good for something besides making cookies.
Supplies;
- Two sparkly green pipe cleaners
- One gold sparkly pipe cleaner
- A small 2-inch piece of green pipe cleaner
- A tree cookie cutter 3 ½ by 3 inches
- A star cookie cutter 1 inch
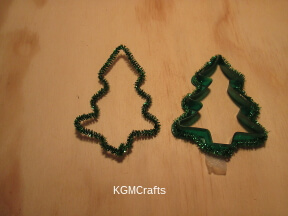
Place one end of the green sparkly pipe cleaner on the bottom of the tree cookie cutter. Bend the pipe cleaner around the tree. Make sure that you push the pipe cleaner into all the indentations on the cookie cutter.
When you get all the way around the cookie cutter, twist the two ends of the pipe cleaner together. Do the same with the other green sparkly pipe cleaner.
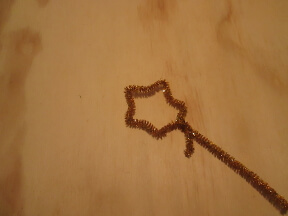
Hold the star cookie cutter so that two of the points are on the bottom. Place your gold pipe cleaner so that the end is near the bottom of the star.
Fold around the star cookie cutter. When you get to the bottom of the star, twist the two ends of the pipe cleaner together. You should have some leftover.
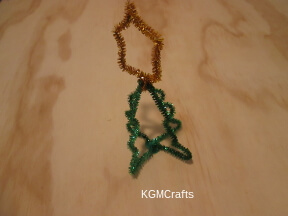
Place one tree shape inside the other so that it makes a 3D shape. With the short piece of green pipe cleaner, twist around the bottom.
Place the star shape on top of the tree. Twist the ends together around the tree. Your tree will now stay together. Bend any of the points that need a little more definition.
You could also use other shaped cookie cutters to make different ornaments. Try folding a silver pipe cleaner around a bell.
3D Tree
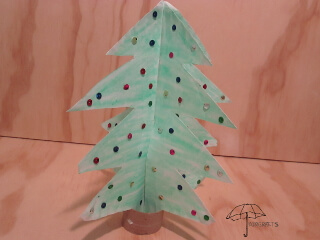
Time to sing Rockin' Around the Christmas Tree.
Here are the supplies that you will need;
- Two paper plates,
- Green crayon
- Sequins or other decorations
- Glue
- Scissors
- 1-inch piece of cardboard roll
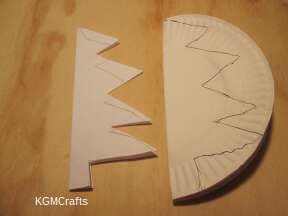
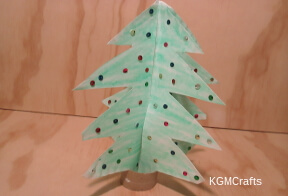
To determine what style of tree you want, grab a piece of paper and fold in half. Draw a tree shape. Cut on your lines and unfold.
Use your pattern to cut out the tree from your paper plates. Fold your paper plate in half. Leave your pattern folded and place on the fold. Cut around your pattern. Don’t cut on the folded edge.
Unfold your paper plate, you should see a Christmas tree, or at least a white one. Do the same with the other paper plate.
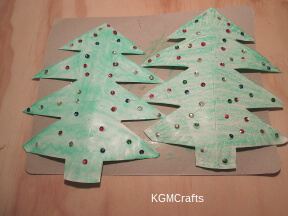
Color both sides of the paper plates. Or you could use paint.
Glued sequins in a random pattern. Let one side dry, then turn over and glue sequins on the other side.
Or you could use stickers, hole punched colored paper, or draw decorations with a crayon.
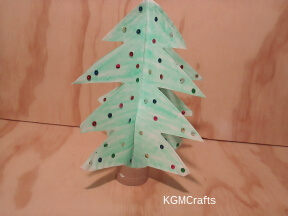
Take one of your plates and cut from the top to the center on your fold.
Do the same with the other plate, but cut from the bottom to the center.
Slip the two plates together. You will have a 3D Christmas tree shape.
Place a piece of tape near the top, so the tree stays together.
Cut 1-inch of the cardboard tube to make the tree stand. Place the bottom of the tree in the stand. You may have to trim some tree trunk so that it fits in the cardboard tube.
Your paper plate Christmas tree can now decorate your holiday table.
Sparkly Glittery Fun
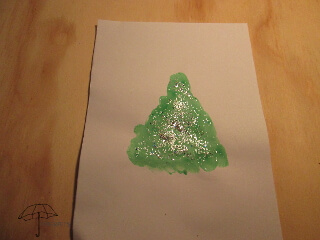
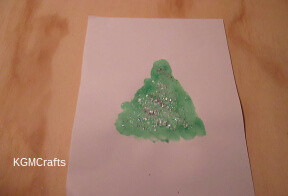
This one sparkles like it has lights or is sprinkled with fairy dust.
Supplies;
- Construction paper
- Washable paint or white glue
- Glitter
- Baby wipe
- Paper plate or something to mix the paint and glitter in
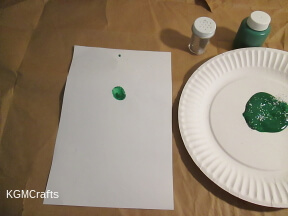
Fold a piece of construction paper in half to make a card, or cut if you just want a picture.
Pour some paint on a paper plate. Add some glitter and mix.
Also, have a wet paper towel or baby wipe to clean messy fingers after you make your prints.
Start by dipping a finger in the paint glitter mixture. Place your fingertip on the paper. This will be the top of the tree.
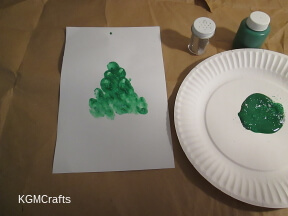
Next, dip your two fingers. Make fingerprints below the first one. Continue until your tree is the shape you want. Before the paint dries, add more glitter if you want.
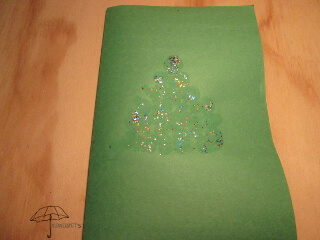
You can do the same technique with white glue. Add some glue to a paper plate, thin with some water. Then add your glitter.
On a colored piece of construction paper, make your fingerprint tree.
Paper Plate Christmas Tree
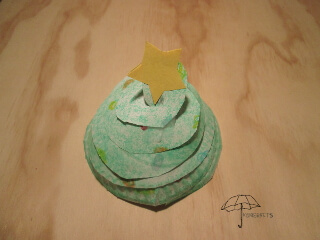
Now, your child can have a Christmas tree for their room!
You will need;
- Paper plate
- Green color crayon or marker
- Items to decorate your tree (Color crayons or you could use glitter, stickers, sequins or anything you can think of)
- Yellow construction paper
- Tape
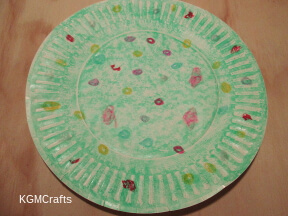
Have your child color the paper plate green. Decorate your tree by making colored circles to represent lights or use your own method.
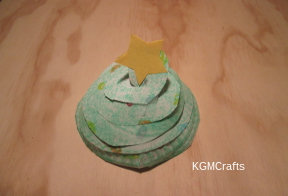
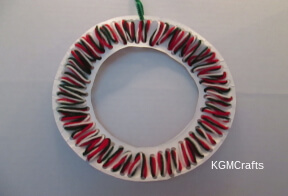
Cut a spiral from the rim to the center. Leave a circle in the center.
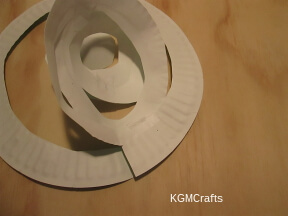
Now, this part may take a parent’s help. It is a little tricky. You will want to fold your spirals so that they overlap some. For each layer, place one or two pieces of tape on the back so that the layers stay together.
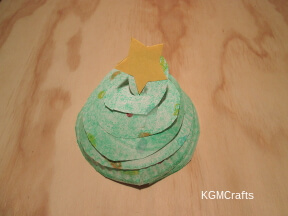
Use a small star cookie cutter to draw stars on yellow paper. Make two stars. Glue the stars to the center circle.
Laced Tree
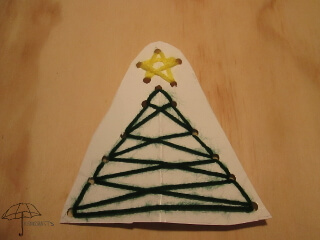
O Christmas Tree. O Christmas tree, how lovely are your branches…
You will need;
- Paper plate or card stock
- Scissors
- Hole punch
- Green and yellow yarn
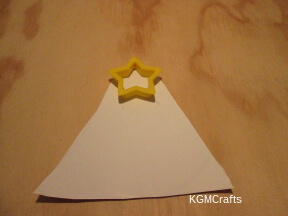
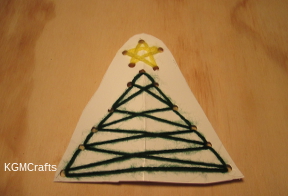
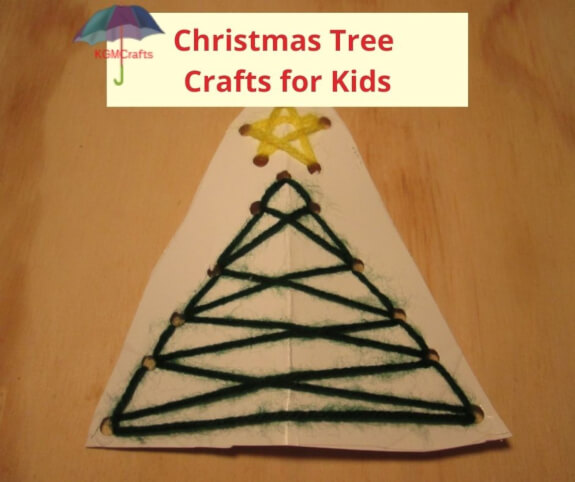
From a paper plate or card stock cut a bell shape about 5 1/4 by 5 1/2 inches. Use a star cookie cutter to make a star shape at the top.
Punch five holes for the star.
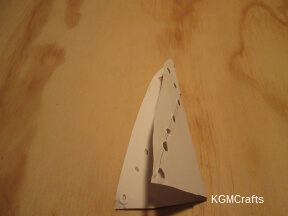
Fold the bell shape in half. Place a hole punch in the center near the star. From the hole, draw a line to the bottom corner. Punch a hole in the corner and four more holes along the line. Mark where the holes are and punch the other side.
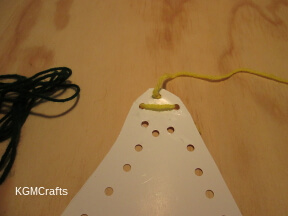
To make the star cut a piece of yellow yarn approximately 24 inches. Sewing the star is similar to drawing one. Pull most of your yarn through the left hole. Bring it across the front to the right. On the back bring it to the top hole.
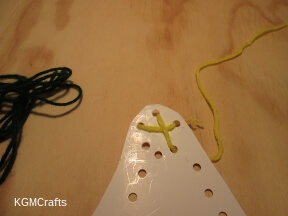
Bring the yarn down to the right. Then bring it to the top on the back side.
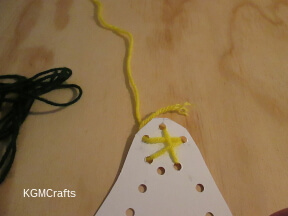
On the front, go from the right to the bottom left.
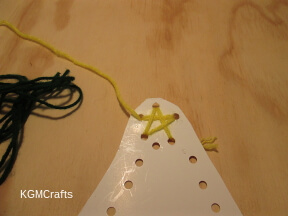
In the front, go from the left hole to the bottom right.
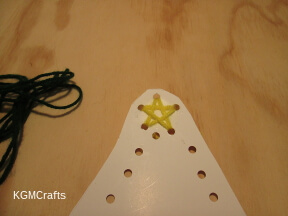
Next, thread the yarn through the bottom left and out the right.
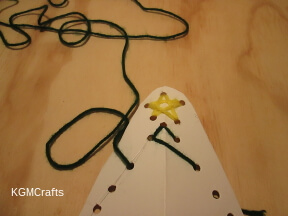
To make the tree, cut about 8 feet of yarn. Start at the center hole and bring most of the yarn to the front.
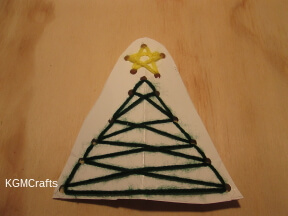
You will make stitches on the sides and cross the yarn in the center.
We have made magical Christmas tree crafts for kids to create an enchanted forest.
