Faithful Christian Easter Crafts
by Karen & Grace Morris
No cute bunnies or how to decorate eggs. Just Christian Easter crafts that will help teach your kids about having faith in Jesus.
There are 6 different Christian Easter Crafts that your kids can make! Click the pictures to go to the individual crafts.
The holiday is a special time. We can refocus our lives and remember the death and resurrection of Jesus Christ. Your children can learn how to share the love of God through crosses and empty tombs.
The Christian Easter crafts are great to use in Sunday School or in your home.
So, this Easter morning
have fun
telling the story!
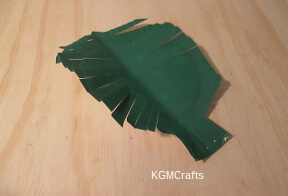
Palm Branch for Palm Sunday
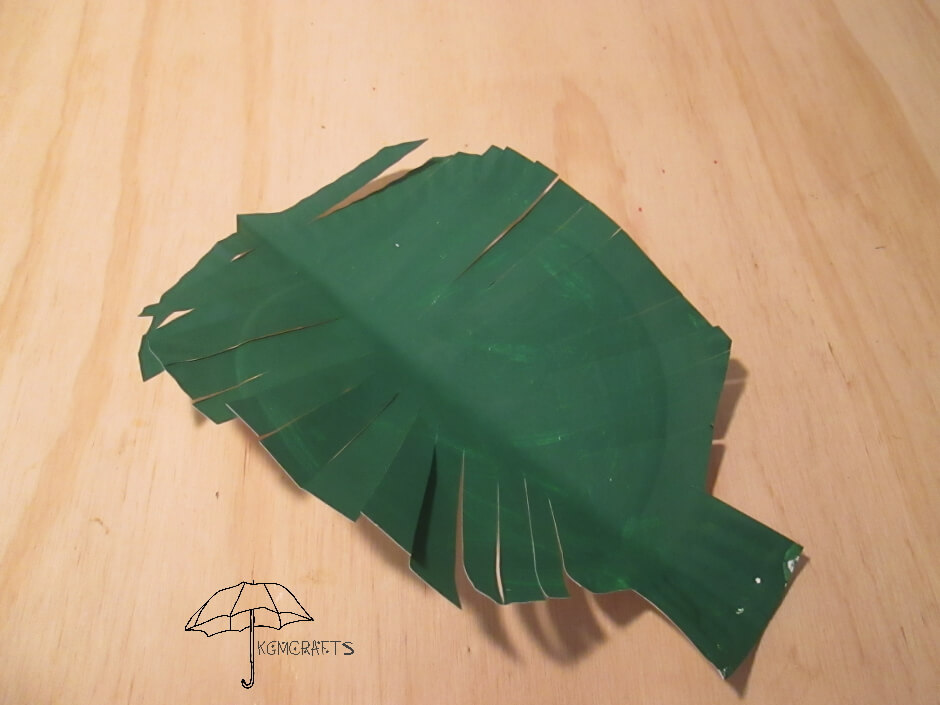
“Hosanna, Hosanna, Hosanna in the Highest.”
Supplies you will need;
- Paper plate
- Green paint
- Scissors
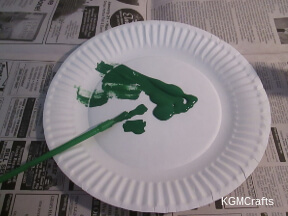
Paint your paper plate green and let dry.
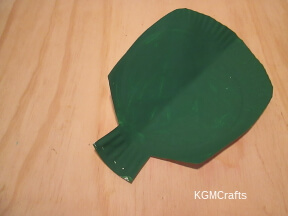
Fold the plate in half. Near the fold on one end, make a cut so that you have a rectangle at the bottom for a stem. Also cut part of the rim off so that the palm is narrower.
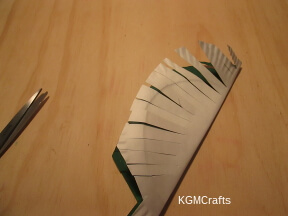
Make cuts toward the fold to make the leaflets.
More crafts for Palm Sunday. Kids can make the road to Jerusalem, and other fun crafts.
Make a Cross Christian Easter Crafts
Crosses are fun Christian Easter crafts to make, but they are just part of the story.
Faith By Color
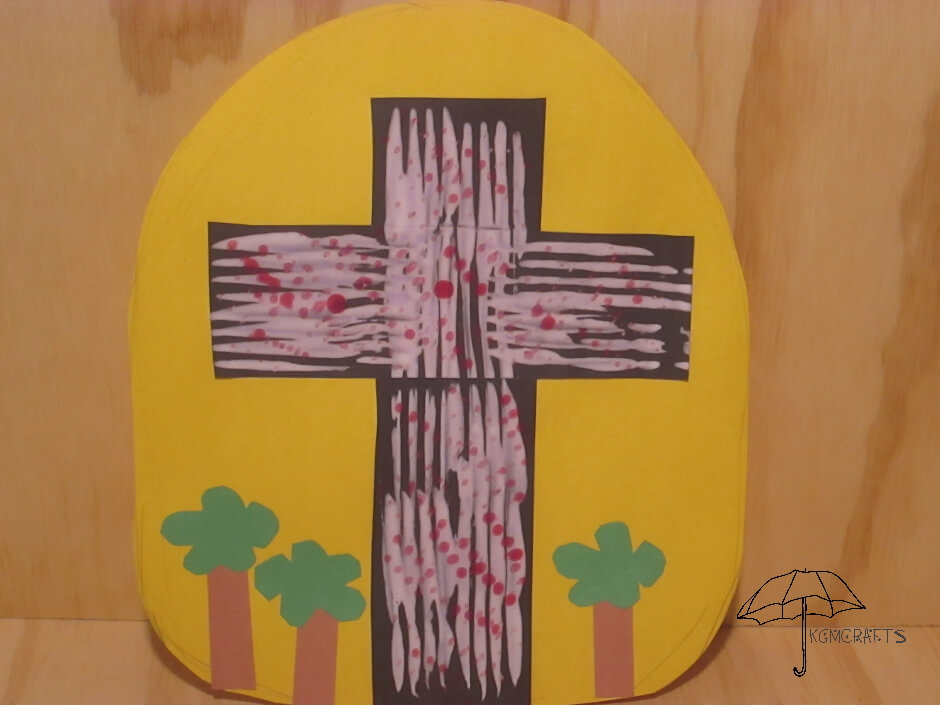
Christians sometimes tell others about Christ using the Wordless Book. The Wordless Book uses colors to show how people can be saved through Jesus.
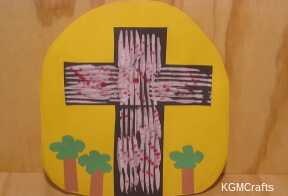
This cross is like the Wordless Book. The black cross represents our sin. The red is for the blood that Jesus shed for us because he loves us. The white represents the righteousness for those who believe in Jesus. The green trees are for our fruitful growth, as we learn more about God and obey him. The tomb is yellow because Jesus paid for our sins and rose again on the third day, so we have a hope of living eternally with Him in heaven.
Supplies;
- Yellow, black, green, and brown paper
- White and red paint
- Fork
- Glue stick
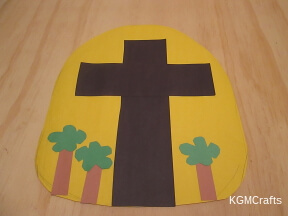
From yellow paper, cut a tomb/hill-like shape, leaving most of the paper intact.
Next, cut two black rectangles. You will want one piece to be 8 1/2 by 2 1/4 inches and the other to be 6 1/2 by 2 inches. Glue them in a cross shape in the center of your yellow paper.
Make trees by cutting three brown strips, each being around 2 by 1/2 inches. Cut three cloud-like shapes out of green paper. Near the bottom of your cross shape, glue the brown strips, then the green cloud-like shapes on top.
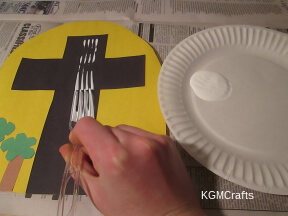
Drip your fork in white paint and use it to paint white on the black cross. Let it dry.
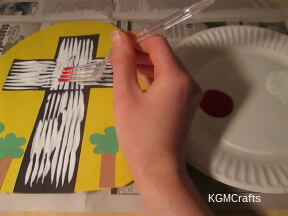
Next, drip your fork in red paint and touch just the tips on the black cross. Let dry.
You can find more cross crafts for Easter here.
Tell the Story
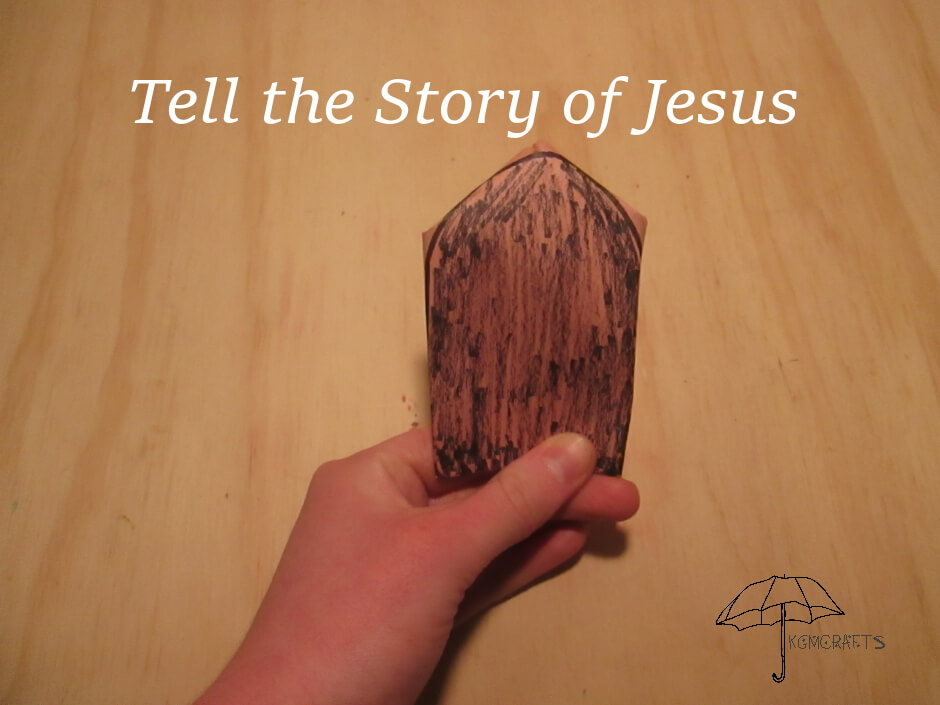
By using a single piece of paper, you can tell others about Christ. By folding and unfolding you can explain Jesus's birth, death, burial, and resurrection.
You will need;
- Scissors
- Ruler
- A sheet of construction paper 12 by 9 inches (brown is a good color as it helps show how something so ordinary became something extraordinary)
- Pencil
- Black maker
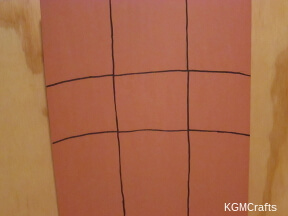
Please note that the lines in the pictures are done in marker and not pencil. This was done only for the lines to show clearly in the pictures. But it is recommended to start drawing the lines in pencil.
First, you will want to draw a cross shape. Draw two rectangles. You will want one to be 12 by 3 inches. Starting about 3 3/4 inches from the previous rectangle, draw your other one 9 by 2 1/2 inches.
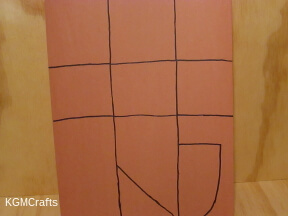
Draw a “J” on the cross, extending it 2 inches. Curve it at the bottom, making a large triangle in the bottom left corner of the cross.
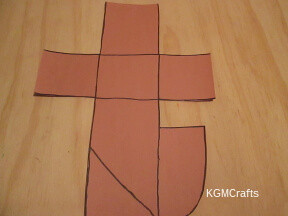
Cut your shape out.
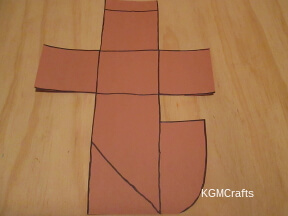
To make lines for your tomb, draw a line 3/4 inch from the top of the cross.
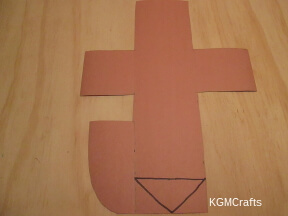
Flip the cross over and at the bottom start drawing a diagonal line that is 2 inches from the center. Draw another line in the opposed direction that is also 2 inches in length. Draw another line at the bottom of the last two to make a triangle.
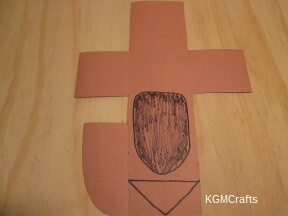
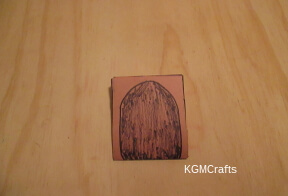
With your black maker, draw a tomb shape on the back of your cross. Have it wider and straight at the bottom, and narrower and round at the top. You will want the top to be 1/4 inches from the line. And the bottom of the tomb to be leveled with the beginning of the cross's arms.
Here is How to Use the Cross to Tell the Story;
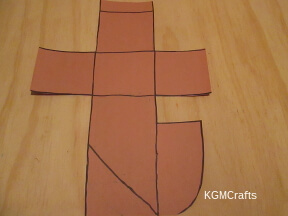
Flip your cross to the front side.
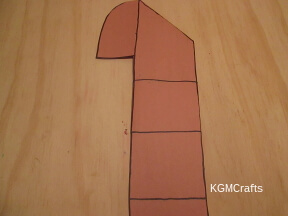
Start by telling the story of the shepherds coming to see Jesus in the manger.
To begin the story, fold the arms of the cross and the bottom left corner to the other side. The shape should look like a capital “J”. Turn the “J” upside down, so it looks like a Shepherd's staff.
Read Luke 2:8-12. Explain that the shepherds were ordinary men. This is why the paper is also ordinary. Even though the shepherds were plain, they got to see the Son of God.
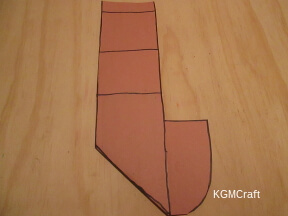
Now tell the story of Jesus receiving His name.
Turn the shepherd's staff upright so that it looks like a “J”again.
Read Luke 2:16. Explain that even though Jesus is King, He was born in a lowly stable and laid in a manger. Which is why the “J” is plain.
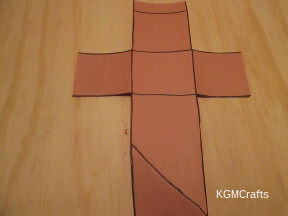
The story of the crucifixion of Jesus.
Unfold the arms and the bottom left corner. Fold back the curve of the “J”. This will make a cross shape.
Read 1 Corinthians 15:3 and read Romans 5:8 to explain that because God loves us while we were still sinners, Christ died for us.
Jesus was put in a tomb after He died.
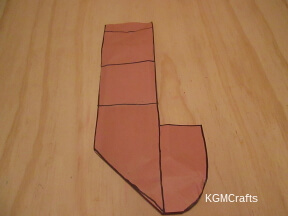
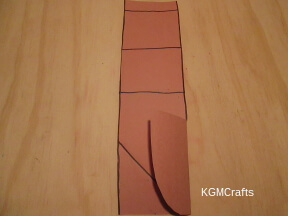 Fold the arms of the cross back. Fold the curve of the “J” to the other direction.
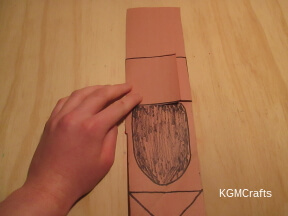 Flip your cross so you can see your oval.
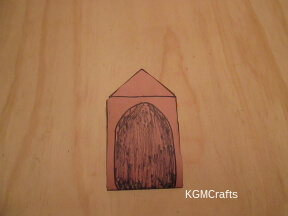 At the bottom part of the arms, fold down. Turn your shape around.
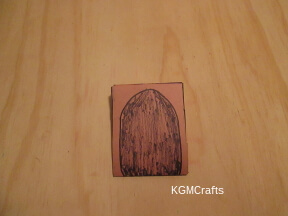 Fold the rectangle down.
Start reading 1 Corinthians 15:4 but stop after reading that Jesus was buried. Explain that if the story ended here, there wouldn't be much hope, which is why the tomb is black.
The Resurrection
Unfold the tomb, but leave the cross's arms folded. Flip the shape around. Unfold the curve of the “J”. Fold back the bottom left corner to make your “J” shape again.
Finish reading 1 Corinthians 15:4 and read John 3:16 to explain why Jesus did this.
Lacing Card Cross
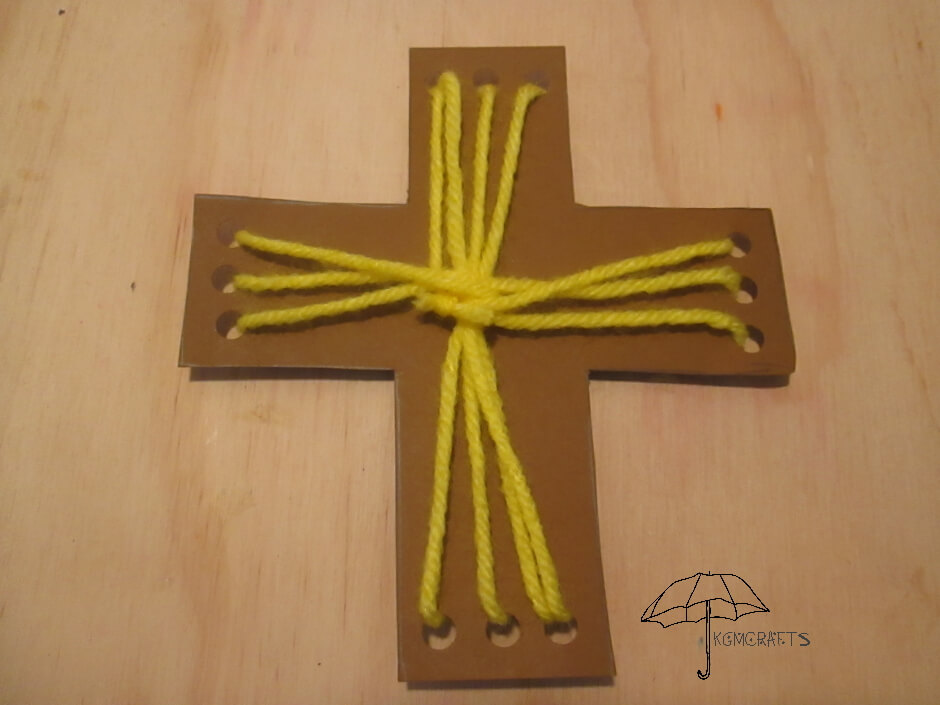
Make a cross to remember that Jesus died for your sins and was buried and raised again on the third day.
You will need;
- Colored card stock
- Scissors
- Hole punch
- Yarn
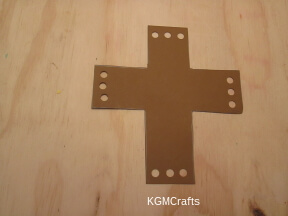
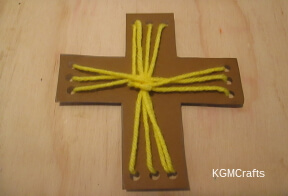
Cut a piece of card stock in a cross shape. The cross is 1 1/2 inches wide. It is 5 1/2 inches long. The arms are 5 inches long.
On Each side, punch three holes. Be careful not to punch too close to the edge or each hole.
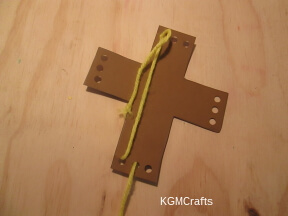
With the yarn in the front, start with the hole on the left top. Bring the yarn through the hole and around back. Thread the yarn through the hole on the bottom left.
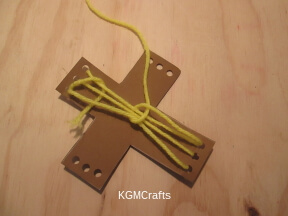
With the yarn in the front, start with the hole on the left top. Bring the yarn through the hole and around back. Thread the yarn through the hole on the bottom left. Thread through the top center. Go to the bottom center. Next thread through the right hole. When you are done, you will have four pieces of yarn showing on the front.
Wrap the yarn around the center, make a loop and thread the yarn through.
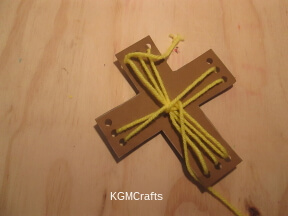
Thread through the left hole, bring the yarn to the center and round the knot. Then go through the left hole on the other side. Continue weaving through the three holes on the arms and around the center.
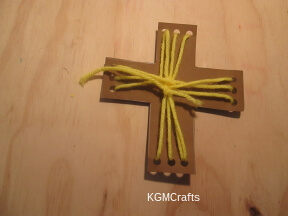
When all the holes have been threaded, tie the yarn in the center in a knot. Trim the yarn close to the knot.
Empty Tomb Christian Easter Crafts
The tomb is one of the most important Christian Easter Crafts.
Empty Tomb
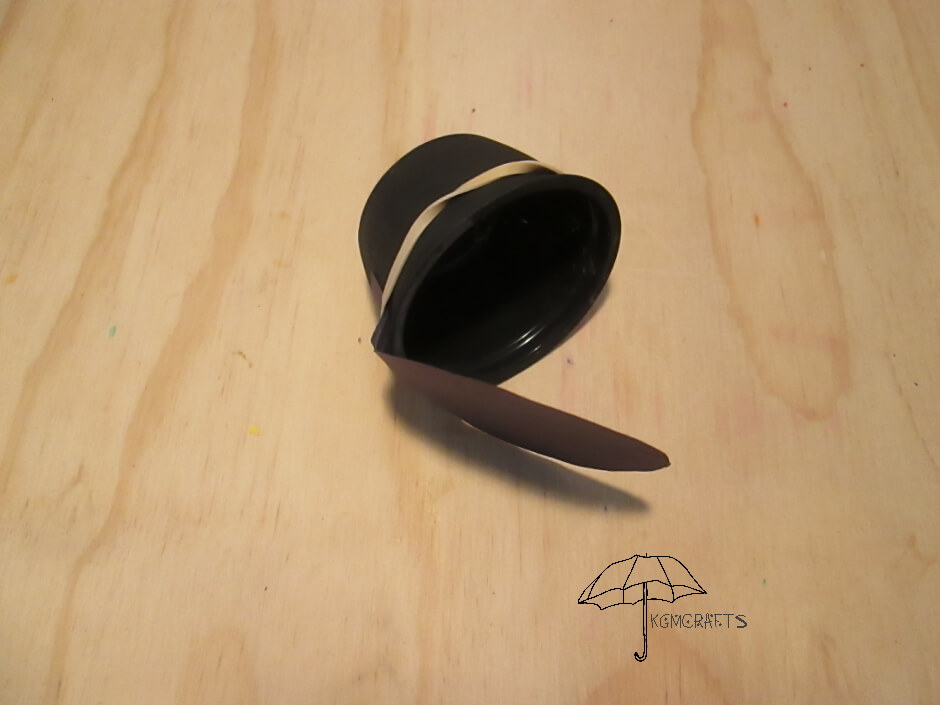
This is not the end of the story! This is where hope begins!
Supplies;
- Empty individual fruit cup
- Black acrylic paint
- Paintbrush
- Construction paper
- Scissors
- Rubber band
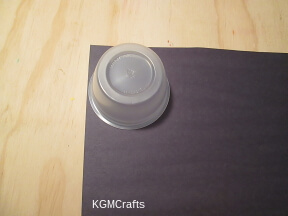
Place the fruit cup with the open end on a piece of construction paper and draw around the circle. On one side, make a small tab that is 1 inch.
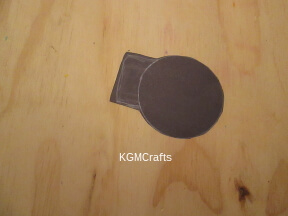
Cut the circle with the tab out.
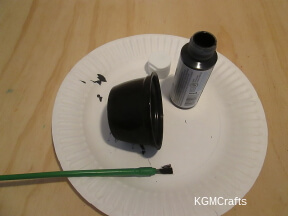
With a paintbrush, paint the outside of the fruit cup black. Let dry.
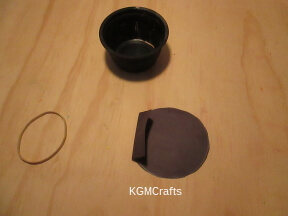
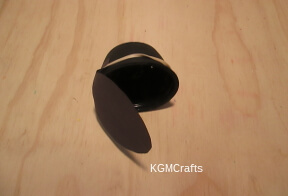
Hold the tab of the circle next to the side of the fruit cup. Place a rubber band over the cup and paper tab. Now you can roll "the stone" away to show that the tomb is empty.
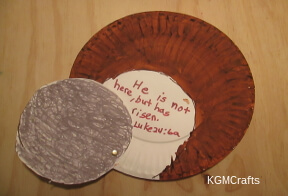
Paper Plate Tomb
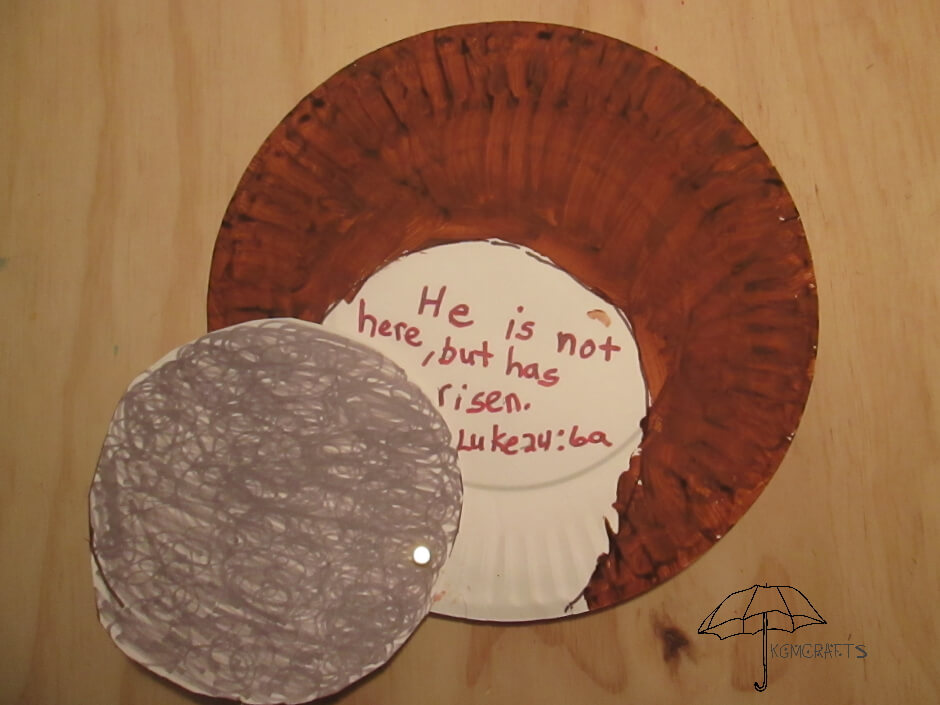
“He has risen; He is not here. See the place where they laid Him.” (Mark 16:6 b ESV)
Supplies;
- 2 paper plates
- Scissors
- Gray marker or paint
- Brown paint
- Brad
- Pen
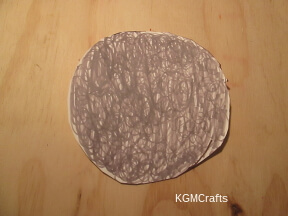
Cut the rim off one of the plates. Color or paint this circle gray.
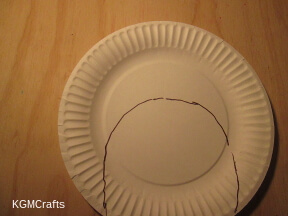
Place the circle on the bottom of the other plate. Draw around the sides and top of the circle.
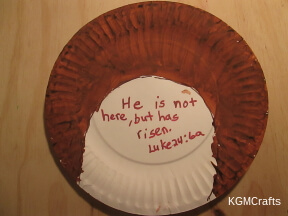
Paint from the line to the edge of the plate. Don't paint the inside of the circle.
On the inside of the circle write “He is not here, but has risen.” Luke 24:6a.
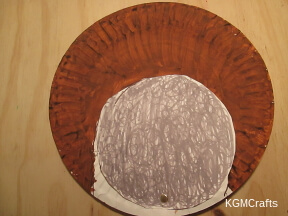
Attach the gray circle to the bottom of the plate with a brad. You can slide the “stone” away to show that the tomb is empty.
Another empty tomb craft. This one can double as an Easter card.
He has risen! Bunnies, eggs, and candy are fun. Though, many celebrate this holiday because of Jesus' death and resurrection. Making Christian Easter crafts helps you remember your faith. You can also use them to share the love of God with others.
