- Home
- Sunday School
- Children's Church Crafts for Spring
Children's Church Crafts for Spring
by Karen & Grace Morris
Here are some ideas for Children's church crafts for spring. In the Northern Hemisphere, spring, starts around the end of March to the beginning of June. It is a time when people plant, flowers bloom, and a time when bugs come out. We can use these facts to teach some Bible truths.
Click the pictures to go to the individual children's church crafts for spring.
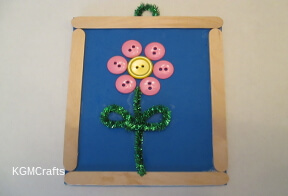
Flowers are a bright spot at this time of year. The words flower and flowers are found 37 times in the KJV. The lamp stand in the tabernacle was fashioned after a flowering almond tree. Also, flowers are used to show how short life is.
So, include some flowers for our children's church crafts for spring.
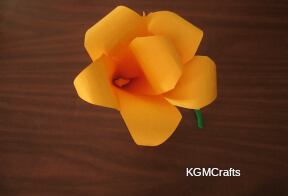
Lily craft
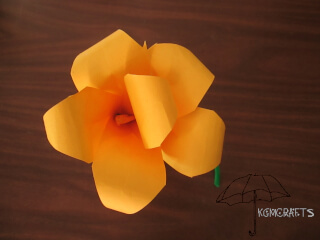
Consider the lilies of the field, how they grow; they toil not, neither do they spin. Matthew 6:28 KJV
You will need;
- Pipe cleaner
- Yellow tissue paper
- Construction paper in your favorite color
- Scissors
- Glue stick
- Tape

Fold a piece of 9 by 12-inch construction paper in half. Then fold in thirds so that it is 2 by 12 inches.
Draw your pointed ends.
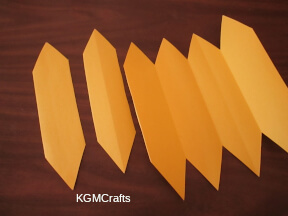
Cut each end to a point. (Cut and angled line approximately 2 inches)
Cut each piece apart at the fold. You will have six rectangles 2 by 12 inches.
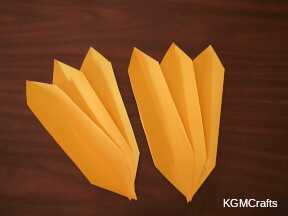
Overlap three pieces at the bottom point. Glue the pieces together. Do the same with the other three.
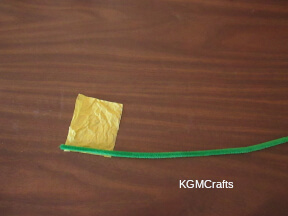
Cut a 2 1/2 square from yellow tissue paper. Next, lay one end of the pipe cleaner on the end of the tissue.
Then, roll the tissue around the pipe cleaner.
Bend approximately 1 inch down from the tip of the pipe cleaner over the tissue.
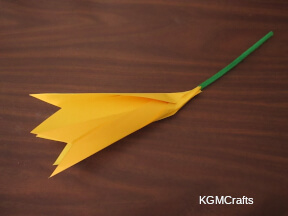
Pinch one set of three petals around the pipe cleaner. Hold them in one hand.
Pinch the other set of three petals around the pipe cleaner and other petals.
Wrap a piece of tape around the bottom of the petals.
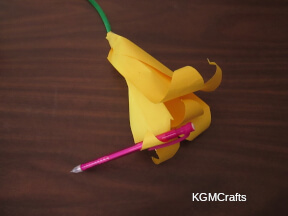
Use a pencil to roll the ends of each petal to the outside.
There are other flowering trees and plants mentioned in the Bible. Most are herbs that have small flowers.
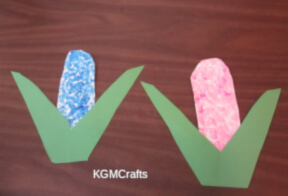
Flax was used to making material. It has a blue flower.
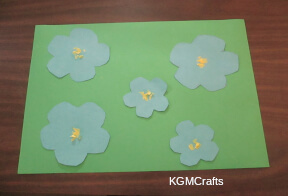
Flax flower Craft
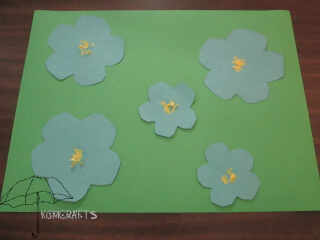
As for man, his days are as grass: as a flower of the field, so he flourisheth. Psalms 103:15 KJV
You will need;
- Blue construction paper
- Green construction paper
- Two round objects a 3 1/2 inches the other 2 1/2 inches
- Scissors
- Glue stick
- Scraps of yellow tissue paper
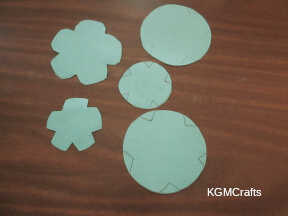
Make three blue circles that are 3 1/2 inches. Make two blue circles that are 2 1/2 inches.
Mark five ”V”s evenly spaced around each circle. Cut on the “V”s and then snip the ends of each petal so that they are more round.
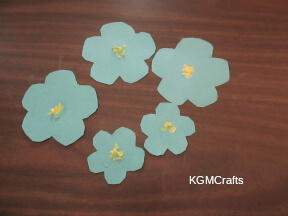
In the center of the circle, add some glue. Cut very small pieces of yellow tissue paper over the glue.
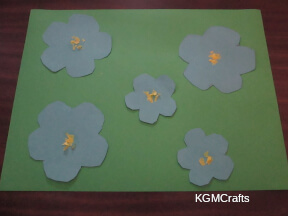
Glue the flowers to the background.
Children's Church Crafts for Spring - New Birth
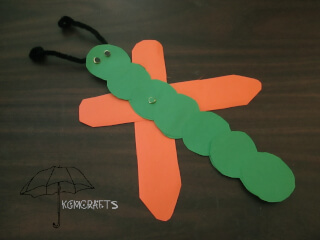
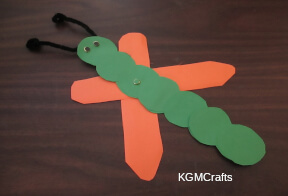
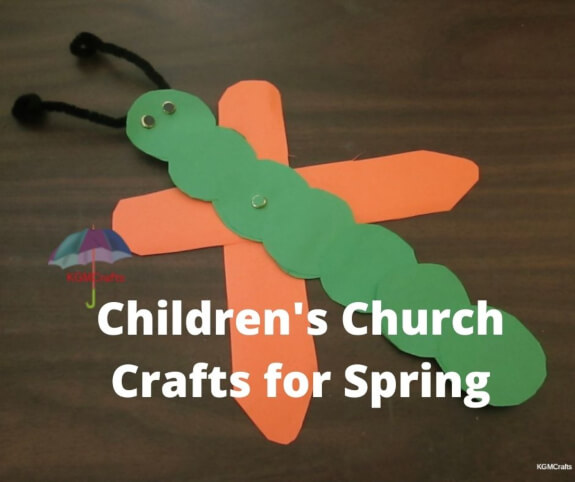
Butterflies are a symbol of the new birth. They start as an egg, develop into lava (the hungry caterpillar), grow into a pupa or chrysalis, and then change into a beautiful butterfly.
Supplies;
- Construction paper
- Round object
- Pencil
- Scissors
- Glue stick
- Hole punch
- Brad
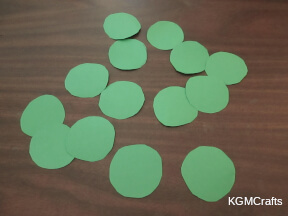
Draw around the 2-inch round object to make 14 circles. Then cut on the lines.
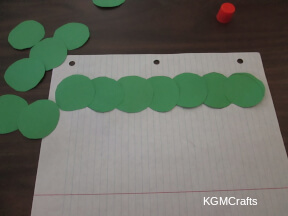
Glue seven circles together so that they look like a caterpillar.
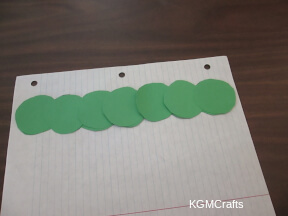
Glue the other seven to the back.
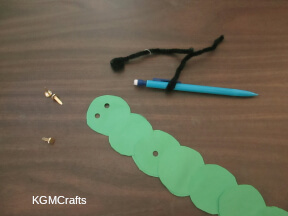
Twist two 6 inch pipe cleaners around a pencil. They will look like an antenna.
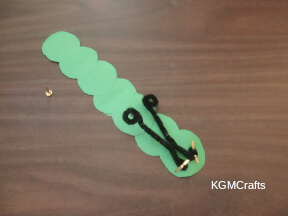
Add two brads near the top of the caterpillar.
Twist the ends of the pipe cleaners around the backs of the fasteners. These brads will be the caterpillar's eyes.
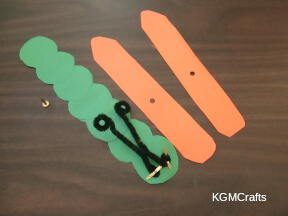
Cut two rectangles 8 by 1 1/2 inches. Then round one end of each rectangle. Cut the other end of each rectangle to a rounded point. These will be the wings.
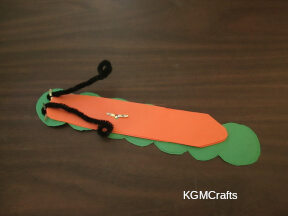
Now we need to attach the wings to the caterpillar. So, look at the caterpillar. The circle with the eyes will be number one. Now count two more circles and make a hole in the center with the hole punch.
Hold the two wings together and make a hole in the center with the hole punch. Place the wings behind the caterpillar and line the center holes up. Add the brad to the holes.
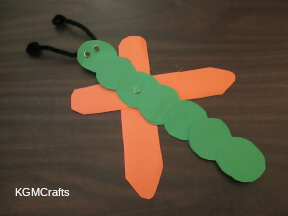
An optional step is to cover the top of the brads with paper. Punch two circles from black paper. Glue to the two fasteners. Next, punch a green circle. Glue the circle to the center fastener.
When you want the butterfly, move the antenna and wings so that they show.
Related Butterfly page
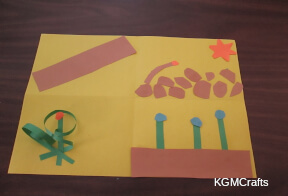
The Parable of the Sower
Jesus told a parable about sowing seeds. You can read the accounts in Matthew 13:3-32, Mark 4:3-20, and Luke 8:5-15.
You will need;
- One sheet of construction paper 9 by 12 inches
- Scraps of brown, green, orange, and blue paper
- Glue

Fold your sheet of construction paper in fourths.
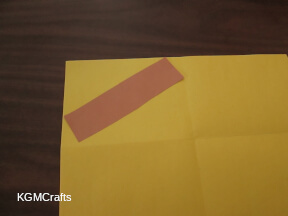
To show the part where the seeds fell on the path, cut a brown rectangle 1 1/2 by 6 inches.
Glue the rectangle from corner to corner in the first square.
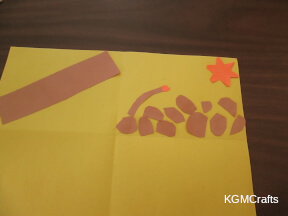
For the rocky ground, cut different sized round pieces from brown paper to represent rocks.
From brown paper cut a thin strip that looks something like a candy cane.
Also, cut a small round piece from orange paper. Glue the orange circle to the curved end, so that it looks like a withered plant.
To make the sun, see the next two pictures.
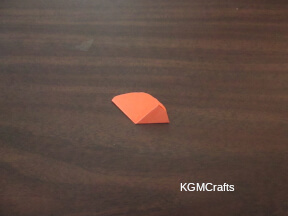
Cut a 1 1/2 inch circle from orange paper.
Fold the circle in half.
Then fold one corner to the center.
Fold the other corner over the first.
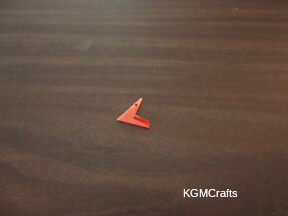
Between the two ends, cut an upside-down “v” shape so that it looks like a sun.
Glue to one of the corners above the rocks.
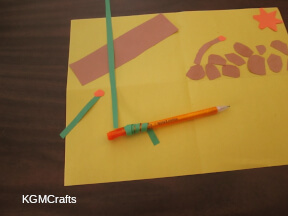
For the thorns, cut two 9 inch thin strips from green paper.
Roll the paper around a pencil so that it looks like a vine.
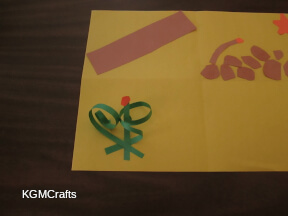
Glue one end of the vine to the third square.
Add a small green or brown rectangle 1/4 by 3 inches.
Next, add an orange circle to one end.
Then, add the plant to the vine pieces.
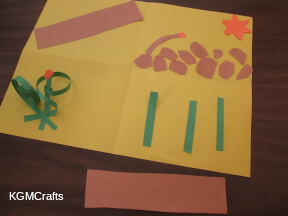
For the good ground, cut a brown rectangle 1 1/2 by 6 inches.
From green paper, cut three rectangles 1/4 by 3 inches.
Glue the green rectangles to the fourth square.
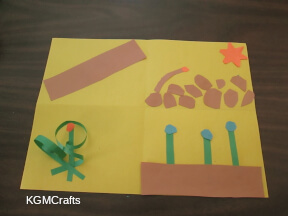
Cut three round shapes from blue paper.
Glue the flowers to the top of the green stems.
Glue the brown rectangle over the flower stems.
Use seeds to make other children's church crafts for spring, such as collages.
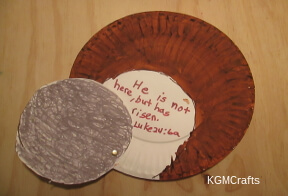
There are also some holidays that you can include in your children's church spring crafts. Mother's Day is in May. Easter is in the spring.
