Cute Cat Crafts for Kids
by Karen & Grace Morris
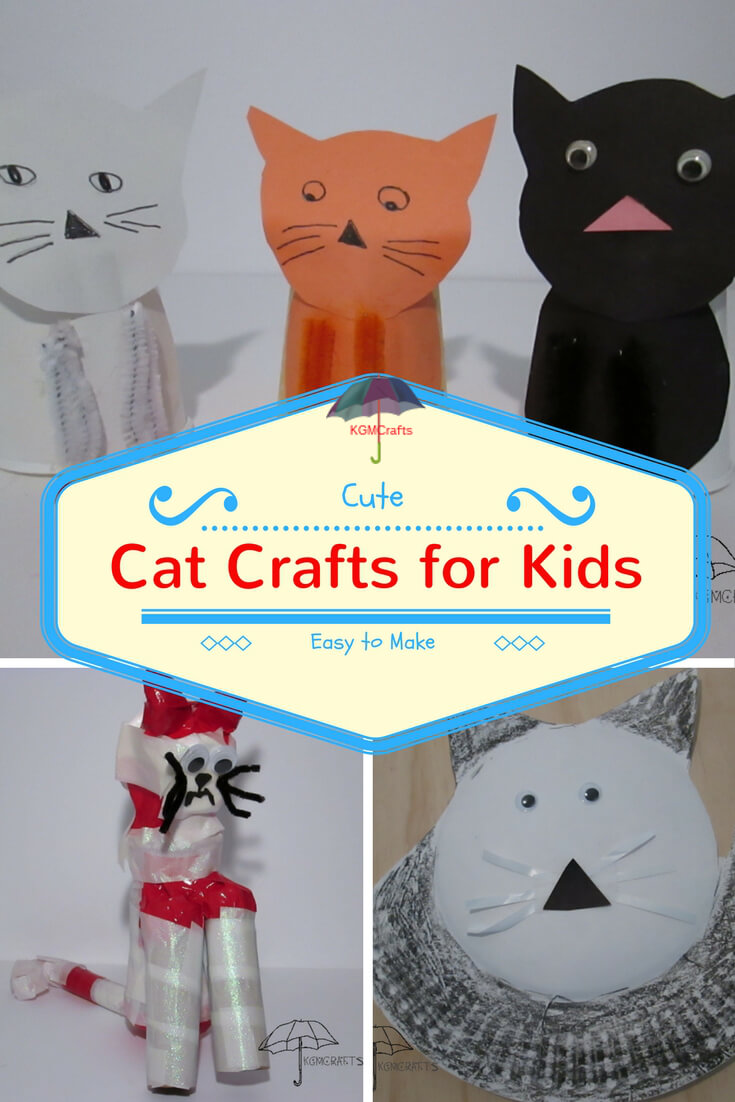
These cat crafts for kids are perfect for a fun afternoon! The projects use inexpensive and easy to find materials.
Click on the pictures to go to the individual cat crafts.
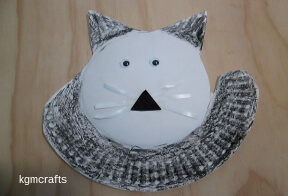
The Comfy Cat
Time for a cat nap? You can hang this kitten on the wall of your room.
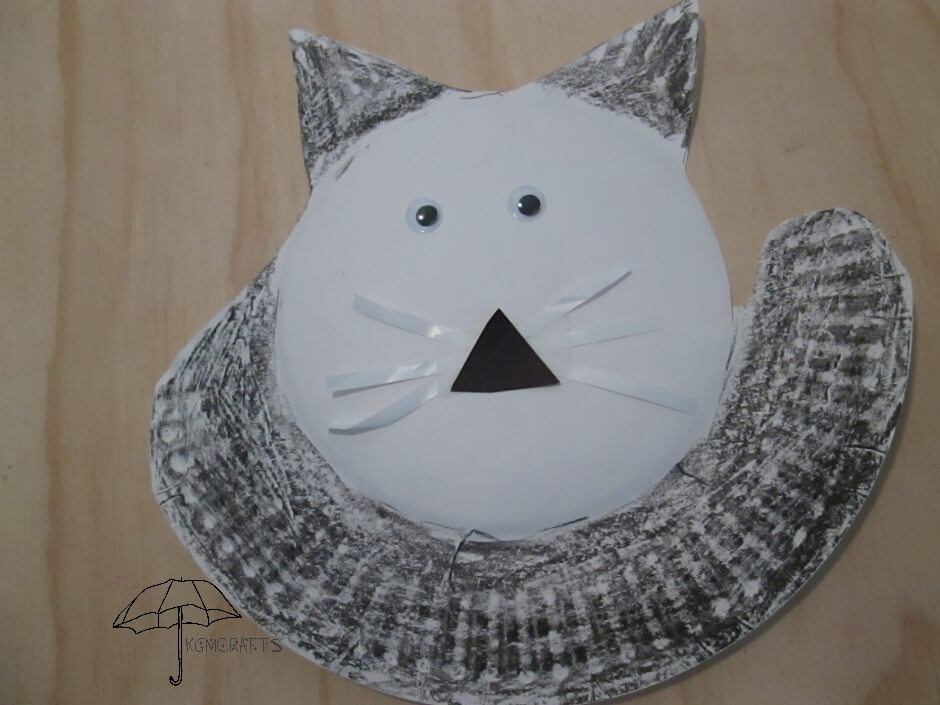
You Will Need;
- Paper plate
- Scissors
- Black crayon
- Scrap of black paper
- Googly eyes
- Ribbon
- Tape
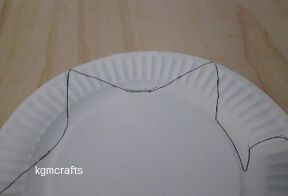
Start by drawing the triangles for the ears. The point of the ears is about 5 inches apart at the top. The bottom of each triangle is about 2 inches.
On the left side, draw a rounded triangle that measures 5 inches at the top and 1 inch at the bottom. This will be the back of the tail.
On the right side, measure 3 1/2 inches from the tip of the ear to the end of the tail. The bottom piece will measure 2 inches. The tail will now wrap around the face of the cat.
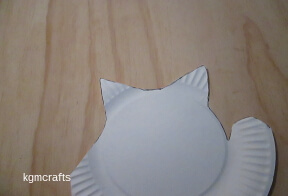
Cut around the lines.
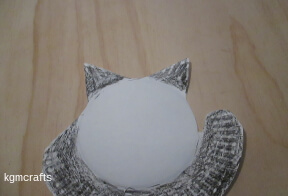
Color the ears and tail with a crayon. Color the inside circle if you want too.
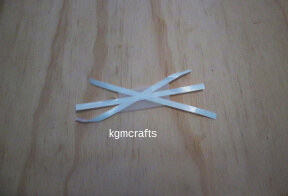
Cut three pieces of ribbon. Crisscross the ribbon so that it looks like whiskers. Tape together. Place on the plate.
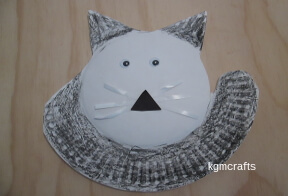
Cut a triangle from black construction paper for the nose.
Add wiggly eyes.
Related Paper plate Crafts
The Teacup Cat
The cat's tail reminds me of a tea cup.
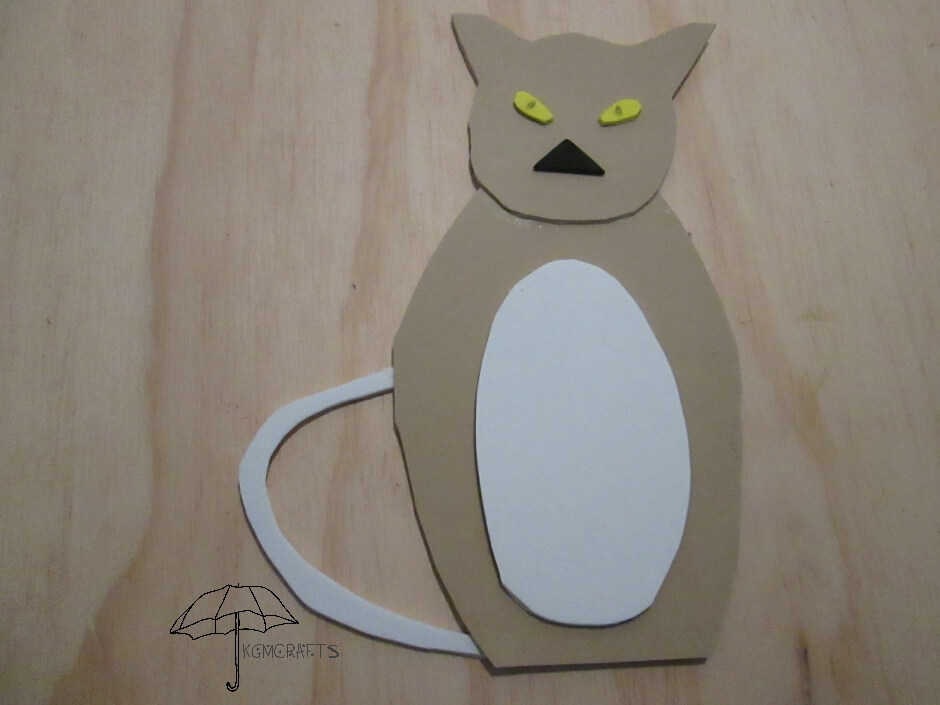
Supplies;
- Craft foam
- scissors
- glue
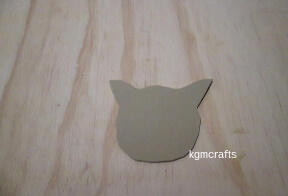
For the head, outline a square, 3 inches. Keep the top two corners, but round the outsides and between the two corners. The corners will make two triangular shaped ears.
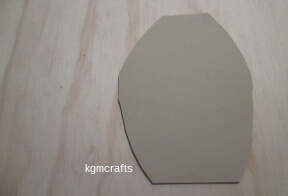
Cut a 5 1/2 by 3 1/2 inch oval for the body.
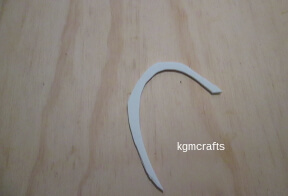
Cut a C shape about 5 inches long for the tail.
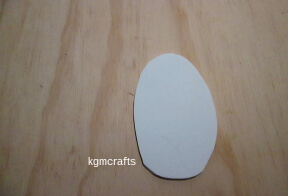
Use white craft foam to make a 3 3/4 by 2 inch oval for the cat's belly.
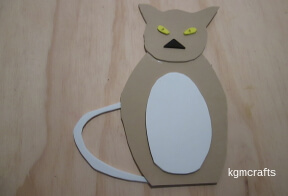
Out of yellow craft foam, cut two small ovals for eyes. With a marker, make a black circle for the pupil.
Cut a black triangle for the nose.
Glue the pieces together.
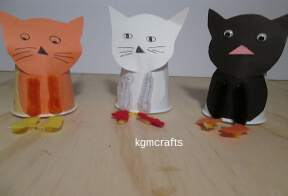
Mittens and Kittens
Cat Crafts for Kids
This cat craft goes with the nursery rhyme "The Three Kittens Who Lost Their Mittens."

You Will Need;
- 3 3 ounce cups
- Construction paper
- Glue
- Yarn
- Paper clip
- Felt
- Pipe cleaners
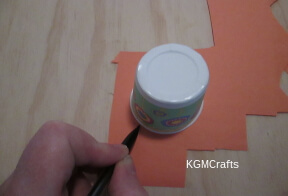
Use the cup to draw a circle on construction paper.
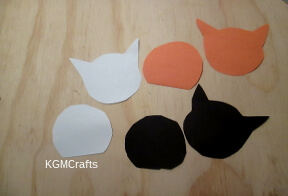
Make triangles on the circle for ears. Draw an oval to fit on the cup. Cut the two pieces out.
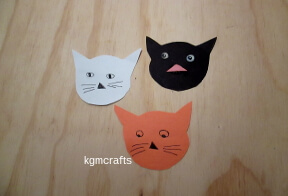
Add faces to the kittens.
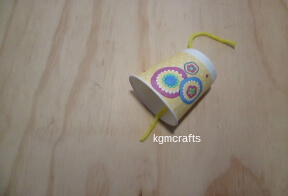
With a pen, make a hole in the bottom of the cup. Cut about 10 inches of yarn and thread one end through the hole until it is slightly below the cup.
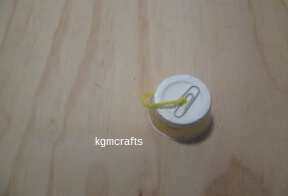
Tie the paperclip on the yarn near the bottom of the cup on the outside.
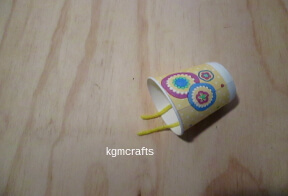
Thread the other end through the hole in the bottom of the cup.
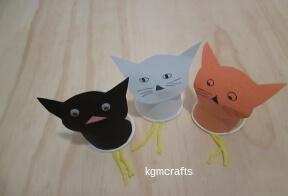
Glue the pieces to the cup.
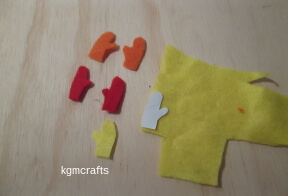
With felt, make two very small mitten shapes. Glue on the yarn.
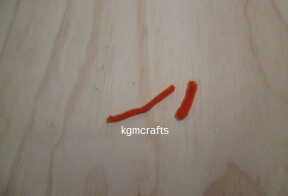
Fold a 6-inch piece of pipe cleaner in half. Do the same with the other piece. Glue the pieces to the front of the cat for legs.
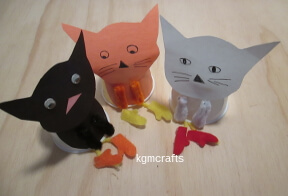
Glue the mittens on the yarn and the legs to the body.
In the story, the three kittens could not have pie because they lost their mittens. When they found their mittens, their mother gave them some pie. With this craft, you can hide the mittens under the cat and bring them out again.
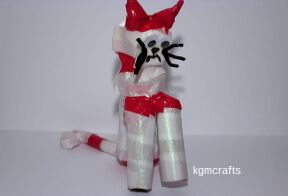
The Alley Cat
An alley cat usually refers to a stray cat. A fun cat crafts for kids that use recycled materials and a bit of duct tape to make something cute!
What you need;
- 1 16oz empty peanut container (tall and narrow and without its lid)
- 1 1.4oz empty candy cane shaped candy container (usually available during Christmas)
- 1 6oz empty yogurt container (wide mouth)
- 2 bottle caps
- 2 paper towel rolls
- Duct tape in one or two colors
- A small piece of black craft foam
- 2 medium wiggly eyes
- 1 black 12 inch pipe cleaner
- Tacky glue
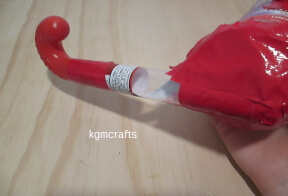
Duct tape your candy cane shape to the bottom of your peanut container. You will also want to duct tape the lid of the candy cane shape, so it can't fall off. But make sure you keep it straight, as this will help your cat to stand later.
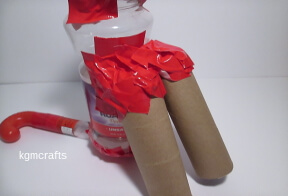
Cut your two paper towel rolls so that they measure about 5 3/4 inches long. This will be the front legs. Place them at an angle near the center of the peanut container. Use duct tape to secure it to the container.
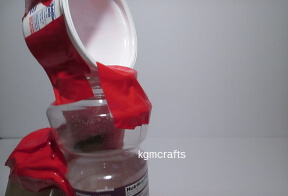
Duct tape the yogurt container to the opening of the peanut jar.
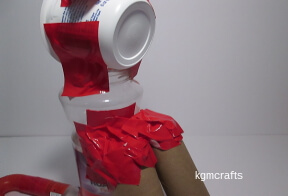
The bottom of the yogurt container is facing the cat's legs.
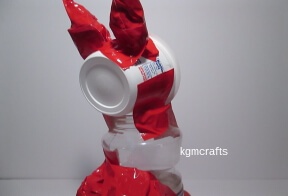
Take one of your bottle caps and use the duct tape to make a point on the top to make a cat's ear. Do the same to the other bottle cap. Duct tape both of them to the top of the yogurt cup.
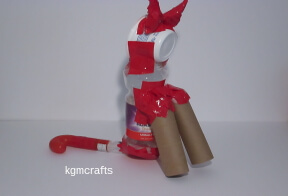
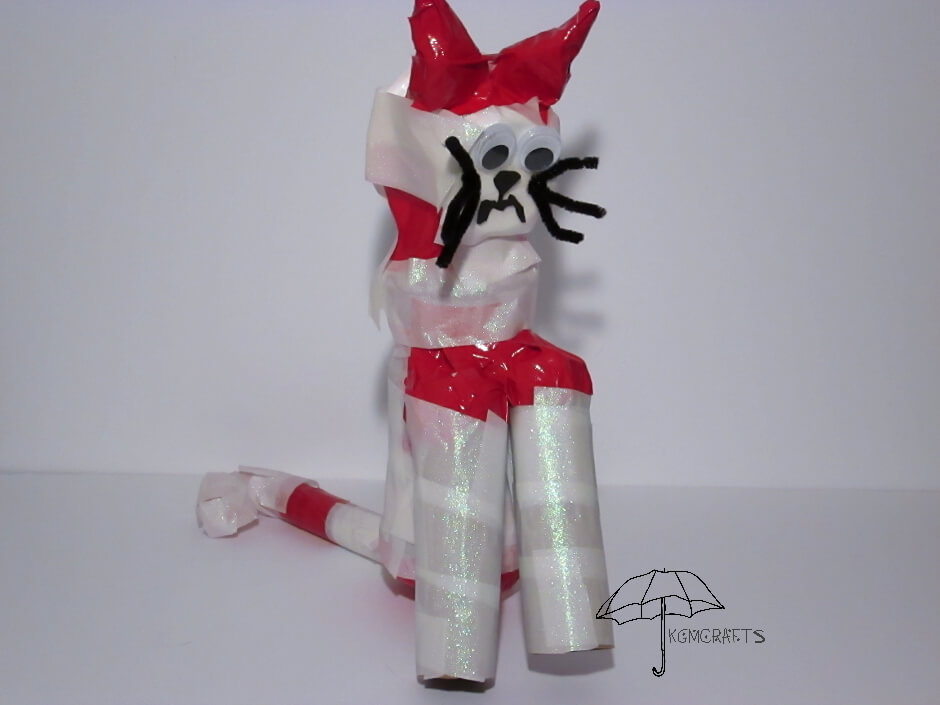
There! Now your cat almost looks like a cat! The candy cane shape is the tail, the peanut jar is the body, the paper towel rolls are the legs, the yogurt container is the head, and the bottle caps are the ears.
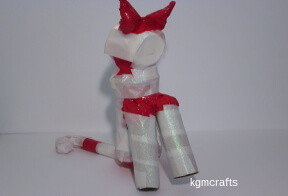
With either a new or same color of duct tape, wrap around all the bare places to decorate it.
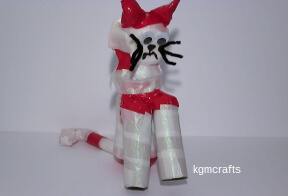
With the craft foam, draw and cut out a nose and mouth. Glue the eyes, nose, and mouth to the bottom of the yogurt container.
To make whiskers, cut a pipe cleaner in four pieces. Make two 4 inch pieces and two 2 inch pieces. With each of the 4-inch pieces, fold them in half.
Attach one 2 inch piece to each of the 4-inch pieces, and bend them so that it looks like two "E" shapes. Glue one "E" shape to each of the sides of your cat's head to make your whiskers.
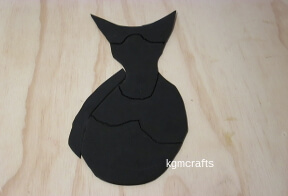
A Cat Silhouette Puzzle
Here is another cat crafts for kids that uses craft foam.
Use different colored craft foam and make a calico cat.
What you will need;
- Cat PDF Pattern Download
- Black foam
- Scissors
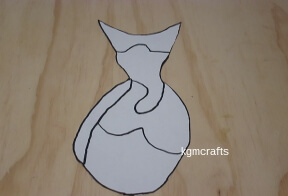
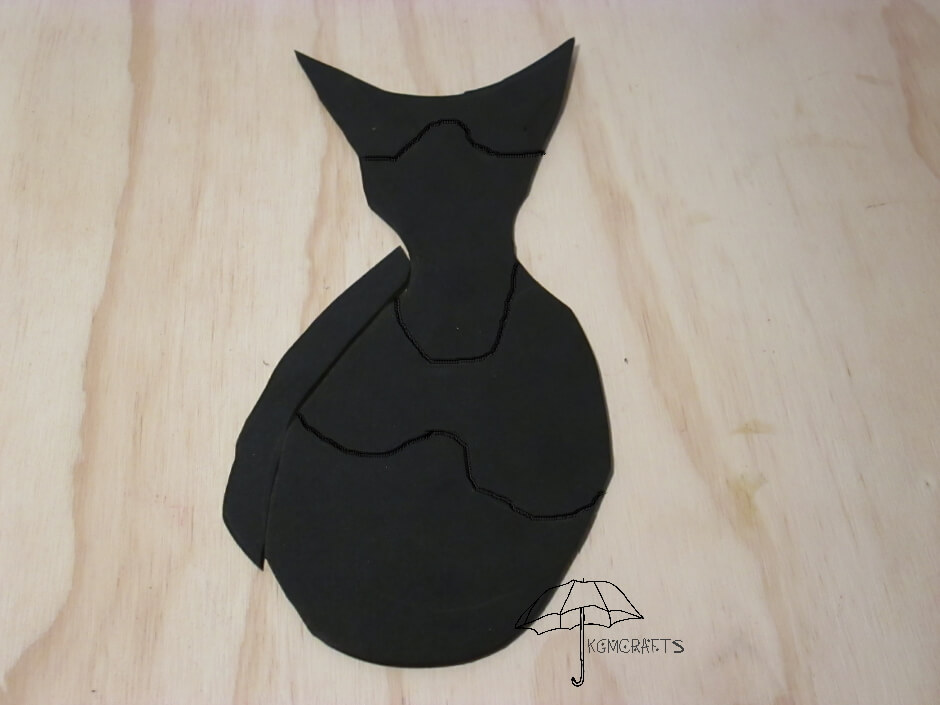
Download and print out the cat PDF pattern. It won't look like the traditional puzzle pieces.
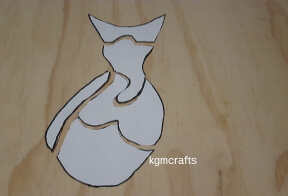
Cut on the lines on pattern.
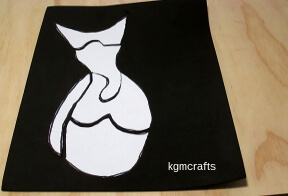
Trace them on the black foam (or a color of your choice) and cut out.
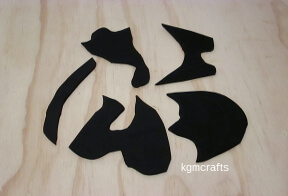
Now you can put together and take apart your puzzle. This would make a cute gift for a sibling or friend.
Related: collage cat and dog
Easy Pipe Cleaner Cat
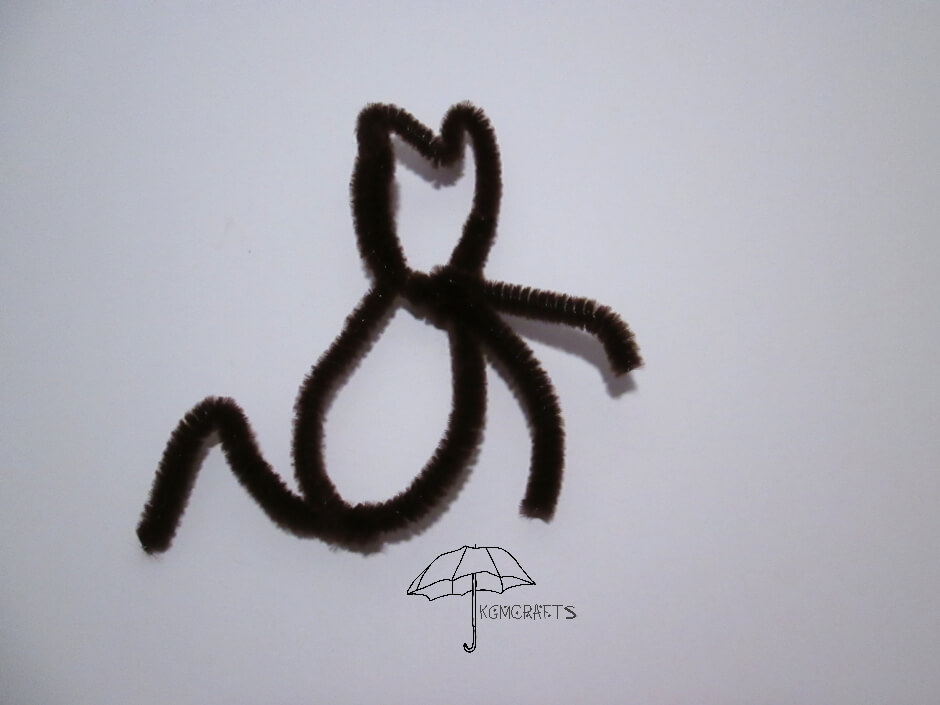
A cute little, inexpensive kitty who doesn't eat much.
What you will need;
- Two 12 inch pipe cleaners
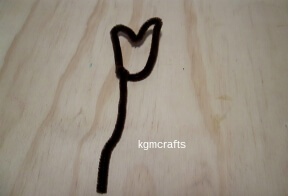
Take one of your pipe cleaners and bend it into a heart shape to make a head. Make the top of the heart pointy for the cat's ears.
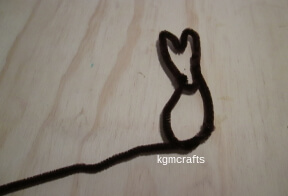
With the other pipe cleaner, attach it to the side of the head so that it hangs down.
Bend it into an oval shape for the cat's body.
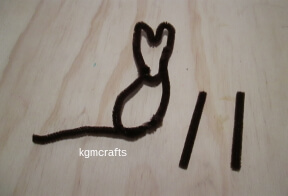
On the left side, cut two 2 1/2 inch pieces off.
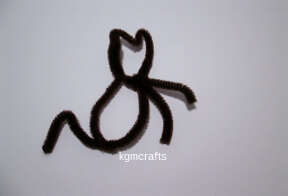
Bend the reminding piece attached to the oval for a tail.
Attach the two pieces you cut off near the head to make legs.
Meow-Meow! We hope you had a great time making these kitty cat crafts for kids.
