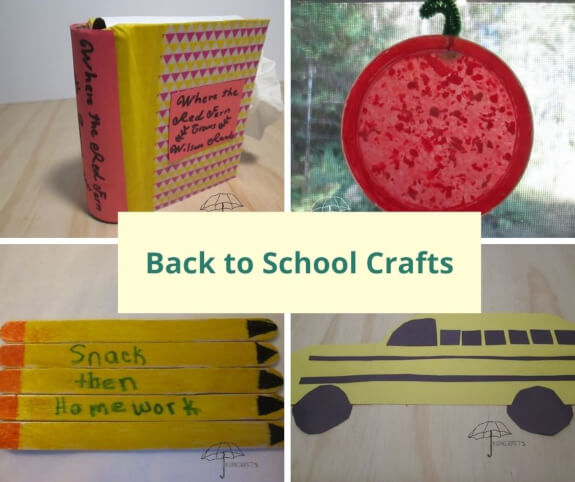
Back to School Crafts
for the Start of a Great Year
by Karen & Grace Morris
Kick off the school year by making back to school crafts for kids. Gather your supplies. Did you know that most school supplies go on sale in early August? Here are some fun things your children can make to help them prepare for the coming year.
Click the Pictures to Go to Individual Back to School Crafts.
Time for
Reading
Writing
and
Arithmetic
Gather some colored paper to make these back to school crafts.
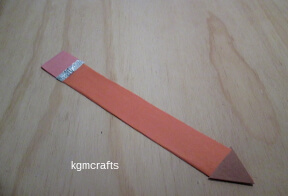
Pencil Bookmark
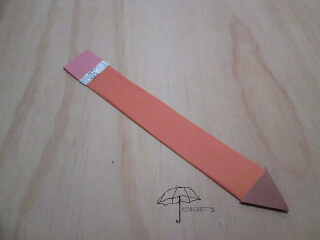
Some people like to write notes in the merges of their books. Though this pencil can't write notes, you will be able to mark your pages.
You will need;
- Piece of orange construction paper 9 by 2 1/2 inches
- Piece of card stock 9 by 1 1/4 inches
- Scraps of pink and brown construction paper
- Small piece of foil
- Glue stick
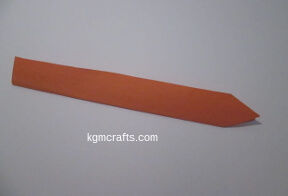
Fold the orange paper in half so that you have a long rectangle.
Cut one end so that it looks like the point of a pencil.
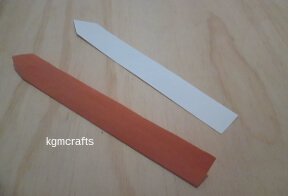
Cut a piece of card stock that will fit inside the orange rectangle. Cut a point at one end. Glue the card stock to the inside of the rectangle.
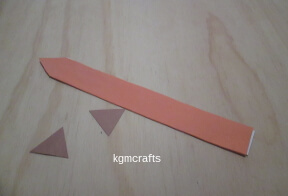
Cut two triangles from brown paper that will cover the pointed end of the pencil. Glue to the pointed end of the orange rectangle.
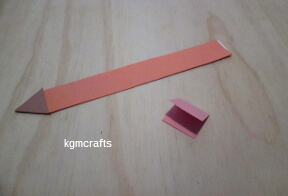
Cut one rectangle about 2 1/2 by 1 1/4 inches for the eraser at the top of the pencil.
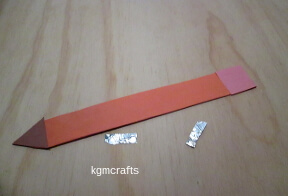
Cut two small strips of foil.
Glue your pieces to the orange strip so that it looks like a pencil.
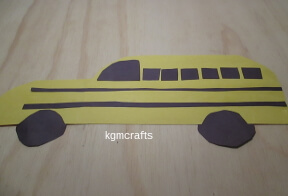
Paper School bus
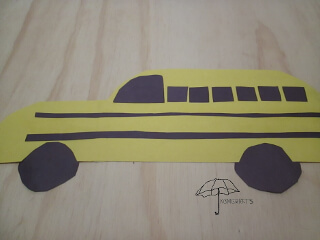
Riding the bus is not too scary. Back to school crafts can teach your kids about shapes. The bookmark above taught you about rectangles and triangles. The bus will teach you about rectangles, squares, and circles.
Supplies;
- Yellow and black construction paper
- Scissors
- Glue stick
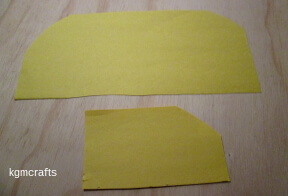
From yellow paper, cut one rectangle, 4 by 2 1/2 inches. Cut another rectangle 8 by 4 inches.
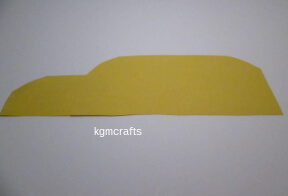
Glue the smaller rectangle to the front of the larger one. The bottom of the paper needs to line up.
Round the top of the small and larger rectangles so that it looks like a bus.
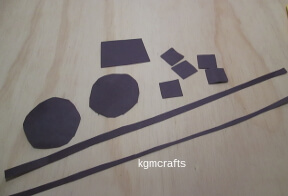
Cut two circles from black paper, about 2 inches.
Cut a 2 by 1 1/4 rectangle from black paper. Round the two top corners. This will be the front window.
Cut six squares 3/4 inches from black paper. This will be the side windows.
Glue the windows on the bus.
Cut two strips of black paper 8 inches long. Glue to the side of the bus under the windows.
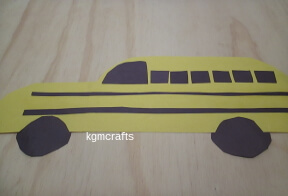
Hold one circle on the bottom of the smaller rectangle. The rectangle should cover about half of the circle. Cut around the circle on the yellow paper. Do the same for the back wheel. Glue the wheels on.
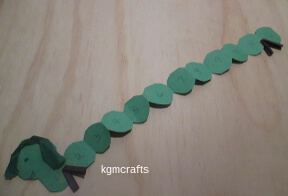
Inchworm Number Line
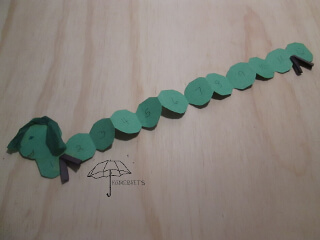
This is great to use when teaching young kids how to use a ruler! It can also be used for addition and subtraction.
You will need;
- Green construction paper
- Green tissue paper
- Black construction paper
- Markers
- Scissors
- Glue
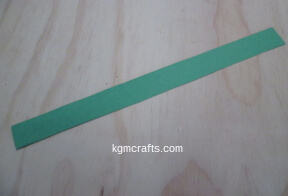
Cut a 1 by 12 inch rectangle.
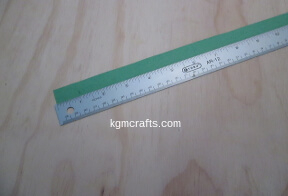
Mark every one inch for fold lines, so you have twelve places for the numbers.
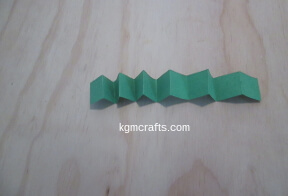
Fold back and forth like a fan until you come to the other end. You will have 12 pieces.
Draw a circle on the folded piece.
Use the circle as a guide round the corners, but do not cut all the fold. When you unfold your piece, you want a long worm, not a bunch of circles.
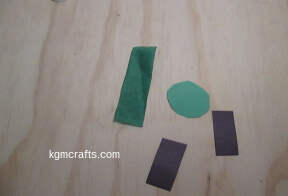
Cut a lager circle from green paper and glue to one end for the head of your inchworm.
For the hair, cut a small rectangle of tissue paper.
For the legs, cut a 1 by 1 3/4 inch piece of black paper
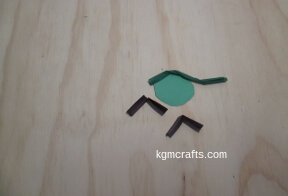
Fold the tissue over and over so that it is in a long strip. Glue to the head piece.
Roll the black paper and fold in half. Make two pieces. Glue one piece to the front and one to the back for legs.
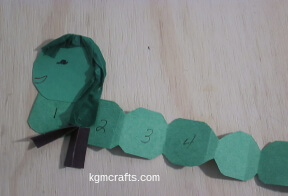
Add eyes and a mouth to the head with markers.
With a pen or marker, write the numbers one through twelve on each circle.
You don't need much to make cute back to school crafts, just some paper and glue.
Recycled Back to School Crafts
Use plastic lids, boxes, and cardboard rolls to make interesting back to school crafts.
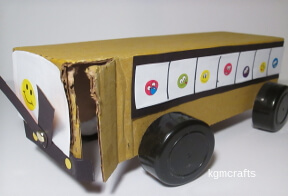
Recycled Box School Bus
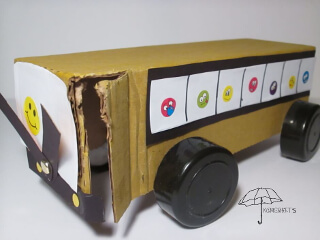
Most school children have heard the song “The Wheels on the School Bus.” Here is a back to school craft which they can use when singing the song.
Materials you will need;
- A 2 pound Velveeta cheese container
- Yellow paint
- White and black paper
- Glue
- A brad (paper fastener)
- Four black lids from spice bottles they should measure 1 3/4 inches
- Two straws
- Bottoms of four 3 ounce paper cups
- Tape
- Happy face stickers
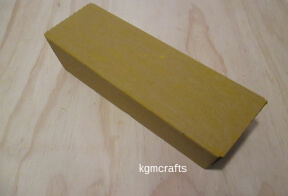
First, paint the bottom of the box yellow. Let it dry.
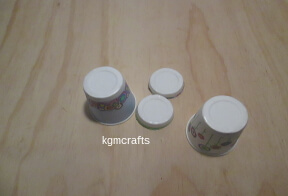
While it is drying, make your wheels. Cut the bottoms off of four paper cups, leave about 1/2 inch of the rim.
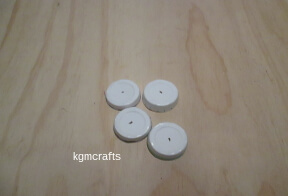
In the center of each cup, make a hole so that the straw will fit in.
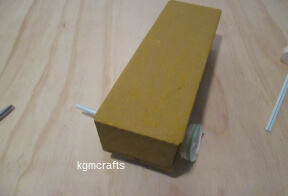
On the end of the straw that is in the paper cup, make two slits so that it will lay flat.
Tape the straw to the inside and outside the cup. Place another cup bottom on the straw.
Place the wheelbase under the bus. Cut off any excess straw. You want the wheelbase to fit so that the wheels will turn.
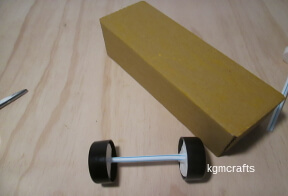
Fit the cup into the lid. It should fit snug.
Cut out four slits in the top of the box so that the straw will fit. Place your wheels on the bus. (Now start singing the song….)
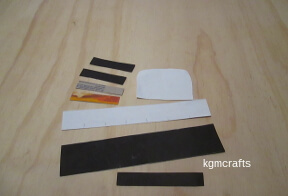
Cut a piece of white paper about 2 1/4 by 3 inches. It will fit over the rounded flap on the end of the box.
Then cut two strips of thin cardboard, 2 1/2 by 1/2 inches. Cut two black pieces of paper the same size.
Also, cut a piece of black paper 3 1/2 by 1/2 inches. Make two small yellow circles with a hole punch.
Lastly, cut two pieces of white paper 7 by 1 inch. Also, cut a black piece of paper 7 by 1 1/2 inches.
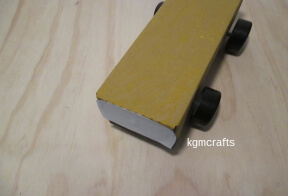
Glue the 2 1/4 by 3 inches piece of paper to the flap. This will be the front window of the bus.
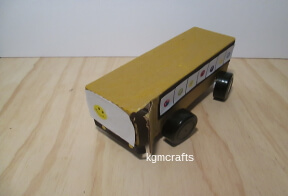
Glue the 3 1/2 by 1/2 inch piece of black paper to the front of the fender. Make two small yellow circles with a hole punch. Glue the circles on the black rectangle.
Cut on the fold of the left side of the box and about one inch on the top. Fold this piece back to make the door of the bus. In the song, the door of the bus goes open and closed.
On the white 7 by 1 inch of paper, draw a line about every inch for the windows. Theses will be the side windows. Glue the black piece to the side of the bus, glue the white piece on top of the black.
On the white paper on the front of the bus place a large smiley face. On each of the side windows place a small smiley face. If you don’t have smiley faces, look in magazines for pictures of people that you can use. Or you could draw your own faces.
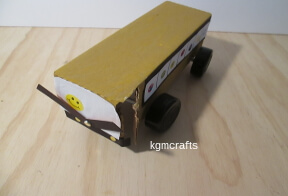
Make the windshield wipers. Glue two black pieces of paper to the thin strips of cardboard.
Have a parent make the hole in the cardboard and box for the brad. Attach the strips to the window with the brad. Next sing, “The wiper on the bus goes swish, swish, swish.”
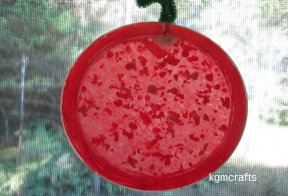
Sun Catcher Apple
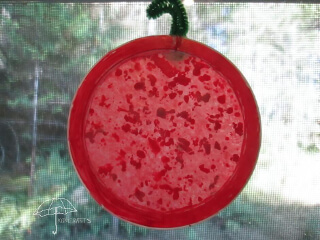
When the days get darker and shorter, you are going to want to preserve as much sunshine as you can. You will be able to do just that with this sun catcher. Back to school crafts can even recycle your old crayons from the last year.
You will need;
- A plastic lid
- Wax paper
- Red crayon
- Pencil sharpener
- Iron
- Red tissue paper
- White glue
- Permanent red marker
- 6 inch piece of green pipe cleaner
- Hot glue
- White glue
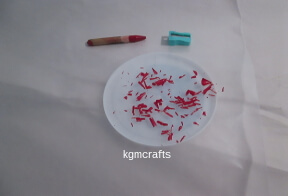
Cut a piece of wax paper that will be double the size of the plastic lid.
Shave pieces off a red crayon with a pencil sharpener. Place the shavings on the wax paper. Fold the paper in half.
Because of the risk of fire, an adult should supervise this next step. Cover an ironing board with an old towel. Place the wax paper on the towel. Cover with another towel. Heat your iron to a low temperature. Place the iron on the top towel for about ten seconds. Move to a new spot. You will want the wax paper and crayon to melt.
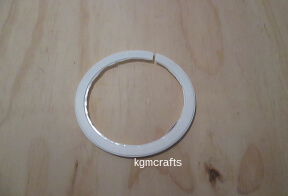
Cut the center out of the lid.
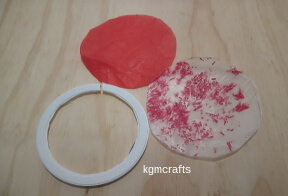
Cut the wax paper to fit inside the lid. Also, cut a circle of red tissue paper.
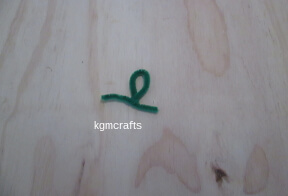
Fold a 6-inch piece of green pipe cleaner in half and twist near the center.
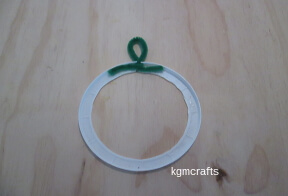
Have a parent hot glue the ends of the stem to the rim of the plastic lid.
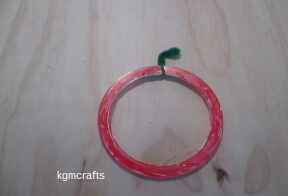
With a red permanent marker, color the rim of the plastic lid.
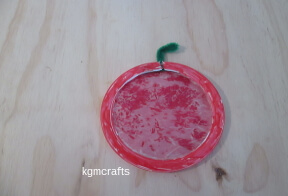
Glue the wax paper to the rim.
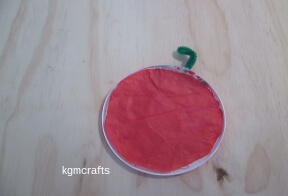
Glue the tissue to the wax paper.
Your apple is done. Use the stem to hang the apple in the window to catch the sun. (Nope, this apple would not be good for eating.)
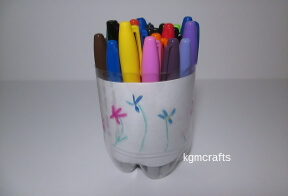
Recycled Pencil Holder
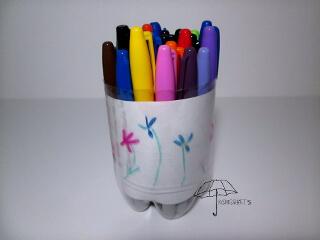
Place this holder on your desk at home. Then you will know where your pens and pencils are.
You will need;
- A 32 oz plastic bottle you could use a larger 2 liter bottle
- Scissors
- Permanent Markers
- White paper
Cut the top off your bottle. Your container should measure 4 1/2 inches high.
Now decorate your holder with the markers. Make flowers, or squiggly lines, or anything that you can think of.
To make your design more visible, place a piece of white paper inside the holder.
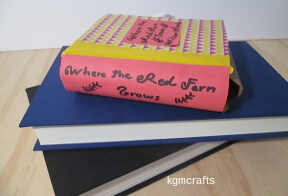
The Hidden Tissue Holder
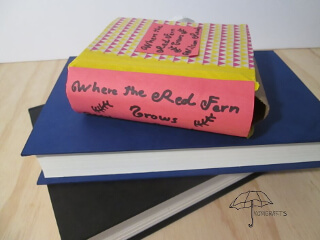
Make a hidden tissue holder for books that make you cry. This will either sit or stand on your desk. This would make a cute teacher gift!
Supplies;
- Cereal box or thin cardboard
- Paper towel roll
- Brown paper such as a paper bag
- White paper
- Glue stick
- Washi tape
- Duct tape
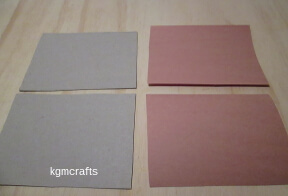
Cut two pieces of thin cardboard, 4 1/2 inches by 3 1/2 inches. If you used a cereal box for the cardboard, cut two pieces of brown paper to fit.
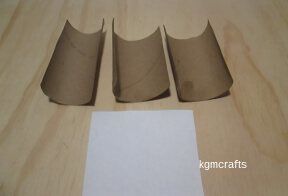
Cut a piece of paper towel roll, 4 1/2 inches by 3 inches. Cut 2 pieces of paper towel roll, 3 1/2 by 3 1/2
Cut a piece of white paper 3 1/2 by 3 1/2 inches.
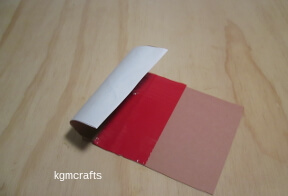
With a glue stick, glue the brown paper on the colored side of the cereal box.
Glue white paper to one of the smaller pieces of paper towel roll for the top of the book.
With duct tape, tape the roll to the inside of the book so that the white paper shows.
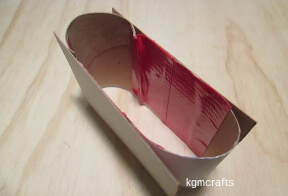
Tape the other small piece of roll to the inside of the book for the bottom. The top and bottom piece need to be added so that your tissue doesn't fall out. You will still have one open side for the tissue to come out.
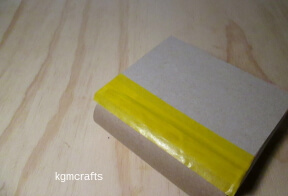
With Washi tape, tape on the paper towel roll for the spine of the book.
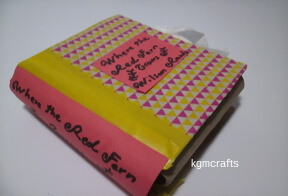
Decorate your book with Washi tape. Add a classic book title or a made-up one if you want.
Place the tissue in the book. Keep your tissue near for when you read a tearjerker.
Using recycled materials makes back to school crafts interesting and inexpensive.
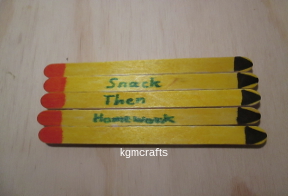
Do Your Homework
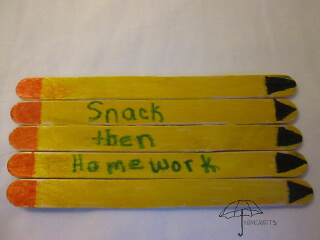
You can have a snack before you do your homework. This magnet will remind you to eat first.
You could even save the Popsicle sticks from your ice cream, then it would be one of the back to school crafts.
You will need;
- Five craft sticks (Popsicle stick)
- Permanent markers – I used yellow, black, orange, and green
- Small piece of card stock
- Magnet
- White glue
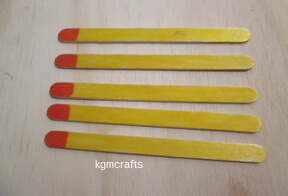
Start by coloring your Popsicle sticks yellow, or you could use yellow craft sticks.
Color one end of the stick orange for the eraser.
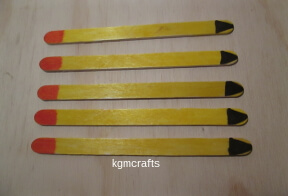
On the other end, make a triangle for the lead with a black marker.
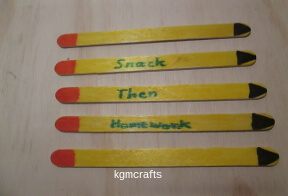
Then write one word of your message on each of the sticks.
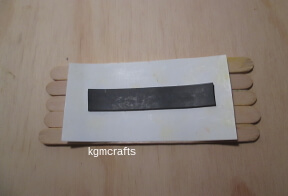
Cut a piece of card stock 3 1/4 by 1 3/4 inches. Glue the sticks to the card stock. Now glue a magnet to the card stock.
After the glue has dried, you can place your magnet on the refrigerator.
Do you like making things with Popsicle sticks? Here is a page that is made especially for preschoolers but older kids could have fun too.
Back to School Crafts
Notebook Covers
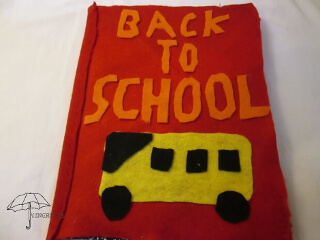
Your kids can decorate their notebooks! Can you think of more back to school crafts that use notebooks? See the tip below.
What you need for the felt cover;
- Felt in your favorite colors (I used two sheets of red, scraps of orange, yellow, and black)
- Thread and needle
- Tacky glue
- Notebook
Cut your two sheets of felt so that it fits on the notebook. I had the bottom piece wrap up to the top to make a nice rim. However, make your pieces about 1/4 an inch larger than your notebook.
Cut off the corners. Make the corners on the main piece round.
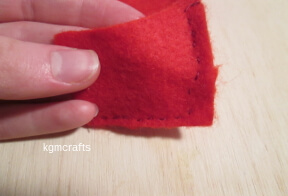
With the needle and thread, sew the corners back on, so the notebook can slide into them.
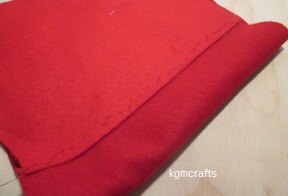
Now sew the two sheets of felt together.
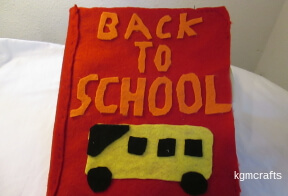
Now that your cover in done, let’s decorate! Make letters out of orange felt that said ‘Back to School’ and glue it on with tacky glue. I also made a school bus with yellow and black felt and glue it on with tacky glue. But you can make any design that you want.
Extra Back to School Crafts
Tip #1 Instead of felt, use Washi tape to decorate your notebooks for fun and easy back to school crafts.
Back to School Crafts Tip #2
If your child uses three ring binders, buy the ones with the plastic sleeve in the front.
Have
your child draw a picture or download a coloring page for him. When the
picture is done, add it to the plastic sleeve. Now the notebook is
personalized!
Take some time to make back to school crafts before you have too much homework to do. Learning can be fun. Maybe your teacher this year will like doing hands-on activities!
