Baby Isaac Bible Crafts A Promise Fulfilled
by Karen & Grace Morris
Make a Baby Isaac Bible craft to remember that nothing is too hard for God. There are actually two crafts, one where Sarah thinks God's promise is impossible. The next craft is the promise fulfilled.
Click the pictures to find directions for the before and after baby Isaac Bible craft.
The crafts use easy to find materials, just some construction paper, scissors, markers, and glue.
Sarah Laughs
First, we need to learn why Isaac was so special.
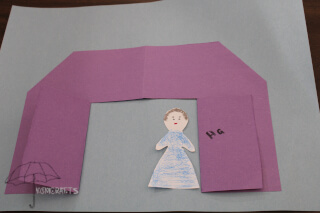
Abraham is visited by three men. They ask about Sarah, who is in the tent. The men tell Abraham that Sarah will have a child next year. This causes Sarah to laugh at herself, thinking that she is too old to be a mother. You can read the account in Genesis 18 verses 9 through 15.
You will need;
- 2 sheets of construction paper
- White paper
- Scissors
- Color crayons or markers
- Glue stick
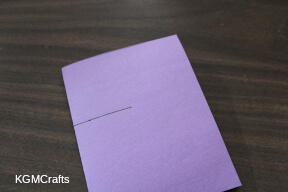
For the tent, cut a rectangle 6 inches by 9-inches. Fold the rectangle in half.
Next to the folded end, measure 3 1/2 inches from the bottom. Make a 2-inch line. Cut on the line.
Also, cut on the fold to the line. While the rectangle is still folded, cut off the top corner.
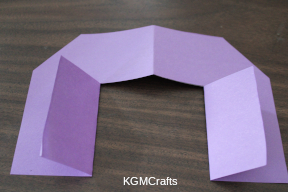
Unfold. You should have a tent shape with flaps in the center.
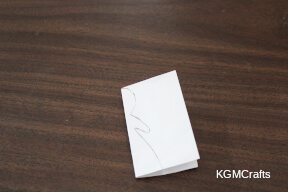
Fold a 4 by 3-inch piece of white paper in half. Draw half of a person on the piece of paper.
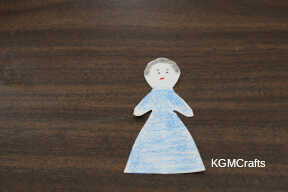
Cut out and trim if you need to. Then use crayons or markers to color your paper doll.
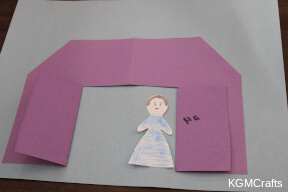
Glue the tent to the background piece. But don't glue the flaps.
Glue Sarah behind the tent flaps.
On one of the flaps write, “ha.”
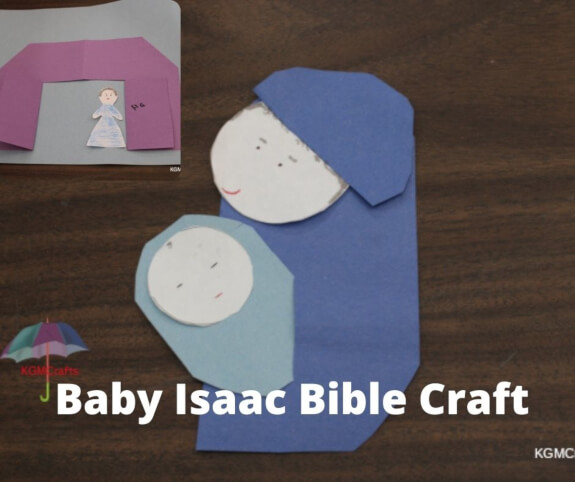
Baby Isaac Bible Craft
The promised fulfilled.
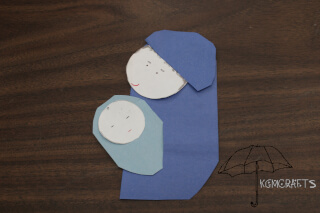
And Abraham called the name of his son that was born unto him, whom Sarah bare to him, Isaac. Genesis 21:3 KJV
You will need;
- Construction paper in two colors
- White paper
- Round object such as a 3-ounce cup
- Scissors
- Glue stick
- Markers or crayons
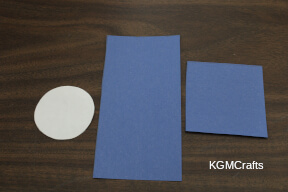
For Sarah, cut a 6 by 3-inch rectangle and a 3-inch square from colored construction paper such as dark blue. Also, cut a 3-inch circle from white paper.
An easy way to make a 3-inch circle is to place the top of a 3-ounce cup on the paper and draw around it.
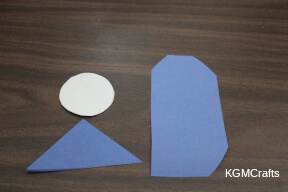
Round the two top corners and one of the bottom corners on the 6 by 3-inch rectangle. For the head covering, fold the square in half to make a triangle. Cut on the fold. (Throw one half away. You will only need one triangle.)
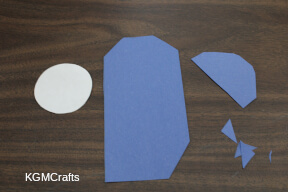
Cut the three corners off to make the triangle more rounded.
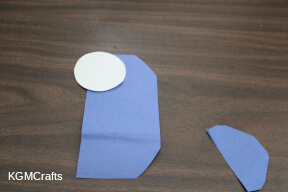
Glue the large white circle to the top of the rectangle.
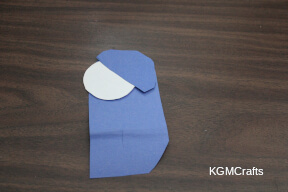
Glue the head covering to the circle.
Fold the bottom up approximately 1 1/2 inches. Starting at the fold, cut a 1/2 inch slit.
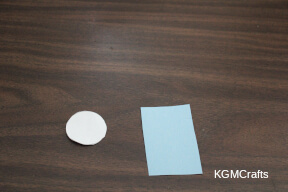
To make baby Isaac, cut a 1 1/2 inch circle from white paper. (Drawing around the bottom of a 3-ounce cup makes a nice sized circle for the baby's head.)
Also, cut a 3 by 2-inch rectangle from colored paper.
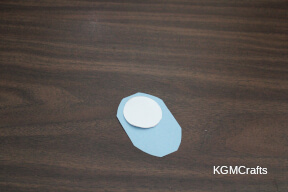
Round the corners of the rectangle to make the blanket.
Glue the circle to the top center of the rectangle.
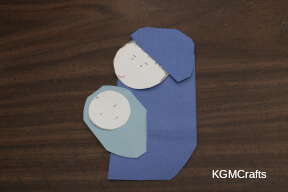
Now add the small rectangle to the slit so that it looks like Sarah is holding baby Isaac.
Glue in place.
With crayons or markers, add facial features to Isaac and Sarah.
After making the baby Isaac Bible craft, be sure to tell someone about how the promise to Abraham was fulfilled and that God always keeps his promises.
